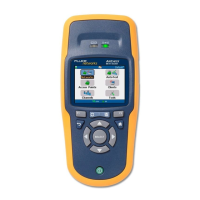
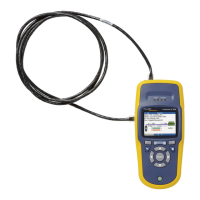
Set Up the Tester
33
11
Repeat steps 9 and 10 to continue configuring a static
network’s Subnet Mask, Default Gateway, DNS1 Server,
or a DNS2 Server.
Note
When configuring a static Network you should at
provide an IP Address and at least a Subnet Mask.
12
Press Save when you have completed configuring
a static IP network. This operation will take you to the
Network Config screen.
Part 2- Setting up Security Credentials
You should complete Part 1 prior to beginning Part 2.
13
On the Network Config screen, highlight Select
Authentication and press
L.
To get to this location: (Tools > Manage profiles /
network passwords > Edit Networks >
Network Name or
SSID
> Select Authentication).
14
On the Select Authentication screen, use to
navigate to an authentication type, and press
L. The
default is “Unconfigured”.
15
Press Next to continue.
16
Use to navigate to your next option and press
L.
The tester will guide you through the various options
depending on the selected authentication type. In
most cases you will be pressing Next or
Done.
See also “Entering Security Credentials Using
“Connect”” on page 66.
17
Save your profile or create a new profile. See page 29.
Add Ping or TCP Connect Targets
You can add up to ten of your own user targets (IP address
or URL) to a profile. These can be Ping or TCP Connect
targets whose connection will be tested when you manually
select
Connect to connect to a Network (SSID). These
user targets will also be tested when you select Start
Tests (option will only be available after the
Connect
operation completes). One target can be included in an
AutoTest. The remaining user targets will be ran during
connection tests (Networks > select an SSID and choose
Connect).
To Add a Ping Target
1
Select Tools from the home screen.