Network Assistant
Before You Begin
33
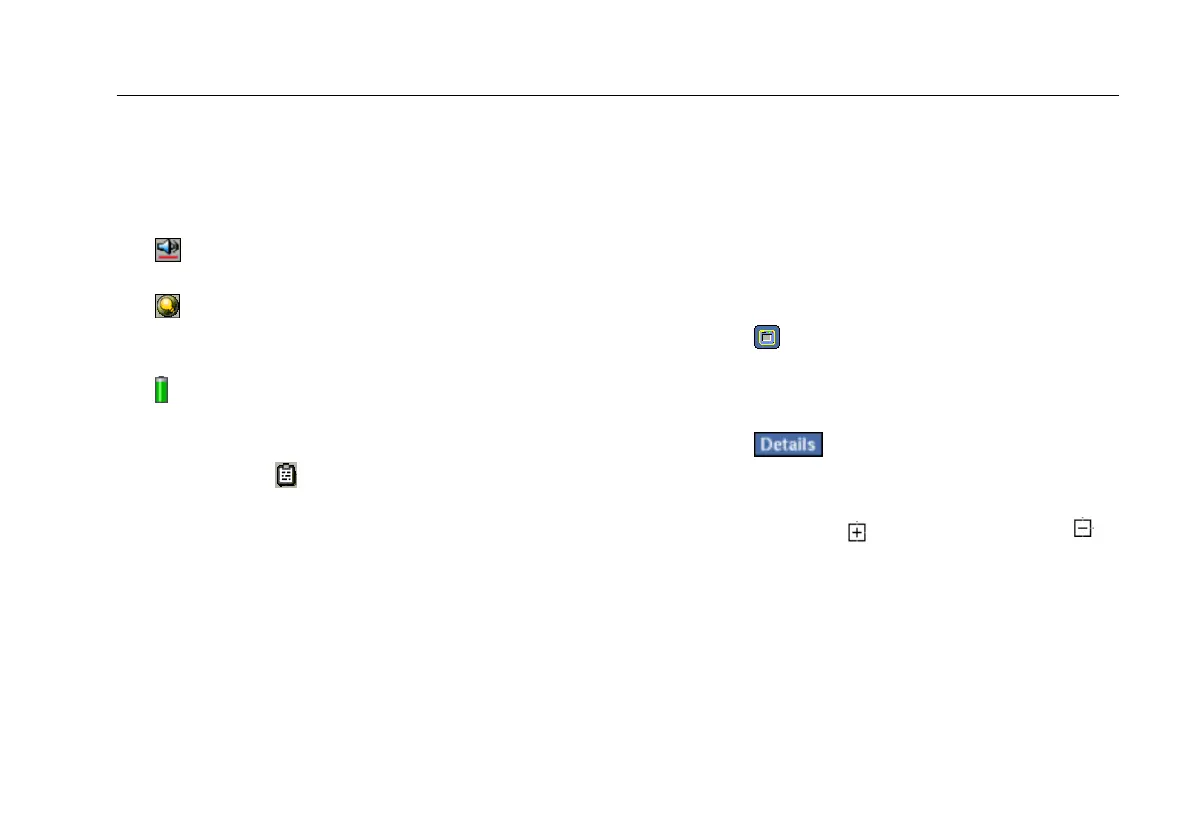
To the far right, the instrument displays the currently set
time. To change the date and time, see “Setting the Time
and Date” on page 16.
Additional icons give you status on the following;
•
Sound: Tap it to view and adjust the volume of
the touch screen’s audible taps.
•
Light & Power: Tap it to view and adjust the
brightness of the screen (see “Adjusting the
Brightness of the Screen” on page 16).
•
Battery level: Tap it to find out how much battery
power remains. If the battery is low on power, see
“Charging the Battery” on page 20 for instructions.
The Clipboard icon
is also located on the bottom
right. Tap it to display a menu with cut, copy, and paste
options. These options come in handy when you are
working on screens requiring you to enter a lot of text.
Navigating the User Interface
Following are some general guidelines for navigating the
user interface:
• All blue text represents a hyperlink. Tap the hyperlink
to go to the desired screen.
• To display the detailed results screen for a specific
test:
Tap
(EtherScope Master Menu icon located
in the upper-left corner of each screen). From
the drop-down list, select the “details” screen
for the selected item.
Tap
to go to the detailed results
screen.
• To expand a group so that you can see individual
items within it, tap
. To collapse a group, tap .