66 Chapter 2 Working with DaqLab
7. Click OK.
8. DaqPRO will send the definition to DaqPRO and will add the new sensor to the sensor list.
To use the custom sensor:
1. Plug the custom sensor into DaqPRO.
2. Set up DaqPRO using the Setup Wizard (refer to page
47) and select the sensor from the
sensor list next to the corresponding input.
3. Proceed with the setup as you would normally do.
2.5.10. Communication Setup
Communication between the PC and DaqPRO takes place automatically whenever you send a
command to DaqPRO. However, the Communication Setup dialog box can be used for more
advanced communication options.
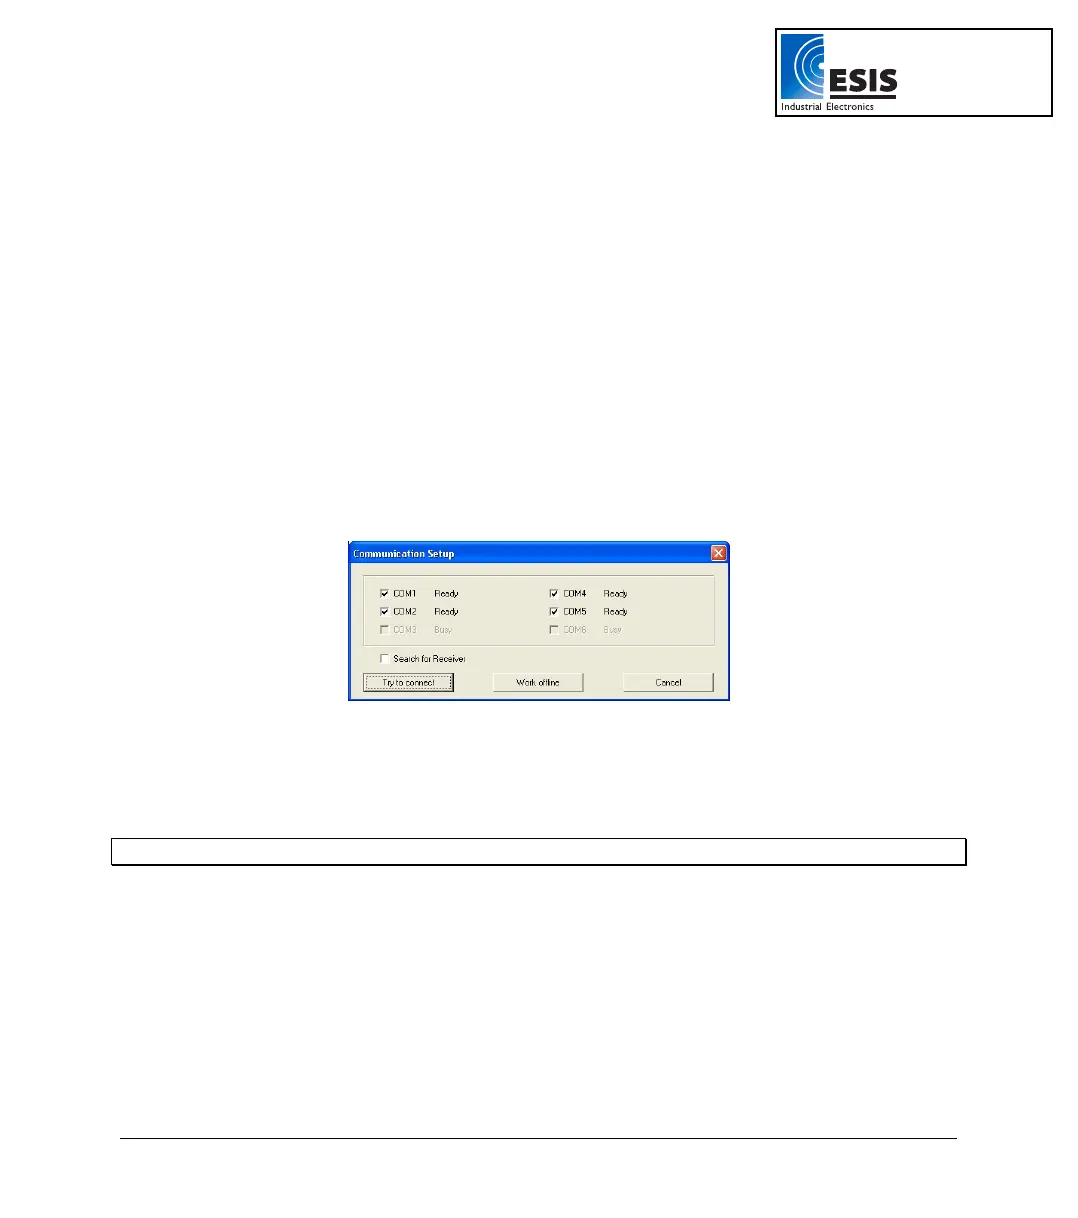
1. Click Logger on the menu bar, and then click Com setup. DaqLab will display a dialog
reporting what COM Ports are already in use, and which port is recommended for use with
DaqPRO:
Figure 23: Communication Setup dialog box
2. Click Try to connect and DaqLab will try to communicate with DaqPRO. If communication is
achieved, DaqLab will designate the selected port as DaqPRO’s communication port.
3. You can override the DaqLab recommendation and choose the COM Port yourself by clicking
the check box to the left of the desired port, and clicking Try to connect.
Note: In the event of communication malfunction, please refer to the troubleshooting guide on page
82.
4. You can click Work offline if you wish to work without DaqPRO. While working offline, you can
still open or import saved files to view and analyze them.
www.esis.com.au
Ph 02 9481 7420
Fax 02 9481 7267
esis.enq@esis.com.au