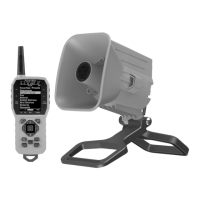
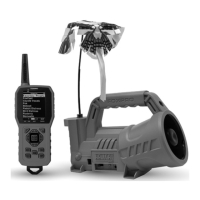
64
Any time you modify the category file in the Fusion, you must download
the playlist to the Fusion remote control.
11-7 Editing the Categories with FOXPRO Utility
With the game call connected to your computer, launch the utility as
described in section 11-5. Under the Caller Files column, locate and click
on the button called “Edit Categories”.
The screen is split into two distinct panes. The left pane displays all the
sounds that are stored in your FOXPRO game call. The column to the
right displays how the categories is arranged. You will notice that each
category name features a list of sounds indented just beneath it. This
represents the sounds that are in each category.
To add a new sound into the correct category, first locate the sound on
the column to the left. It should be near the end of the list. After you
have located it, click on it one time to highlight it. Next, locate the
appropriate category on the right that you want to place that sound
into. Click on the category name to highlight it. To place the sound into
that category, click on the “Insert Selected” button in the middle of the
screen. You should now see the new sound appearing under the
category name selected on the right.
When finished, click on the “Save & Exit” button to commit the changes
to the categories. To finish programming, you will now need to update
the playlist on your remote which is covered in the next section. With
the game call connected to your computer, launch the utility as
described in section 11-5. Under the Caller Files column, locate and click
on the button called “Edit Categories”.
11-8 Updating the Remote Playlist
Before carrying out the steps listed below, make sure that you have
fresh batteries in your Fusion and Fusion remote control. Disconnect all
accessories (speakers, decoys, USB cables, etc.) prior to starting this
process.
1. Turn on the Fusion and Fusion remote control.