Technical Support is available from 8am to 5pm (PST) M - F at support@fslaser.com.
86
Camera:Vector Trace
Use the onboard camera to capture your workspace to align your design.
1. Choose your material, and prep. Flat objects work best, and we suggest you place masking tape
(paper tape) on the surface before marking with a pen (sharpie). Don’t allow the masking to tape to
overlay on the material when applying more than one strip.
2. Using a thick black marker or pen, draw on your material. Thick solid lines will be read the best. If
coloring in a space, ensure completely lled in.
3. Capture the workspace as shown in steps 3 & 4 in the “Capture Workspace” instructions.
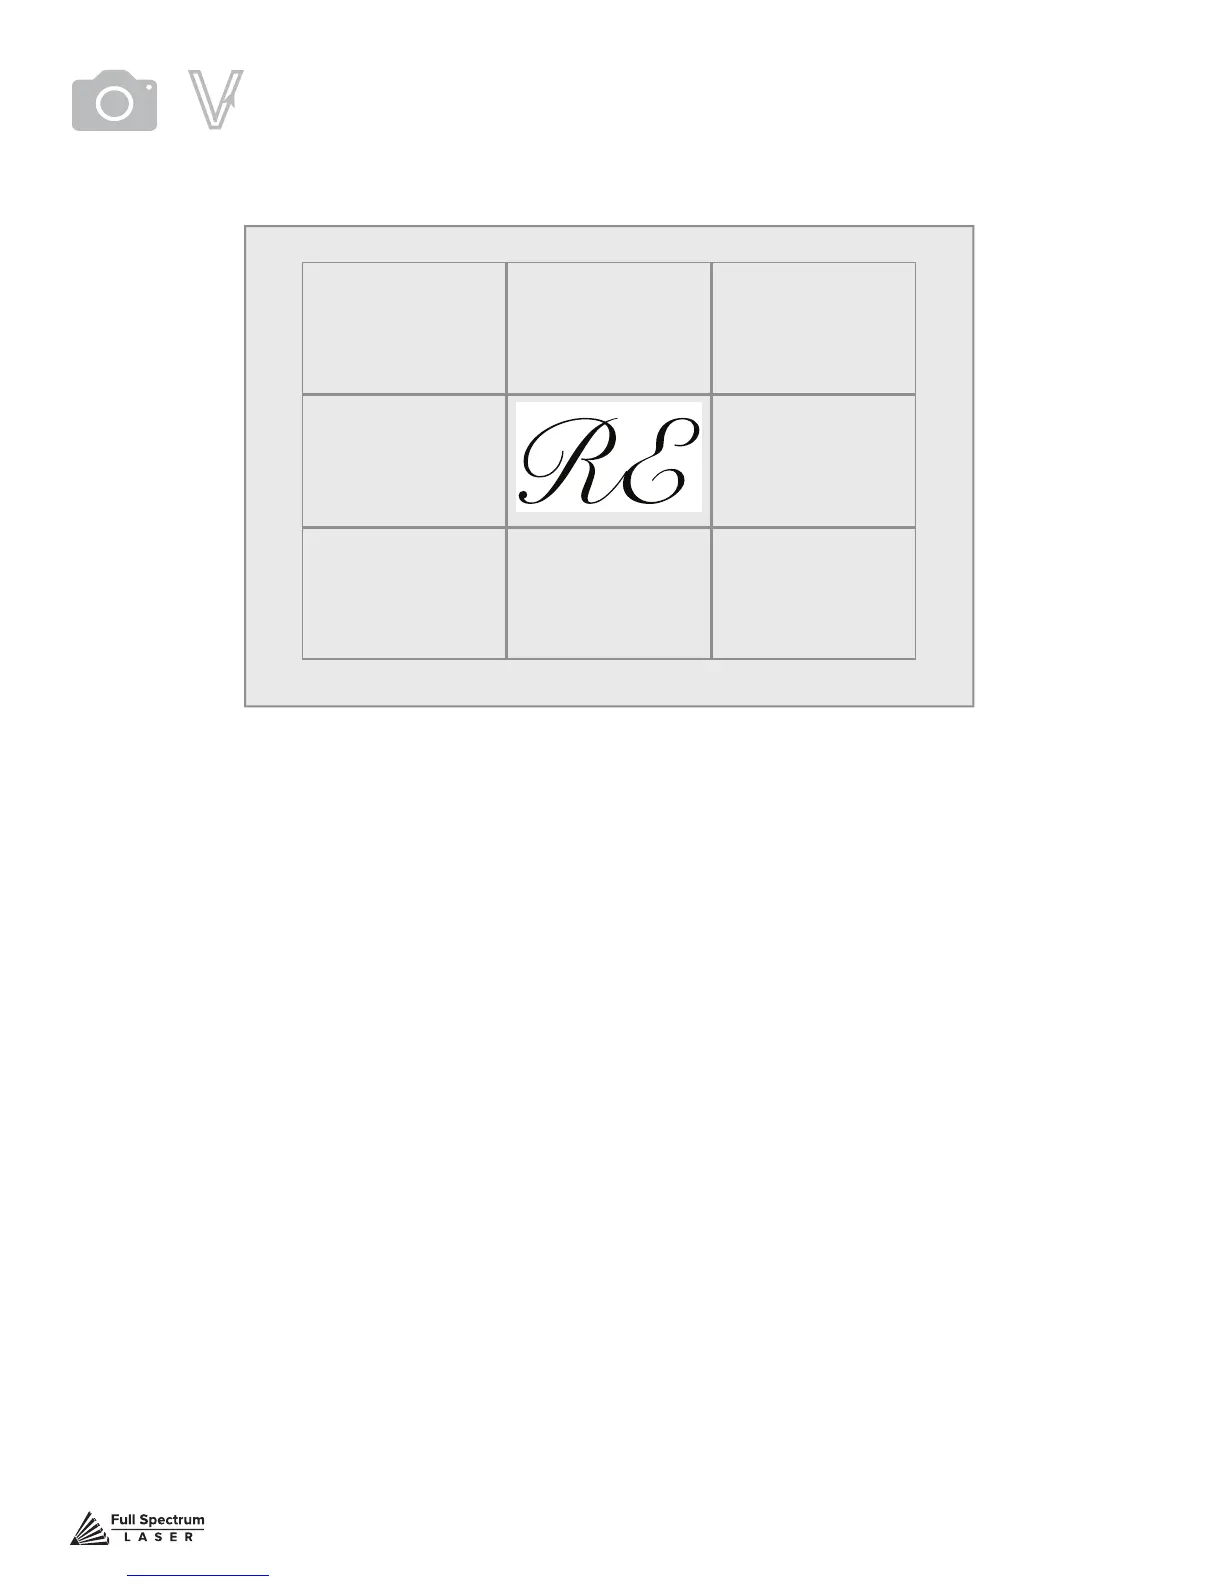
4. Click on the “Vectorize” icon in the top menu bar (show with label). This will bring up a sub-menu.
Using your mouse, select the section you want to vectorize and press ok. You can repeat this step
as many times as you like. Place a white piece of paper behind your self-drawn design to help aid if
having trouble capturing the area you want to vectorize.
5. You now have Bitmap and Vector data for your object available.
They should appear in the Object Manager box. Delete data not needed. If just engraving, delete
vector data, if just cutting or marking, delete bitmap data.
6. You are now ready to run your job!
MASKING TAPE OVER WORK AREA
Tape
Figure 7.19