Manual Introductory Section
CHARGING & DIRECT SERVO CONNECT OPERATION
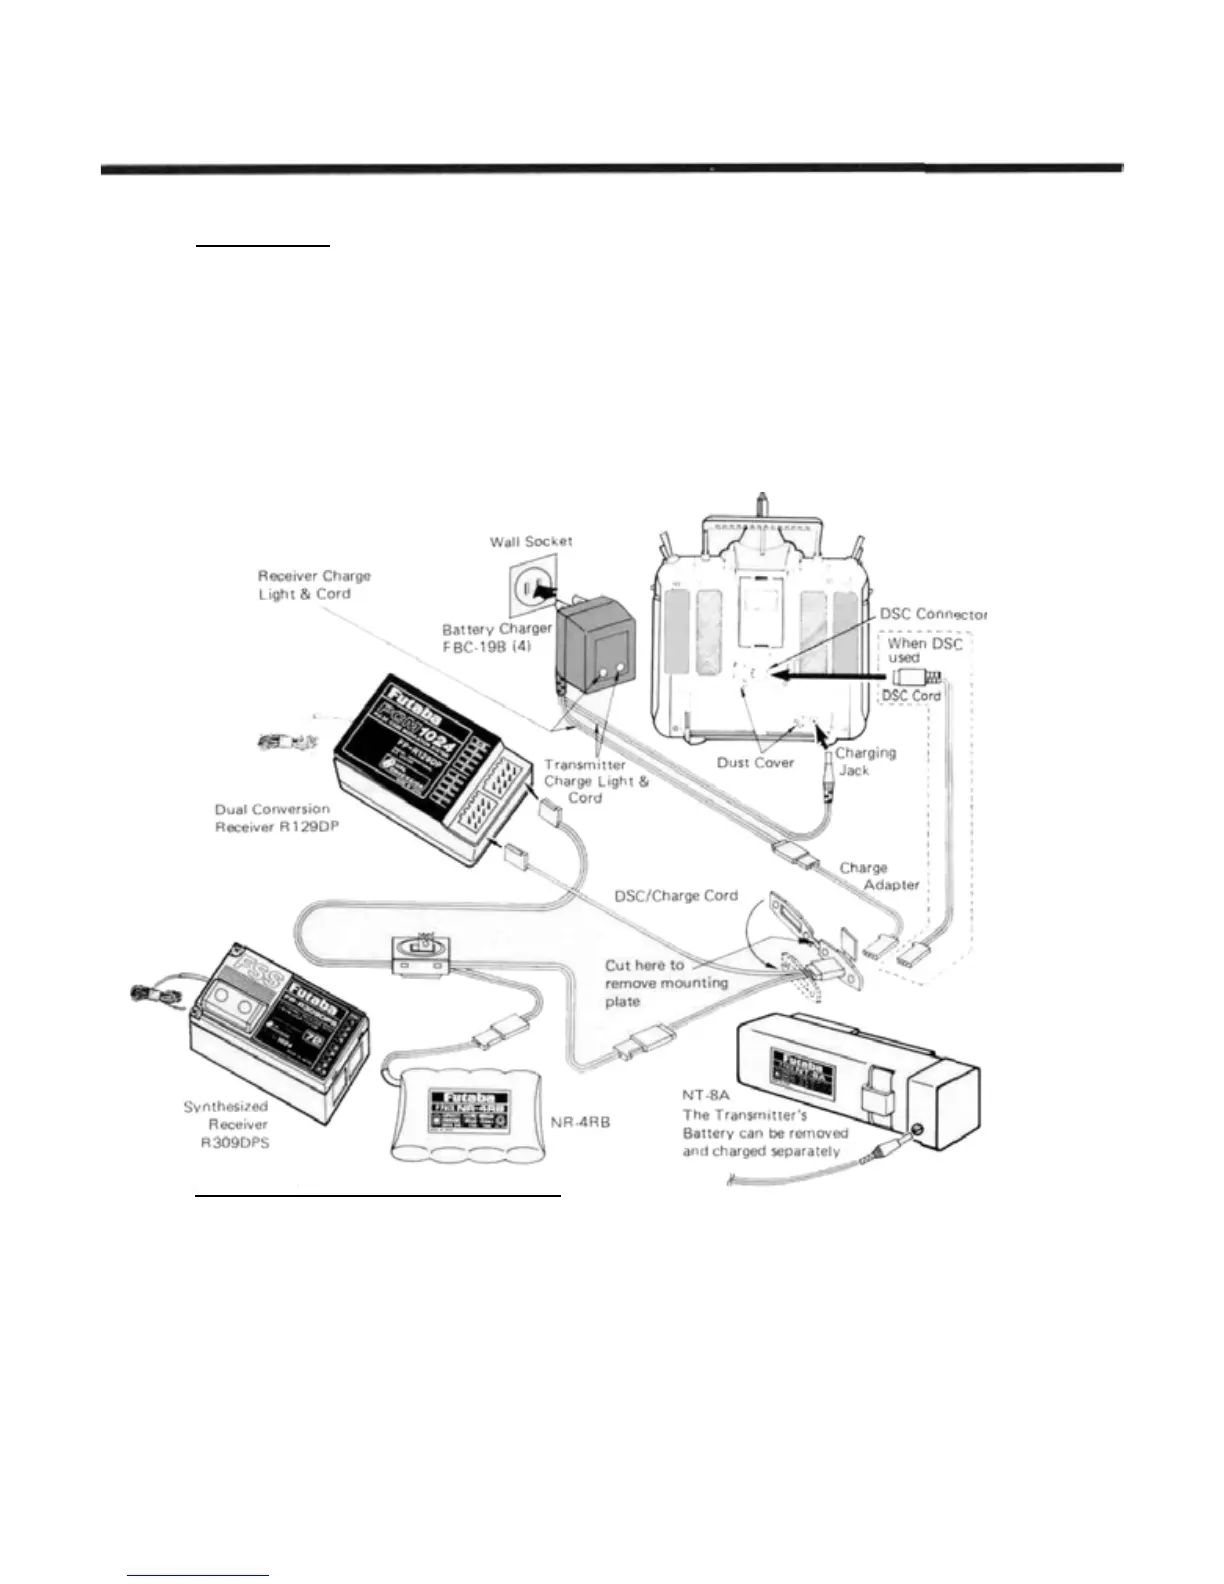
Battery Charging
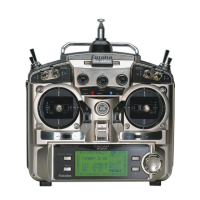
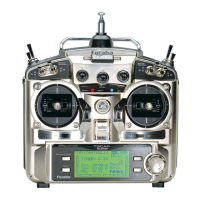
Your Futaba FP-9ZAP and -9ZAH system is
equipped with rechargeable Nickel-Cadmium bat-
teries. The figure shows the necessary connections
for charging the transmitter and receiver battery
packs. Both packs may be charged at the same
time or they may be charged individually. The
charging connections bypass the power switches,
so the set will not operate even if switched on.
The minimum recommended charge time for a
spent battery is 15 hours, but it will not damage
the batteries to charge them longer. However, if
the battery has not been used for some time, it
may take several charge/discharge cycles before
the battery resumes its full-capacity flight dura-
tion.
When fully charged, the system will provide
approximately 60-80 minutes of flying time,
providing there is no stalling of the servos. Be sure
to check the state of the receiver battery frequent-
ly with the built-in voltmeter function [VLT] in
the System menu. If the receiver battery drops
below 4.4 volts under load, do not attempt to fly.
Direct Servo Connect (DSC) Cord Connection
Using the DSC system, you may directly con-
nect the transmitter
to
the
receiver
without
having
to transmit radio waves. This feature can be ex-
tremely useful for adjusting any settings on the
model
without
worrying
about
frequency
clear-
ance.
Additionally,
with
the
receiver
off,
the
DSC
cord may be used to measure the receiver battery
voltage (for this display, see
VLT
in the System
menu).
also be used for
charging). To operate,
plug the
DSC
cable into the receiver jack, then plug the
round DIN connector into the back of the trans-
mitter. Switch
on the receiver ONLY — not the
transmitter.
To
check the receiver battery voltage, switch
off the receiver and move to the VLT menu in the
System area. You may apply different current
loads
to
assess
the
condition
of the
receiver
bat-
tery. When you are through with DSC and/or
Receiver battery monitoring, remove the DIN
connector from the rear of the transmitter.
When you wish to use the DSC system, you will
need to install the accessory DSC/Charge Cord
into
the
side
of
the
model fuselage (this
cord
may
Manual Introductory Section, Page 18
 Loading...