GAT Access 6100 Terminal Series
Installation
www.gantner.com
HB_GAT-ACCESS6100--EN_14
21
Instructions
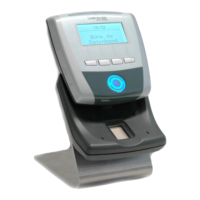
Figure 3.2 - Connection and mounting of the device rear part
1. Check the socket in the device rear part. Any dirt, dust, and moisture must be removed to ensure the secure
connection of the connection cable.
NOTE!
- Only clean the device in a powerless state.
- Do not use any aggressive detergents for cleaning.
- Do not damage the socket contacts.
2. Ensure that the orientation is correct and plug the connection cable into the socket on the device rear part.
3. Clip the top of the device front part into the device rear part.
4. Push the device front part forwards until it clicks into place on the rear part.
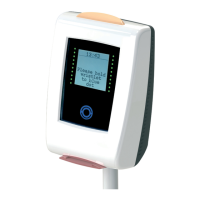
Opening the housing
The device front part can only be opened and removed using the supplied special tool! With this, the two catches on
the bottom of the device can be unlocked in succession as shown below.
Figure 3.3 - Opening the housing
 Loading...