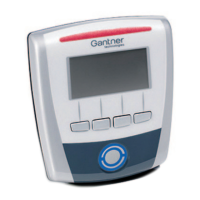
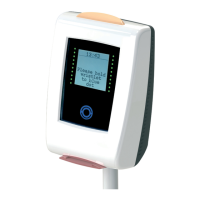
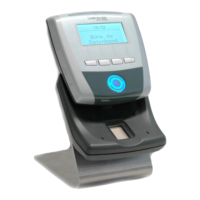
GAT Access 6100 Terminal Series
Installation
28
HB_GAT-ACCESS6100--EN_14
www.gantner.com
3.7 GAT TimeAxx 6150 Installation
Although the GAT TimeAxx 6150 housing is specially designed for flush mounting so that only the front is visible, it
can also be mounted onto a surface such as a wall without any back box.
3.7.1 Surface Mounting
1. Apply silicone around the cable entrance on the device rear part. This is necessary to seal the housing after it is
mounted onto the wall. Apply the silicone on the slightly recessed area (1) around the cable entrance. The
amount of silicone must be sufficient to completely seal the cable entrance after mounting the device onto the
wall.
2. Attach the device rear part to the wall using three screws (2). The recommended mounting height is 1.3 m.
 Loading...