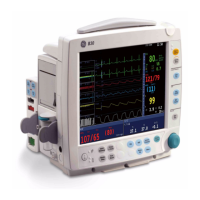
B30 Patient Monitor
5-4
Changing alarm options
1. Press the Monitor Setup key, select Install/Service and enter the password.
2. Select Installation - Alarm Options.
• Select Show limits and YES to show alarm limits in digit fields. NO is the default.
• Select Show Audio ON/OFF (default) and YES to enable alarm silencing. Selecting
NO disables silencing options in the Audio ON/OFF menu in Alarms Setup.
NOTE: The Show Audio ON/OFF setting should be changed only by the system
administrator.
• Select Alarm Light and YES (default) to enable the alarm light or NO to disable it.
• Select Latching Alarms and YES to keep alarm messages on screen until Silence
Alarms
key is pressed. NO is the default.
• Select Reminder Volume and adjust the volume of the audible alarm reminder tone.
• Select Alarm Tones and ISO, ISO2 or General.
Other alarm settings (alarm limits, alarm light brightness and alarm volume) can be changed in
the Alarms Setup menu. To make the changes permanent, save them in user modes, see
section ”Saving changes in user modes.”
Changing printer settings
1. Press the Monitor Setup key.
2. Select Install/Service and enter the password.
3. Select Installation - Printer.
• Select ECG Printout Type and 2x6-25 mm/s (2 columns, 6 lines, 25 mm/s; default),
2x6-50 mm/s (2 columns, 6 lines, 50 mm/s) or 3x4-25 mm/s (3 columns, 4 lines, 25
mm/s).
• Select Printer Connection and Net1…Net16/None (default).
• Select Paper Size and A4 (default) or Letter.
NOTE: Network printer only.
Other printer settings can be changed in the Print & Record menu. To make the changes
permanent, save them in user modes.
Changing the monitor settings
1. Press the Monitor Setup key.
2. Select Install/Service and enter the password.
3. Select Installation - Monitor Settings.
• Select Parameter Settings and select:
Humidity compensation type: CO2 Numbers - Dry (default), Wet.

 Loading...