om 5184516-100 Rev. 5 B-8
8. When the “CONTINUE” button is pressed, the screen will transition to the
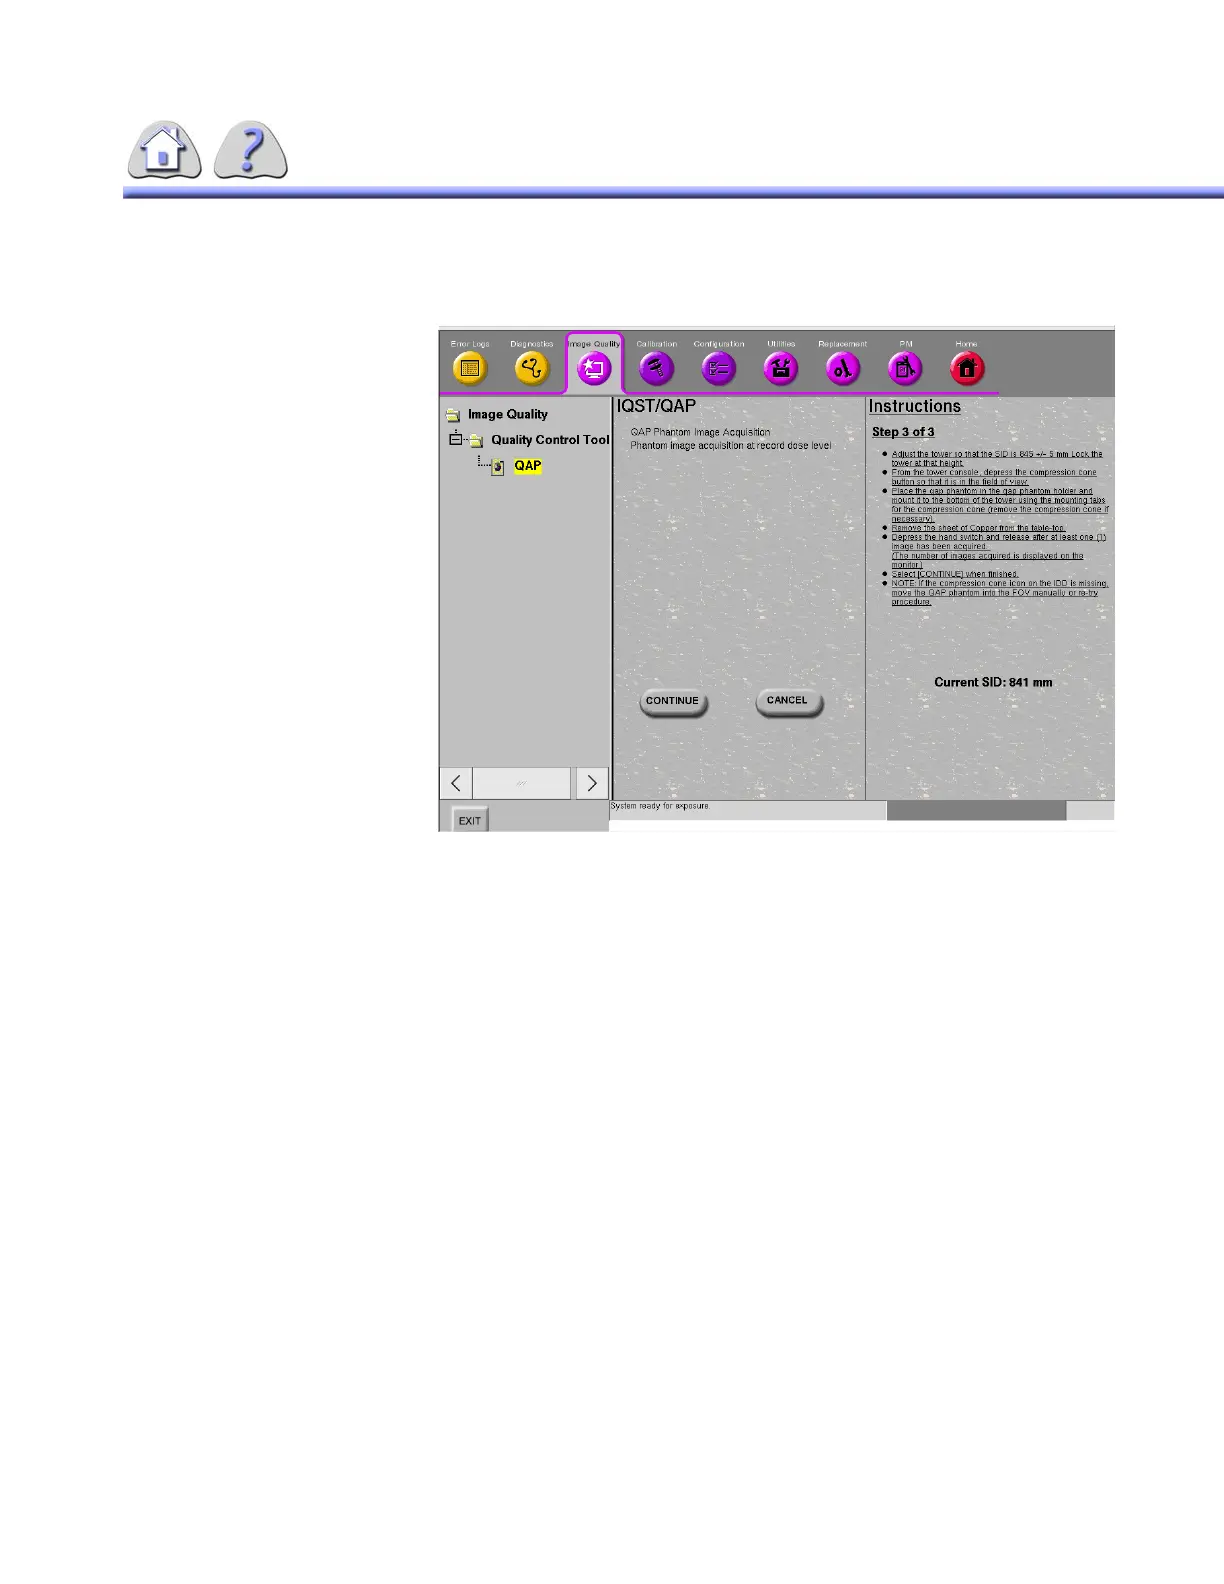
Step 3 Instruction Screen with the following instructions:
Step 3 of 3
• Adjust the tower so the the SID is equal to the value displayed in the
screen instructions, +/-5 mm. Lock the tower at that height.
• From the tower console, depress the compression cone button so that the
cone holder moves into the field of view.
• (NOTE: If the compression cone icon on the IDD is missing, move the
QAP phantom into the field of view manually or re-try procedure.)
• Place the QAP phantom in the phantom holder and mount it to the bottom
of the tower using the mounting tabs for the compression cone. (Remove
the compression cone if the cone is currently mounted.)
• Remove the copper sheet used in Step 1 and 2 from the table
• Depress the hand switch and release after at least 1 image has been
acquired. (The number of images acquired is displayed on the display
monitor.)
• Select “CONTINUE” when finished.
FOR TRAINING PURPOSES ONLY!
NOTE: Once downloaded, this document is UNCONTROLLED, and therefore may not be the latest revision. Always confirm revision status against a validated source (ie CDL).