INCREASE
DECREASE
INCREASE
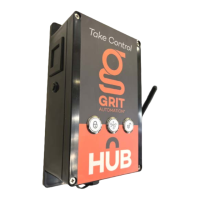
Mount the Strobe Light with the provided
velcro. For a more secure installation,
holes can be drilled through the dimples
on the back of the flange, allowing for
screws. The Strobe Light should be
mounted with maximum visibility in your
shop. If a highly visible location is
greater than the allotted wire provided,
use any low-voltage wire.
To power the Dust Bin Sensor, run
provided low-voltage wire from the low-
voltage terminal (top green connector)
of the device to the low-voltage terminal
of your GRIT Collector, Trigger, or
Power Bank. To power the Strobe Light,
run provided low-voltage wire from the
low-voltage jack on the Collector device
to the low-voltage terminal on the Strobe Light. A note of caution, make sure to
follow the markings for positive (+) and negative (-) on the terminal and jack as
they do vary.
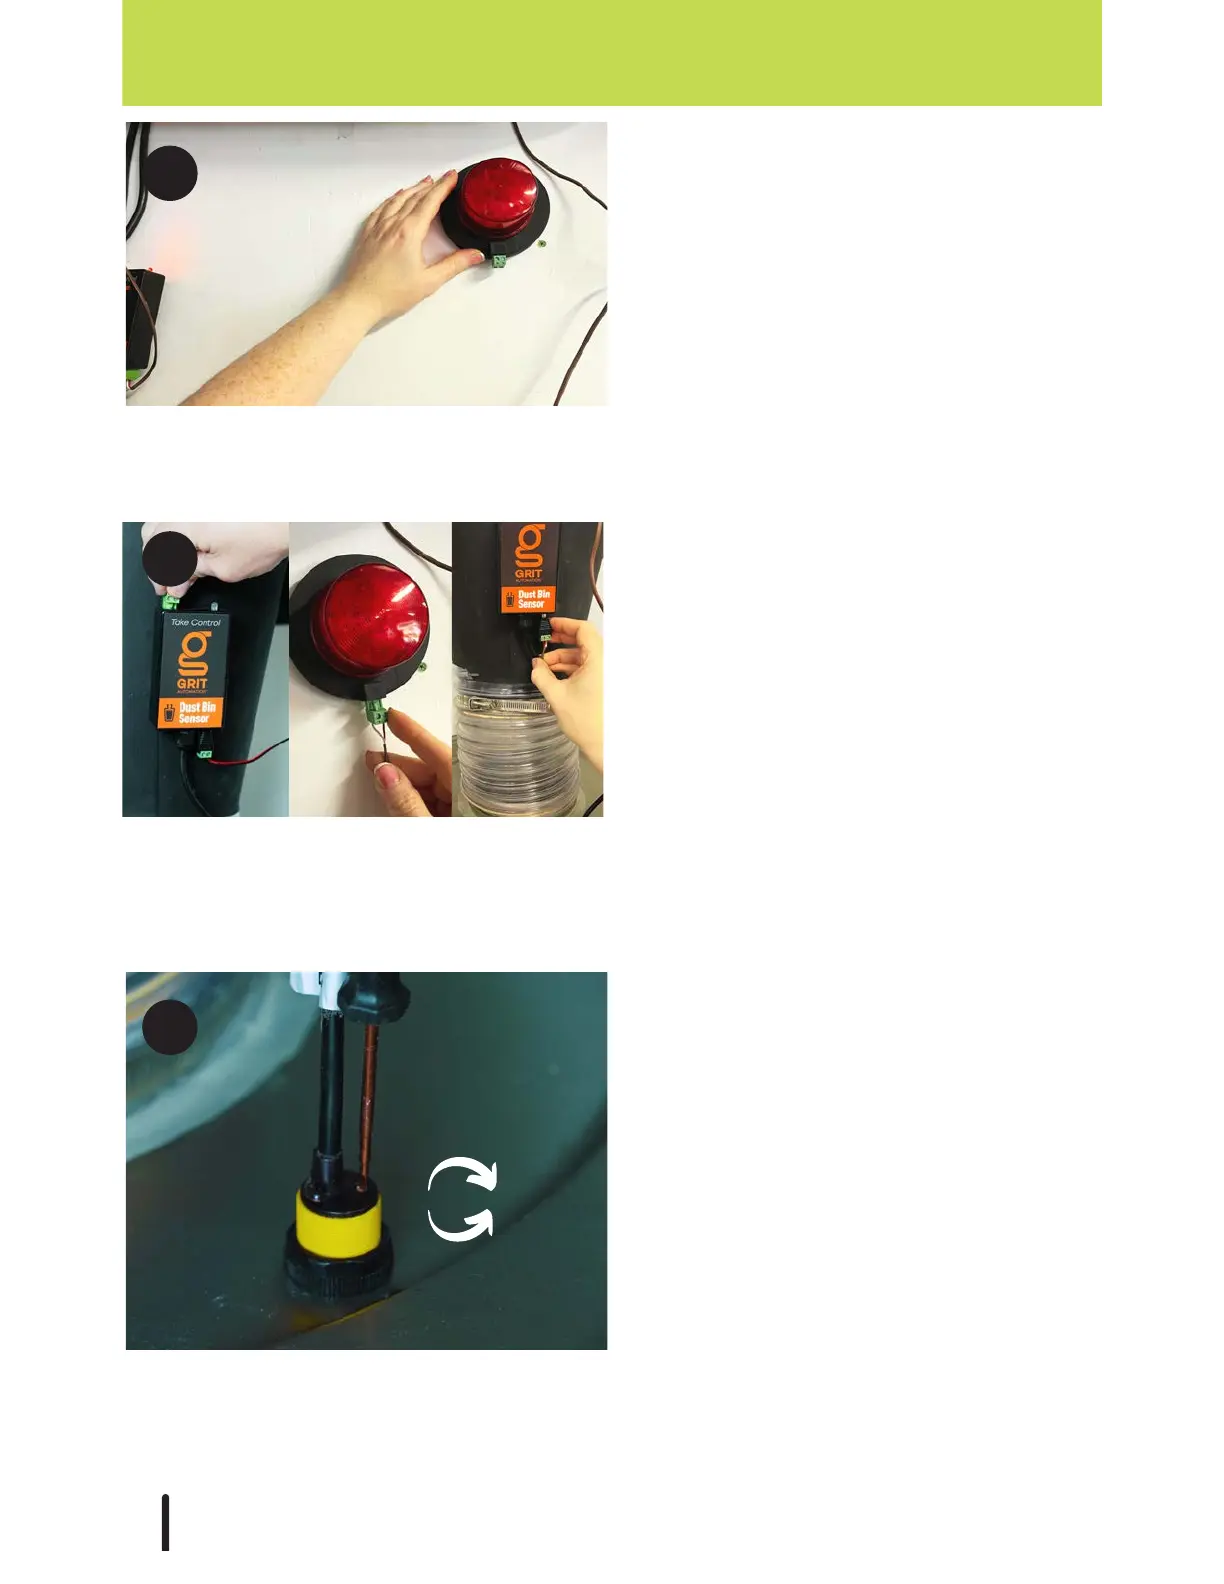
The Sensor* mounted through the lid of
the dust bin can be adjusted to detect
any preset fill level. The amount of open
space between the Sensor and the fill
level can be changed using the small
screw located on top of the Sensor.
When the Dust Bin Sensor is powered on,
slightly turn the screw clockwise to
increase the open space and turn
counter-clockwise to decrease it.
DUST BIN SENSOR
*Be sure to occasionally clean the sensor inside the debris bin to avoid false
positives.
78