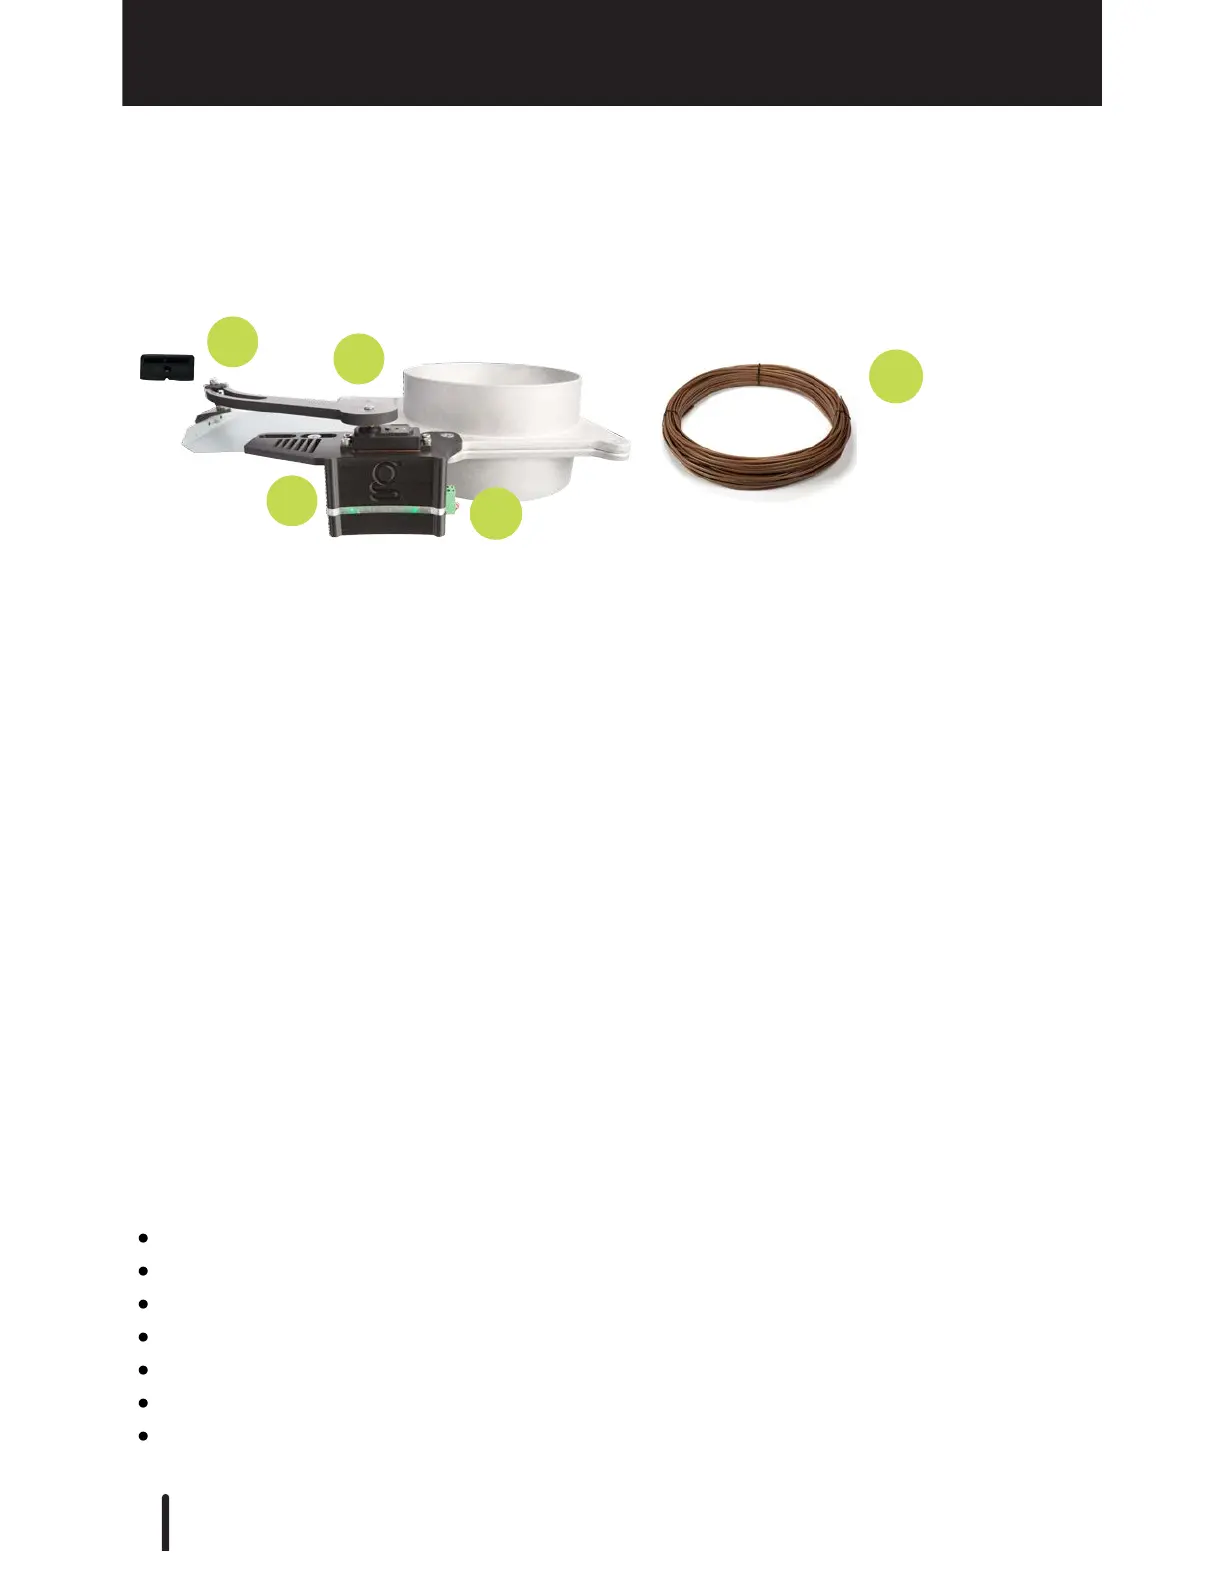
Slide Bracket, M3 x 5mm mounting screw, drill guide, and 1/8'' drill bit
Arm (to fit existing blast gates 2.5''- 10'') and M3 x 5mm mounting screw
Gate Actuator and two (2) #10-24 pan head mounting screws
Removable low-voltage terminal (receives power)
10ft 18/2 solid copper thermostat wire
Power drill with 1/8'' drill bit (provided)
Drill Guide (provided)
Flathead screwdriver (provided)
T8 Torque screwdriver (provided)
7mm Socket driver (provided)
Phillips screwdriver
Wire stripper
Gate Control
The Gate Control device includes:
1.
2.
3.
4.
5.
Installation Tool Requirements
The instructions to install your Gate Control are listed below. You will need the following
tools to complete installation:
The GRIT Gate Control device attaches to an existing metal blast gate to automatically
open and close the gate when an associated tool is turned on/off.
(Metal Blast Gate not included)
80