7.3.5.2 Installing the FlexxPump
The installation position of the FlexxPump is not important.
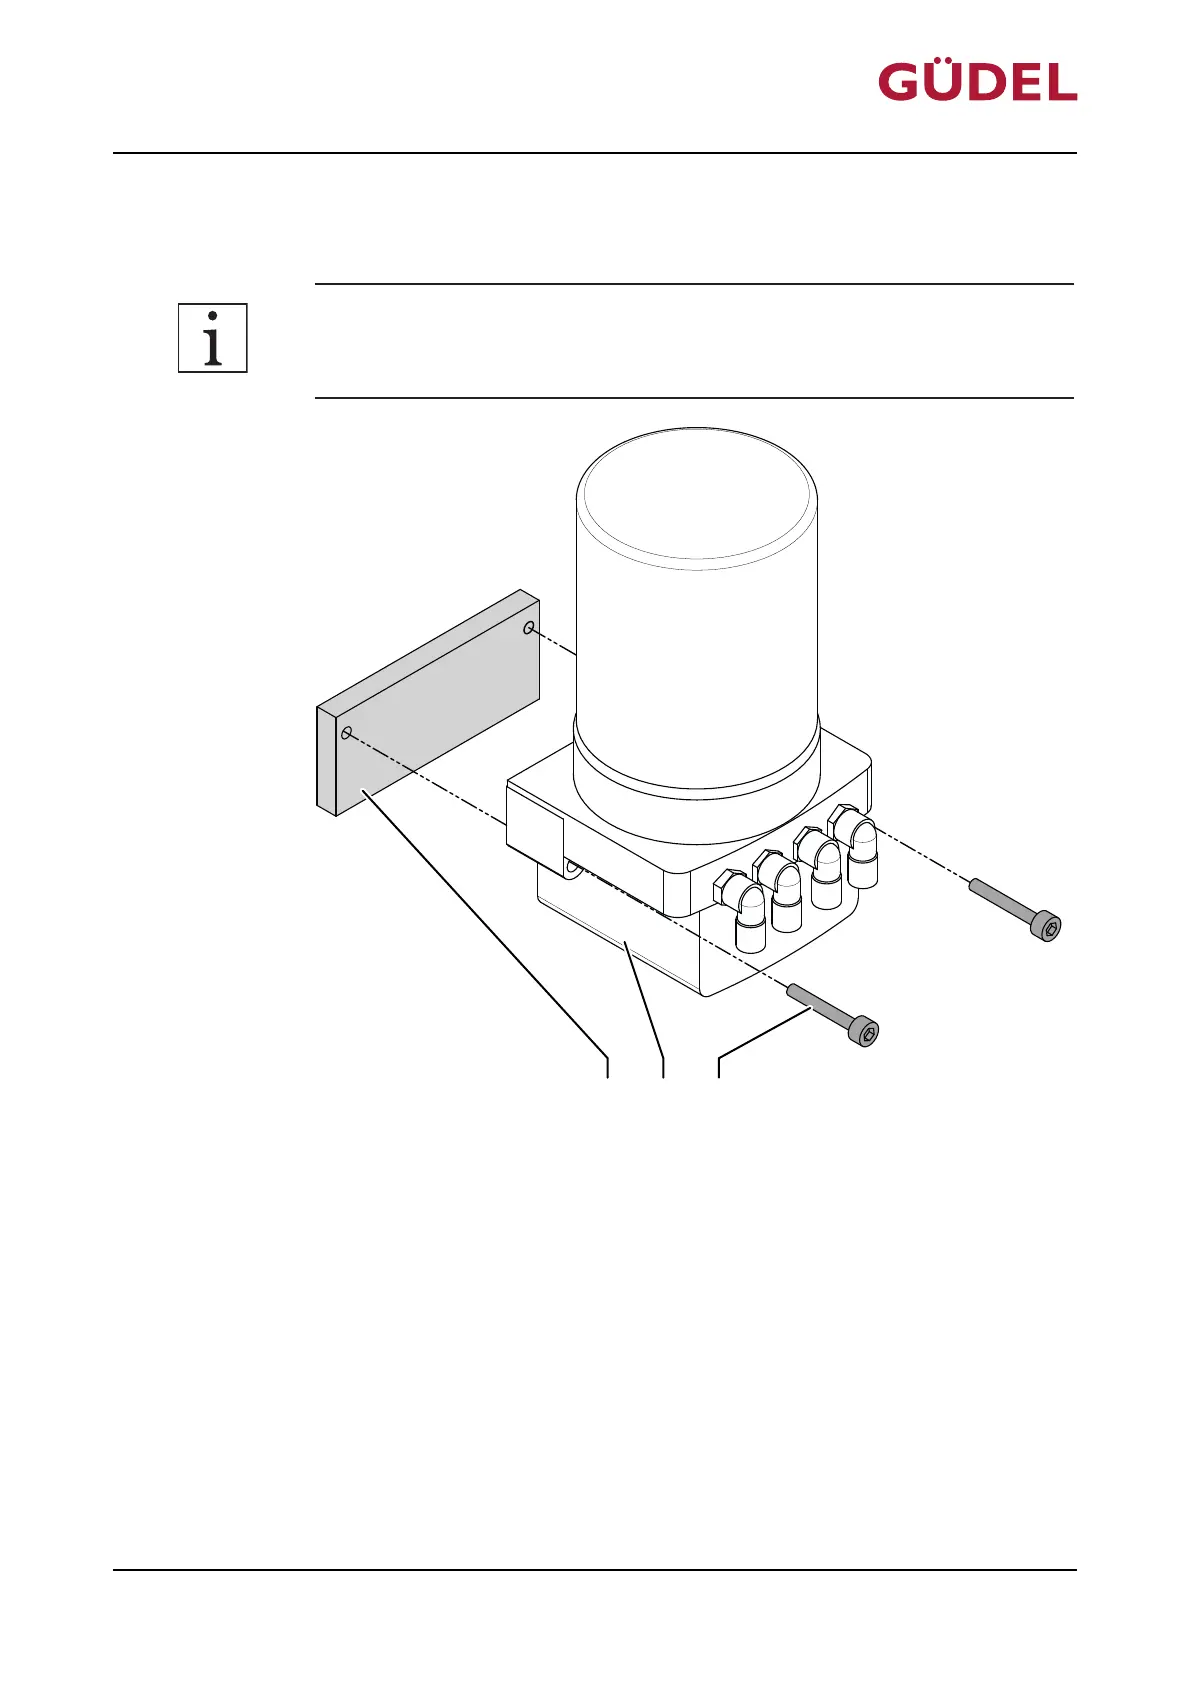
Fig.7-6 Installing the FlexxPump
A Assembly site
B FlexxPump
C Screw
Assemble the FlexxPump as follows:
1 Mount FlexxPump with two screws M6 L
min
= 40mm
(tightening torque 5 Nm)
The FlexxPump is assembled.
Maintenance
OPERATING MANUAL Automatic lubrication system
FlexxPump 402 / 402B
90071992656444683_v9.0_EN-US
91