7.
Tilt the saw unit to a 45° position and then back to a 90° position.
P
osition the saw unit in the lowest and then the most uppermost position.
8.
Place the cover plate in position and hang it on the screws.
T
he cover plate must be in contact with the machine chassis on all sides.
9.
Tighten screws (6x).
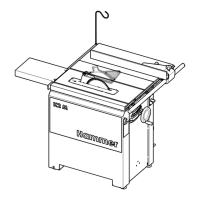
3.5 Checking/changing the circular saw drive belt
3.5.1 Check belt tension and belt condition
● The belt tension is factory set to the ideal value.
● The belt tension is specified as an oscillation frequency in hertz (Hz).
● The correct belt tension can only be checked with a measuring device.
Fig. 34: Checking the drive belt
1 Drive belt tension 210 - 230 Hz
1.
Tilt the saw to the approx. 30° position. Move the saw blade to the lower-
mos
t position.
2.
Switch off the machine and secure it against being switched on again.
3.
Disconnect the machine from the mains power supply.
4.
Remove the rear cover plate. ⮫
Chapter 3.2 ‘Preparations for maintenance
work / Removing the cover plate’ on page 35
5.
Check belt tension and belt condition:
● Check the condition of the entire belt with a few manual turns.
● If any rips or tears are discovered, the belt must be changed.
6.
Place the cover plate in position and hang it on the screws.
T
he cover plate must be in contact with the machine chassis on all sides.
7.
Tighten screws (6x).