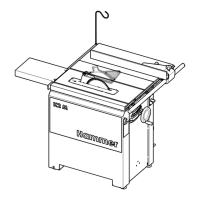
Adjustments and tool changes
2.
Inserting the insert board for grooving tool.
Position the insert board in the machine table from above.
If necessary, correct the position of the insert board with the grub
scr
ews.
Screw in 7 countersunk screws with an Allen key.
🡆
The insert board must sit flush with the machine table.
U
nder no circumstances should workpieces be allowed to stick to the
insert board.
3.
Switch machine on. ⮫
Chapter 2.2 ‘Switch on / switch off / shutdown due
to an emergency stop’ on page 26
4.
Slowly, move the grooving tool upwards and the insert board will as a result
be milled out
.
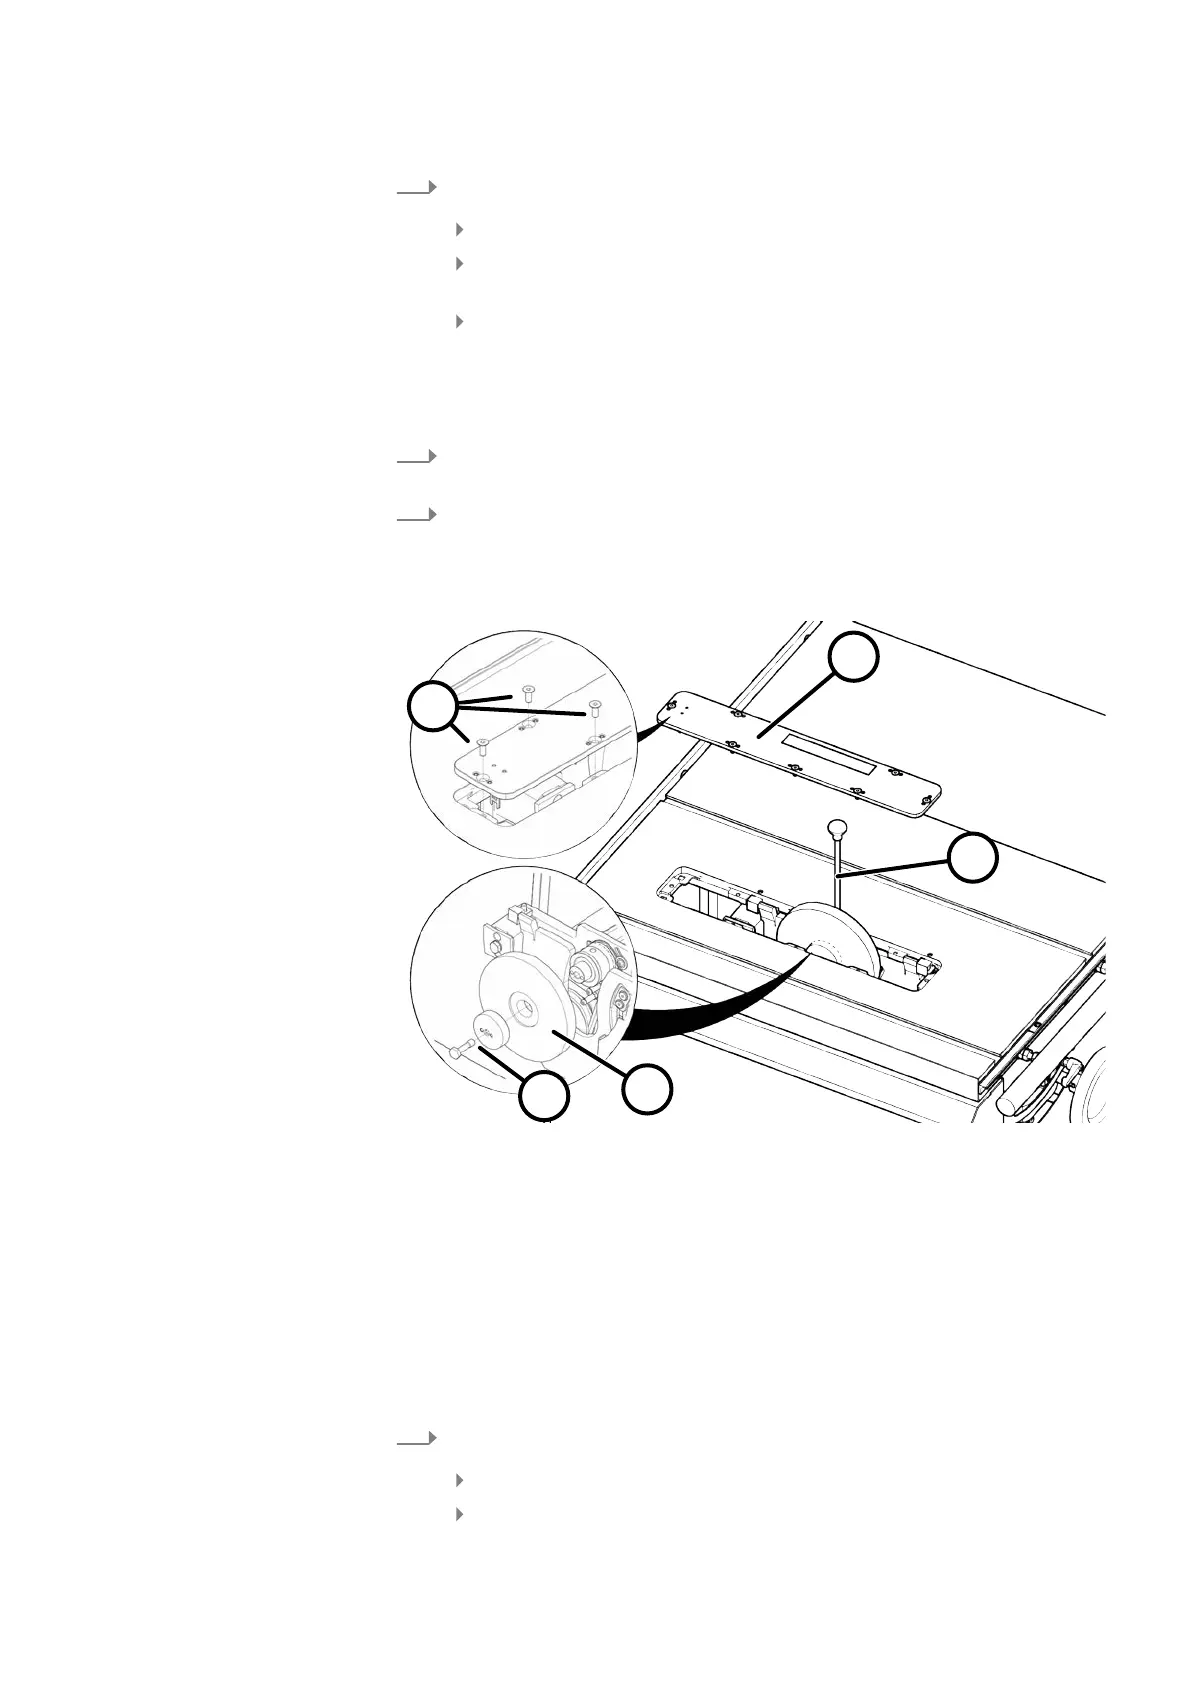
1.5.3 Removing the grooving tools - Retool to a saw blade operation
Fig. 19: Remove grooving tool
1 Flat head screws M6x16
2 Insert board (Art.-no. 500-07-206)
3 Locking pins
4 Flange for grooving tools and clamping screws
5 Clamping screw grooving tool (M10x40 L)
Tool:
● Allen key 4 mm
● Spanner 17 mm
● Locking pins
1.
Inserting the insert board.
Unscrew in 7 countersunk screws with an Allen key.
Remove insert board from the machine table.