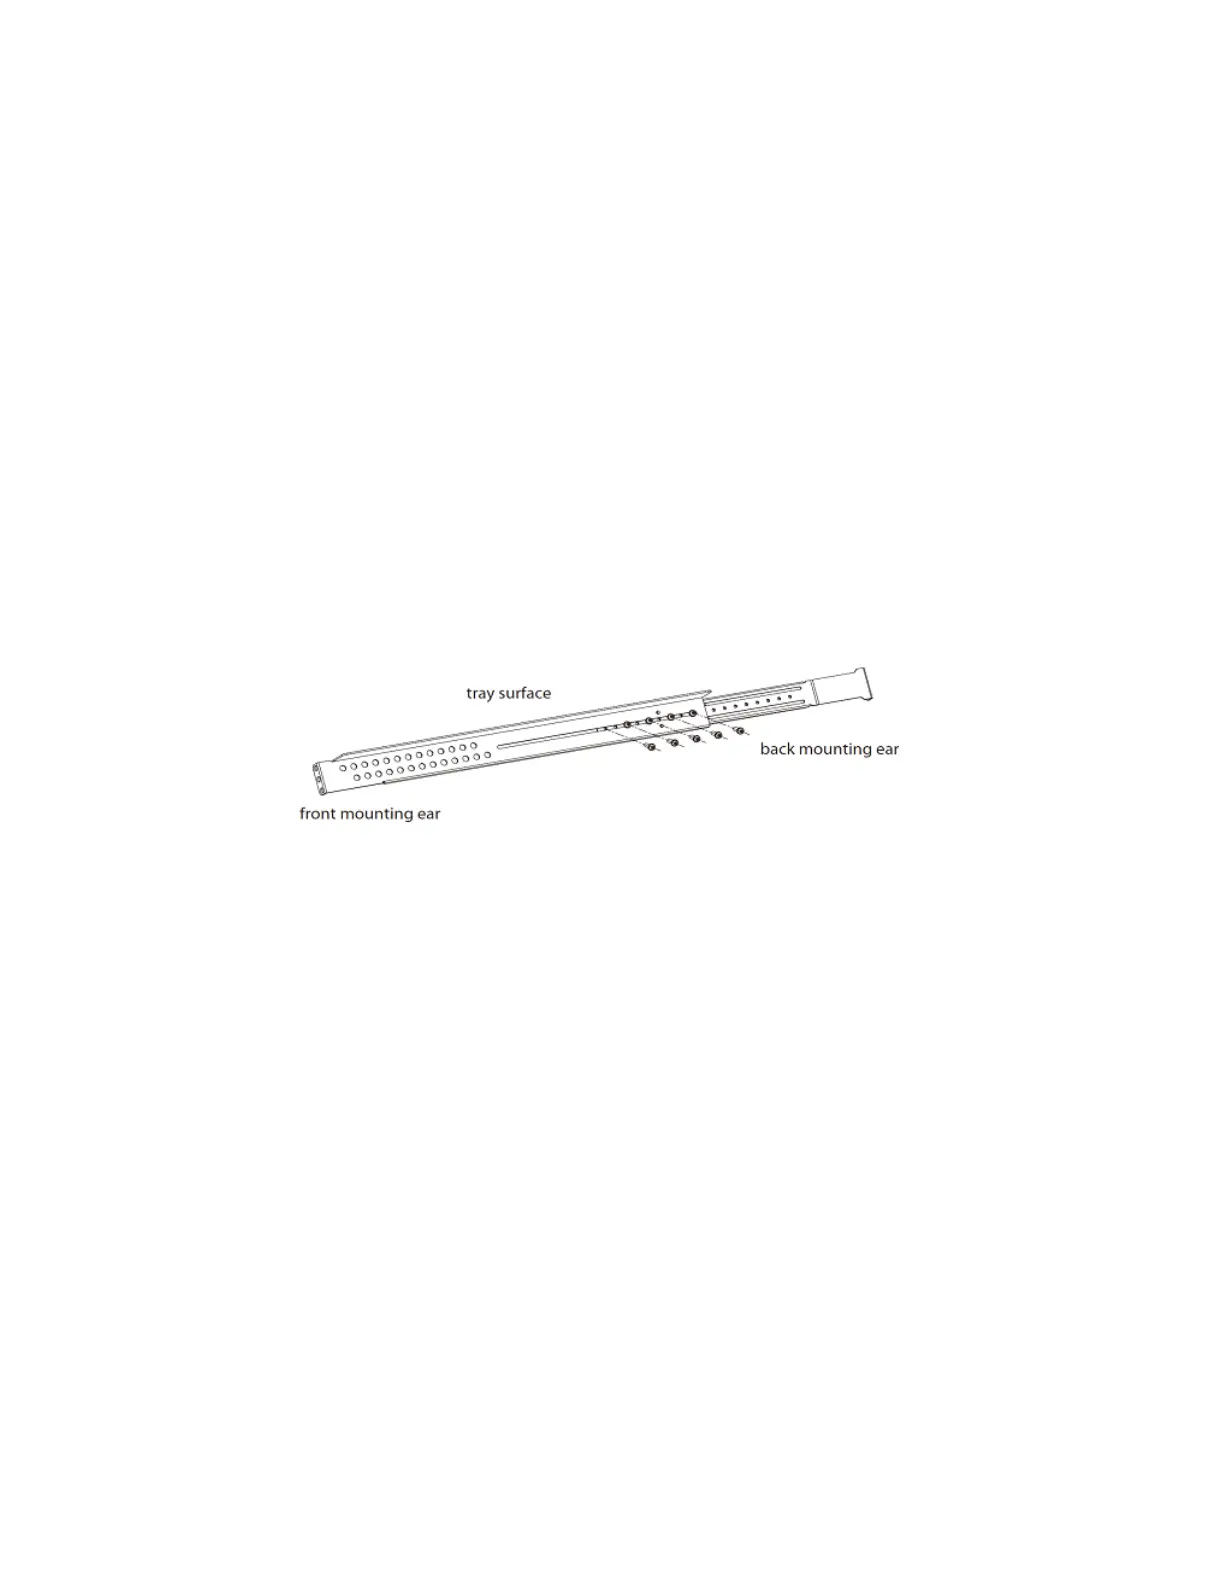
The mounting ears are used to fix the position of the chassis but cannot bear weight. The simple
mounting rail assemblies shipped with the device are used to support the chassis if there is no tray
on your rack. The mounting rail assemblies are used for 19-inch racks, with a height of 1U.
1. Hold the mounting rail assembly and shift the tray surface upwards. In the desired position,
hook the front mounting ear onto the front rack post.
2. Keep the mounting rail assembly horizontal and adjust the length of it until the back mount-
ing ear can hook the back rack post. Mark the positions of squared holes on the front and
back rack posts.
3. Use the cross screwdriver to tighten the screws in the mounting rail assembly until the rail
cannot slide. Five screws are provided; arrange the position of these screws on average
according to the length of the mounting rail assembly.
4. Move the mounting rail assembly aside. Install floating nuts in the marked squared holes.
5. Move the mounting rail assembly back and keep the center of the rack-mounting ear and the
center of the rack hole horizontally even and tighten the screws.
6. Repeat above steps to install the mounting rail assembly on the other side. The two mount-
ing rail assemblies should be at the same horizontal surface.
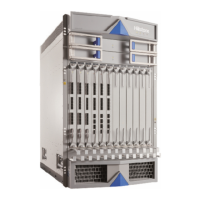
Chapter 3 Installation 82
 Loading...