Revision 13 ST 700 SmartLine Pressure Transmitters User’s Manual Page 17
4.4.4 Bracket Mounting Procedure
If you are using an optional bracket, start with Step 1. For an existing bracket, start with Step 2.
1. Refer to Figure 6. Position the bracket on a 2-inch (50.8mm nominal diameter, 2.38”
(60.4mm) actual OD) for a horizontal or vertical pipe, and install a “U” bolt around the pipe
and through the holes in the bracket. Secure the bracket with the nuts and lock washers
provided.
Figure 6 – ST 700 Standard Transmitter - Angle Mounting Bracket
Secured to a Horizontal or Vertical Pipe
2. Align the appropriate mounting holes in the transmitter with the holes in the bracket. Use the
bolts and washers provided to secure the transmitter to the bracket; see the following
variations.
Table 5 - ST 700 Standard Transmitter - Mounting Bracket procedure
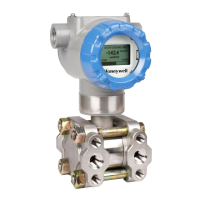
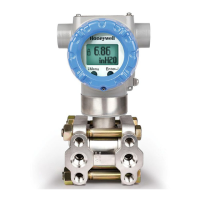
ST 700 standard transmitter models only.
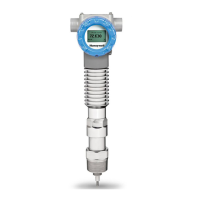
In-line GP: STG7x0 and STG7xL
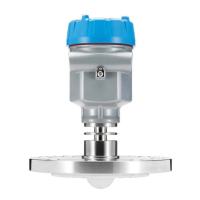
AP models: STA7xL and STA72x, STA740
 Loading...

