XLS140 Installation Manual Form Number 95-7673-3 P/N 51927:C 12/06/2005 53
Installing Remote Printers and/or CRT Installation
Setting up the Keltron Printer
Set up a Keltron printer as follows:
1. The printer communicates using the following protocol:
• Baud Rate: 9600 • Parity: Even • Data bits: 7
2. Set the printer DIP switches SP1 and SP2 according to settings in Table 3.6.
Table 3.6 Keltron DIP Switch Settings
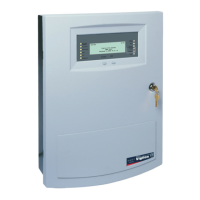
3.14.4 Installing and Configuring a CRT-2
A CRT-2 can only be used in a non-networked application when used with the XLS140. For further
details on setting up the CRT-2, refer to the XLS140 Operations Manual.
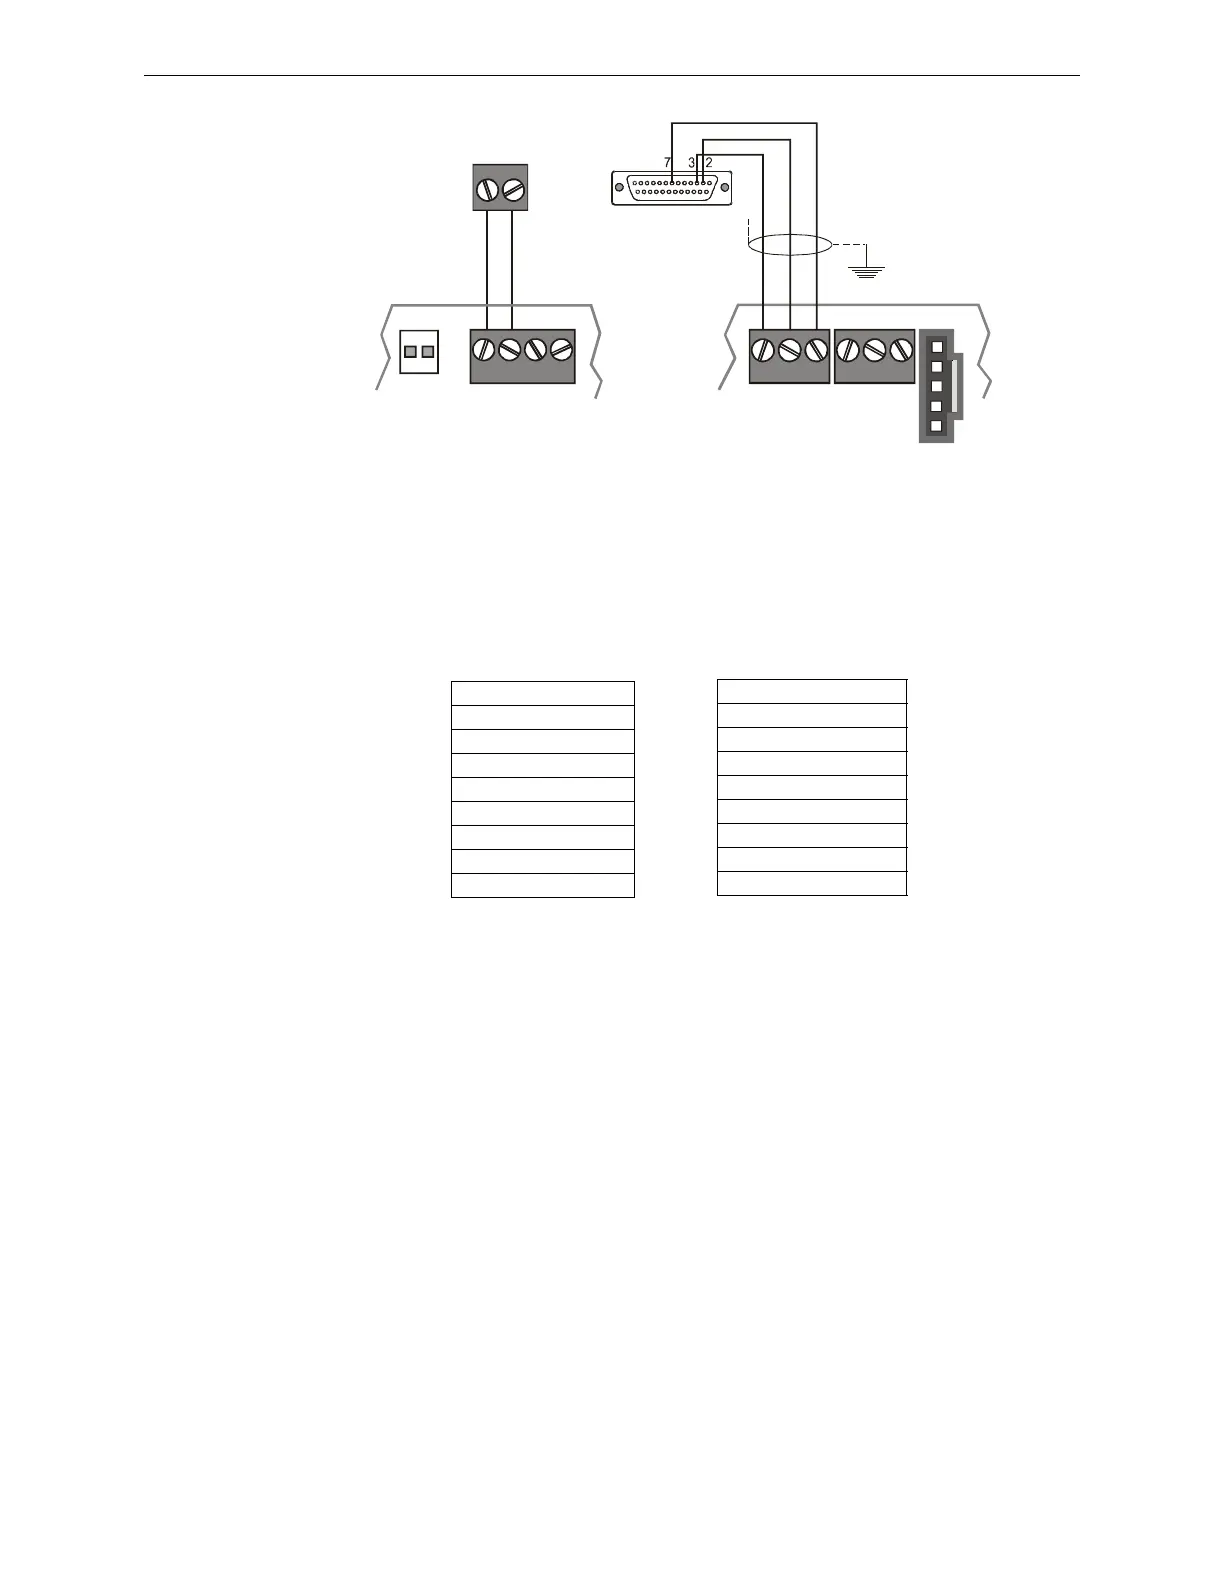
Connect a CRT-2 to the Control Panel as follows:
1. Connect the three (3) open leads of the custom cable to the TB15 terminal block on the control
panel as shown in Figure 3.28.
2. Plug the DB-25 connector end of the custom cable into the EIA-232 port of the CRT-2. Tighten
securely.
3. Set parameters as discussed in Table 3.28.
TB14 TB15
PRINTER
TX RX REF
PC/CRT
TX RX REF
24V 24V NONRST RESET
+ – +
–
TB7
nfs640-keltconn.cdr
DB-25 connector
on Keltron Printer
(female socket
shown)
Keltron printer
24 VDC
connections
(14 AWG,
2.08 mm
2
)
Control Panel
Terminate one end of
shield at backbox
Figure 3.27 Keltron Printer Connections
SP1 On Off
1X
2X
3X
4X
5X
6X
7X
8X
SP2 On Off
1X
2X
3X
4X
5X
6X
7X
8X

 Loading...