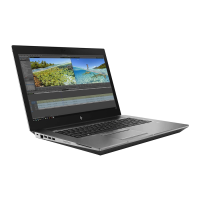
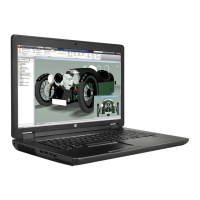
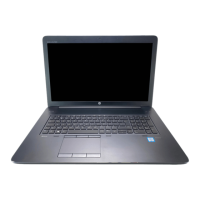
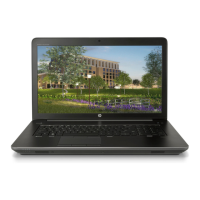
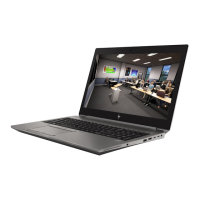
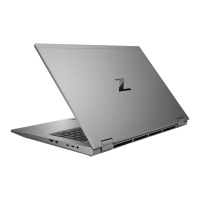
43.9 cm (17.3 in ) display assembly
To remove and disassemble the display assembly, use these procedures and illustrations.
The display assembly is available as both a full hinge-up assembly and at the the subcomponent level. Full
hinge-up assembly spare part information is presented in the following table. Subcomponent level spare part
information is available in the subcomponent level disassembly subsection.
Table 6-8 43.9 cm (17.3 in ) display assembly description and part numbers
Description Spare part number
UHD (3840×1980), Dream Vision, 550 touchscreen display assembly with webcam and infrared sensor;
typical brightness: 400 nits
M20125-001
UHD (3840×1980), Dream Vision, 550 touchscreen display assembly with webcam; typical brightness: 400
nits
M20124-001
UHD (3840×1980), Dream Vision, 550 touchscreen display assembly; typical brightness: 400 nits M20122-001
UHD (3840×1980), antiglare, 550 touchscreen display assembly with HD webcam and infrared sensor;
typical brightness: 400 nits
M23512-001
UHD (3840×1980), antiglare, 550 touchscreen display assembly with HD webcam; typical brightness: 400
nits
M23511-001
UHD (3840×1980), antiglare, 550 touchscreen display assembly; typical brightness: 400 nits M23510-001
FHD (1980×1080), antiglare, touchscreen display assembly with HD webcam and infrared sensor; typical
brightness: 300 nits
M23508-001
FHD (1980×1080), antiglare, touchscreen display assembly with HD webcam and ambient light sensor;
typical brightness: 300 nits
M23509-001
FHD (1980×1080), antiglare, touchscreen display assembly; typical brightness: 300 nits M23507-001
Before removing the display assembly, follow these steps:
1. Prepare the computer for disassembly (Preparation for disassembly on page 66).
2. Remove the service cover (Service cover on page 40), and then remove the following components:
1. Battery (see Battery on page 41)
2. Solid-state drives 3 and 4 (see Solid-state drives 3 and 4 on page 42)
3. Solid-state drive carrier (see Solid-state drives 3 and 4 on page 42)
4. Hard drive (see Hard drive on page 44)
5. Keyboard (see Keyboard on page 54)
6. Bottom case (see Bottom case on page 66)
7. Fan/heat sink assembly (see Fan/heat sink assembly on page 79)
Remove the display assembly:
ENWW Component replacement procedures 83
 Loading...
