Figure 4-76 Removing the emergency start/abort switch
Step 3 Pry the cover of the emergency start/abort switch from the base using a at-head
screwdriver to separate them.
Step 4 Remove the cables using a at-head screwdriver and label the cables.
Step 5 Remove the two screws on the base using a Phillips screwdriver, and remove the
base.
Step 6 Install the base of the new emergency start/abort switch in the same position.
Step 7 Connect the cables to the new emergency start/abort switch using a at-head
screwdriver. Ensure that the polarities of the cables are correct.
Switch on the power supply only after verifying that the cables are correctly connected.
Step 8 Use a Phillips screwdriver to tighten the screws at the upper and lower parts of
the new emergency start/abort switch.
Step 9 Switch on the active and standby power supplies to the
re alarm control panel.
Step 10 Check that the new emergency start/abort switch is working properly.
If the run indicator of the new emergency start/abort switch is on after power-on, the
emergency start/abort switch is working properly.
----End
Follow-up Procedure
Dispose of the removed emergency start/abort switch that is conrmed faulty.
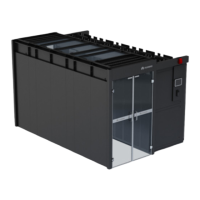
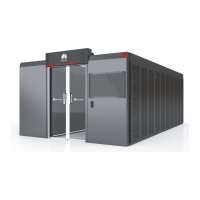
FusionDC1000A Prefabricated All-in-One Data
Center
Maintenance Guide (IT Scenario) 4 Parts Replacement
Issue 01 (2021-04-20) Copyright © Huawei Technologies Co., Ltd. 132
 Loading...