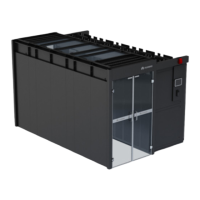
Procedure
Step 1 Tap Shutdown on the controller home screen.
Exercise caution because the equipment is still energized after it is shut down on
the controller home screen.
Step 2 Remove the cable terminal from the RS485 port on the T/H sensor.
Step 3 Pull out the T/H sensor.
Before installing the new T/H sensor, check that its DIP switch settings are consistent with the
DIP switch settings of the old T/H sensor.
Step 4 Connect the RS485 cable terminal and install the new T/H sensor in the correct
position.
Step 5 Set the DIP switch on the T/H sensor.
Table 4-3 DIP switch settings on T/H sensors
Locati
on
Display Name Addr
ess
DIP Switch No.
1 2 3 4 5 6
Air
return
side
Return air 2
temp/humid
1 ON OFF OFF OFF OFF OFF
Cold
aisle
Cold aisle 1
temp/humid
11 ON ON OFF ON OFF OFF
Cold aisle 2
temp/humid
12 OFF OFF ON ON OFF OFF
Cold aisle 3
temp/humid
13 ON OFF ON ON OFF OFF
Hot
aisle
Hot aisle 1
temp/humid
21 ON OFF ON OFF ON OFF
Hot aisle 2
temp/humid
22 OFF ON ON OFF ON OFF
Hot aisle 3
temp/humid
23 ON ON ON OFF ON OFF
----End
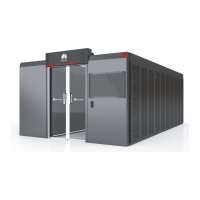
FusionDC1000A Prefabricated All-in-One Data
Center
Maintenance Guide (IT Scenario) 4 Parts Replacement
Issue 01 (2021-04-20) Copyright © Huawei Technologies Co., Ltd. 74
 Loading...