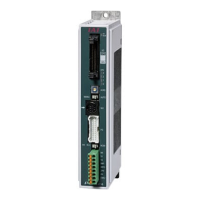
POWER CON
PCON-CB/LC
Step 3
Installation
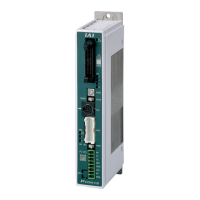
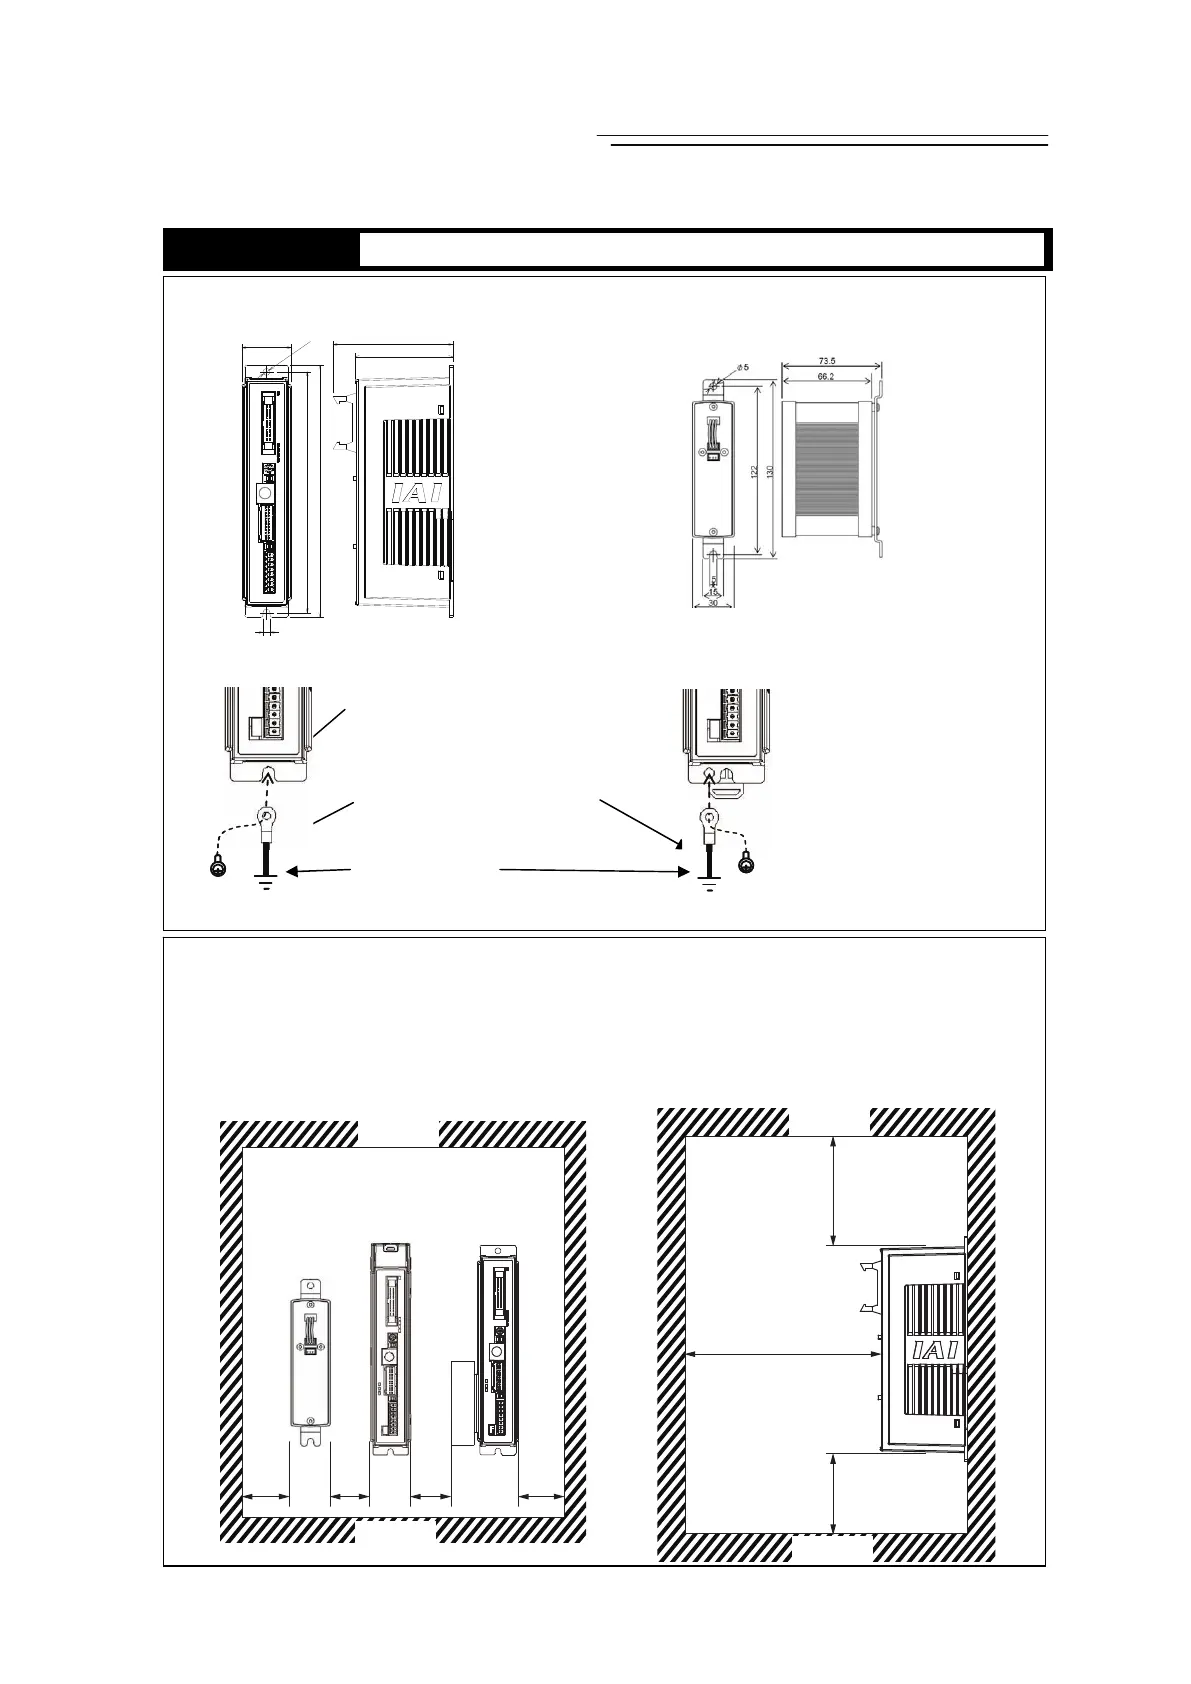
x External Dimensions * Check in 1.3 Appearance as they differ for each type.
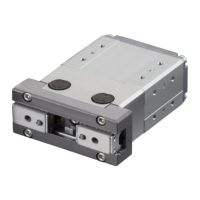
Controller Absolute Battery Unit
(option for Simple Absolute Type)
x Noise Elimination Grounding (Frame Ground)
1) Screw fixed type 2) DIN rail fixed type
x Heat Radiation and Installation
Keep the ambient temperature of the controller at 40°C or less.
To fix the units in the control box, use the attachment holes on top and bottom of the unit for
the screw fixed type, and use the DIN rails for the DIN rail fixed type. Install in the orientation
shown in the figure below for heat radiation.
CFB (screw affixed type), detach the fan unit once and use the attachment holes on the top.
[Refer to 10.4.3 Replacement of Fan]
“Refer to “1.6 Installation and Storage Environment” and “1.7 Noise Prevention and Installation”
5
35
84.8
69.6
170.5
178.5
φ5
Earth Terminal
(Grounding resistance at 100Ω or less)
Copper Wire :
Connect to an ground cable with
diameter 1.6mm (2mm
2
) or more.
Connect the ground line
together to the main unit
using the fixing screw.
Connect the ground cable using
the tapped hole for FG connection
on the main unit.
M3 x 5 nickeled pan head
machine screw
(enclosure dedicated for
DIN rail fixed type)
MIN.
30mm
MIN.
30mm
MIN.
30mm
MIN.
30mm
MIN. 100mm
MIN. 50mm
MIN. 100mm
Ensure enough space
for wiring.
Ceiling
Floor
Floor
Ceiling
 Loading...