Notes:
1. This procedure is the same for any hot-swap disk drive that is supported by this
drawer.
2. For additional information regarding the operation of the hot-swap disk drives. See
the installation and user’s guide provided with the drives.
This section gives the instructions for replacing hot-swap disk drives in the disk drive
banks.
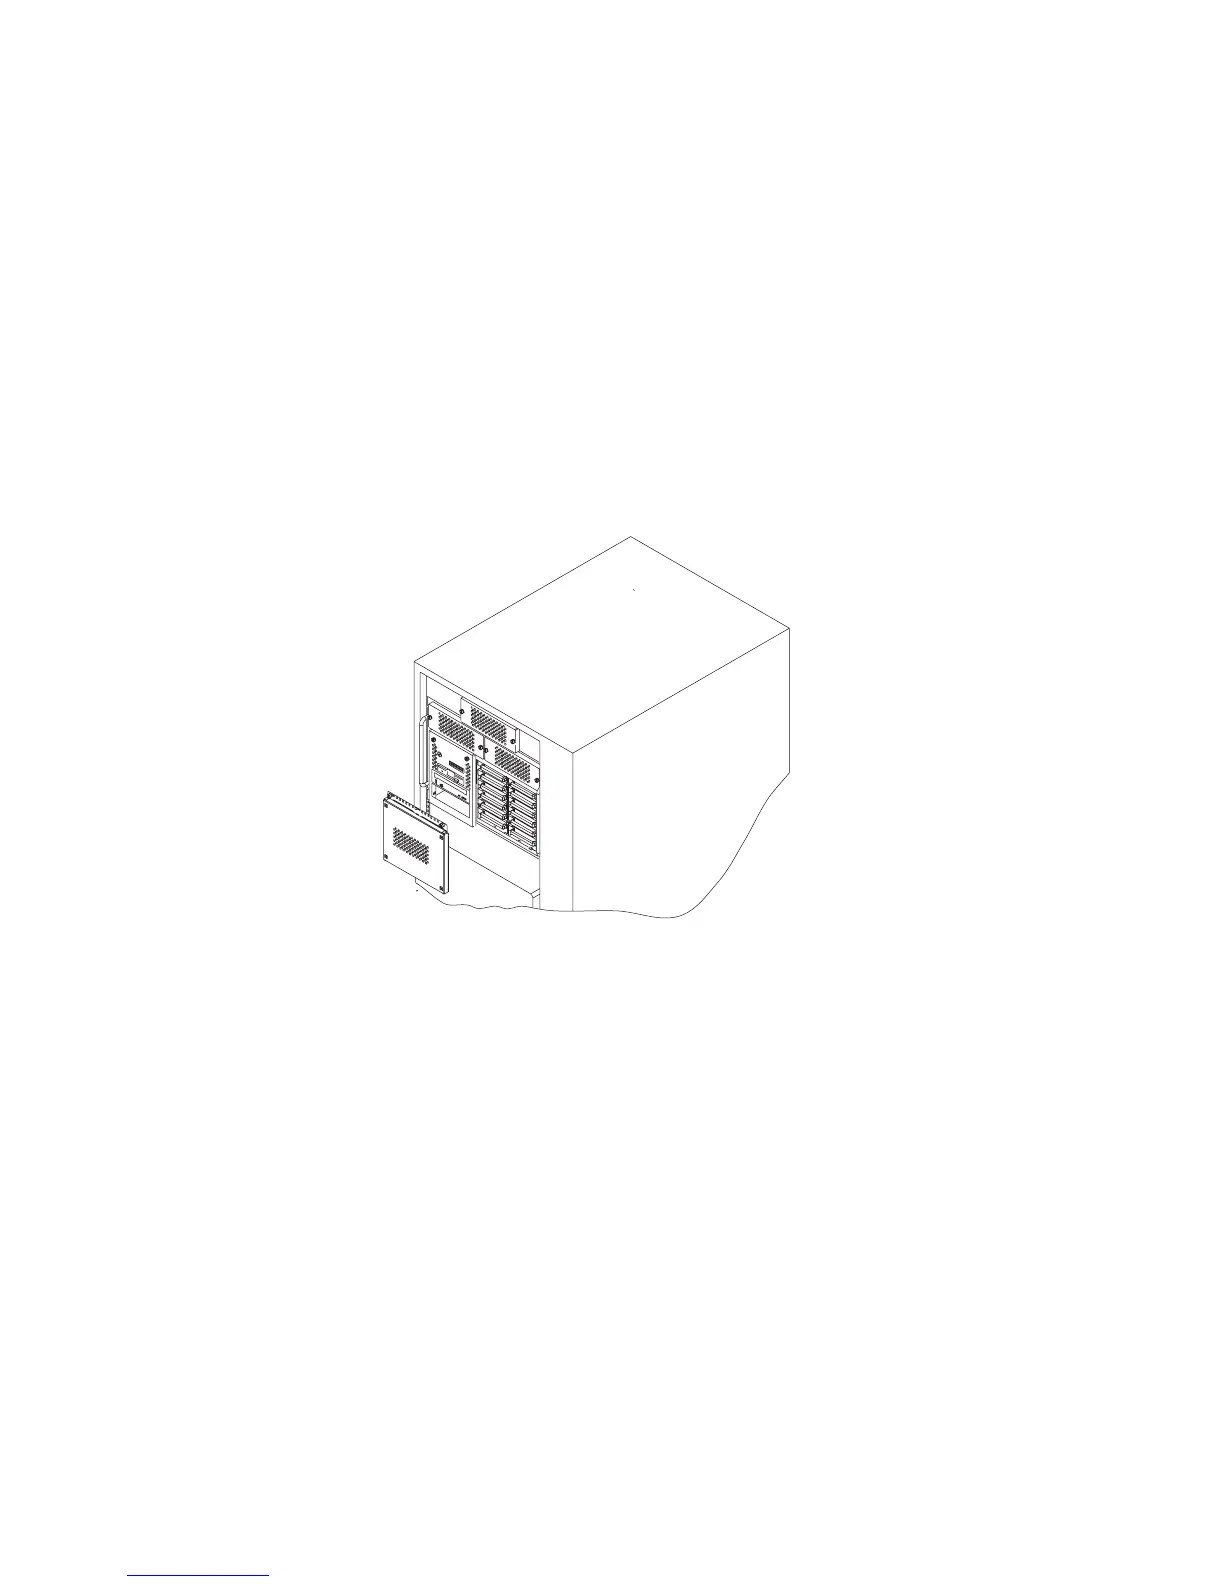
1. If the rack unit has a front door, open it.
2. Loosen the screws that hold the disk drive cover to the drawer and remove the disk
drive cover from the drawer, storing it in a safe place.
3. Each hot-swap disk drive you plan to replace must have the hot-swap SCSI disk
drive carrier attached.
Attention: Handle the hot-swap disk drive with care because it is very fragile and
can be easily damaged if exposed to shock, electrostatic discharge, or rough
handling.
4. Locate the position in Bank B or Bank C from which a drive was removed.
Attention: Do not attach SCSI address jumpers on the hot-swap disk drive. SCSI
IDs are automatically set when the drive is installed. Attaching jumpers can cause
service problems, multiple drives at the same address, or confusion in locating the
correct drive.
524 Service Guide
 Loading...


