Removing the hot-swap SAS/SATA hard disk drive backplane
To remove the hot-swap SAS/SATA hard disk drive backplane, complete the
following steps:
1. Read the safety information that begins on page vii and “Installation guidelines”
on page 167.
2. Turn off the server and peripheral devices and disconnect all power cords.
3. Remove the cover (see “Removing the cover” on page 174).
4. Pull the hard disk drives and filler panels out of the server slightly to disengage
them from the hard disk drive backplane.
5. Disconnect all cables from the hard disk drive backplane.
Note: You can also choose to disconnect the cables after removing the
backplane from the brackets, if that is easier for you.
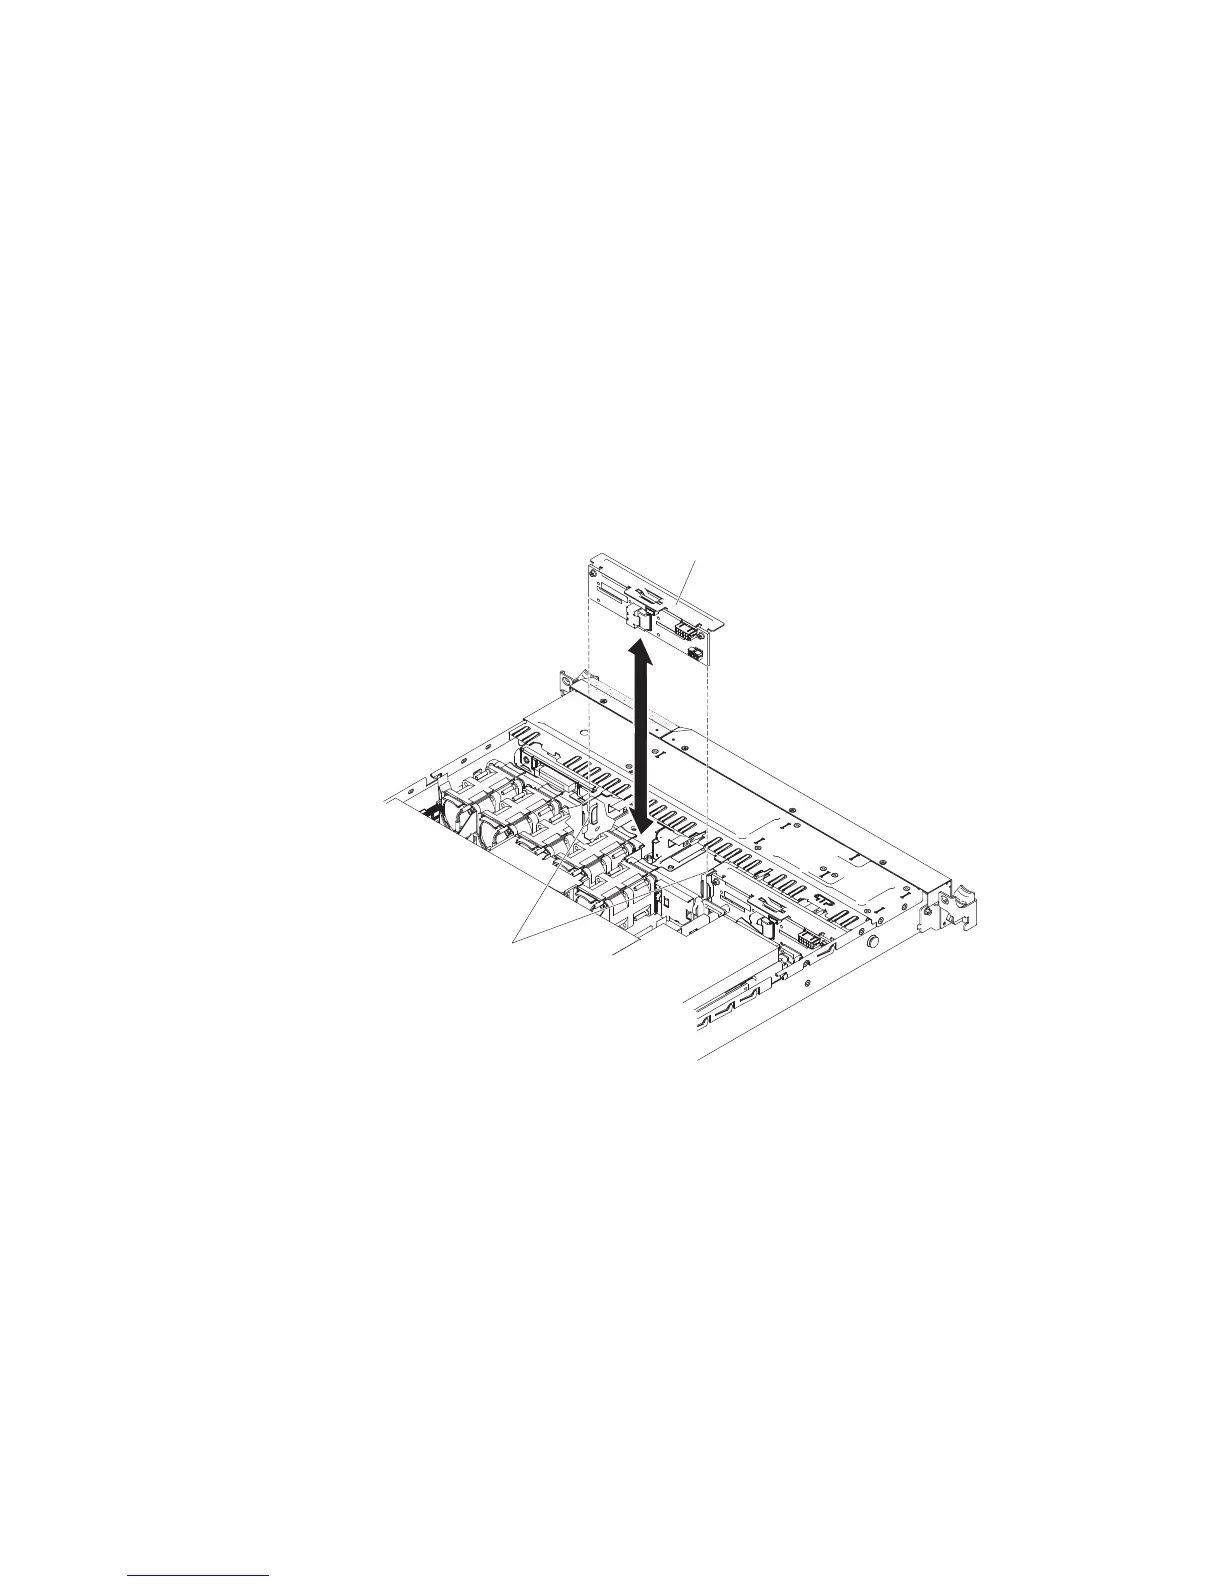
6. Lift the hard disk drive backplane up to remove it from the server.
Hard disk drive
backplane
Backplane
bracket slots
7. If you are instructed to return the hard disk drive backplane, follow all packaging
instructions, and use any packaging materials for shipping that are supplied to
you.
Installing the hot-swap SAS/SATA hard disk drive backplane
To install the replacement hot-swap SAS/SATA hard disk drive backplane, complete
the following steps:
1. Read the safety information that begins on page vii and “Installation guidelines”
on page 167.
2. Align the sides of the hard disk drive backplane with the slots on the backplane
bracket.
3. Insert the hard disk drive backplane into the slots on the backplane bracket and
push the hard disk drive backplane down until the backplane is fully seated.
Chapter 5. Removing and replacing server components 237

 Loading...


