4. Remove all PCI riser-card assemblies and adapters (see “Removing a PCI
riser-card assembly” on page 233 and “Removing an adapter” on page 179).
5. Remove the SAS/SATA RAID riser-card assembly (see “Removing the
SAS/SATA RAID riser-card assembly” on page 182).
6. Remove the microprocessor 2 and DIMM air baffles from the system board
(see “Removing the microprocessor 2 air baffle” on page 175 and “Removing
the DIMM air baffle” on page 177).
7. (Trained service technician only) Remove all heat sinks and microprocessors,
and set them aside on a static-protective surface for reinstallation (see
“Removing a microprocessor and heat sink” on page 244).
8. Remove the memory modules and set them aside on a static-protective
surface for reinstallation (see “Removing a memory module” on page 194).
Note: Make a note of the location of each DIMM as you remove it, so that you
can later reinstall it in the same connector.
9. Remove the virtual media key from the system board and set it aside. You will
have to install the virtual media key on the new system board.
10. Disconnect all cables from the system board. Make a list of each cable as you
disconnect it; you can then use this as a checklist when you install the new
system board.
11. Remove the hot-swap fans (see “Removing a hot-swap fan assembly” on page
213).
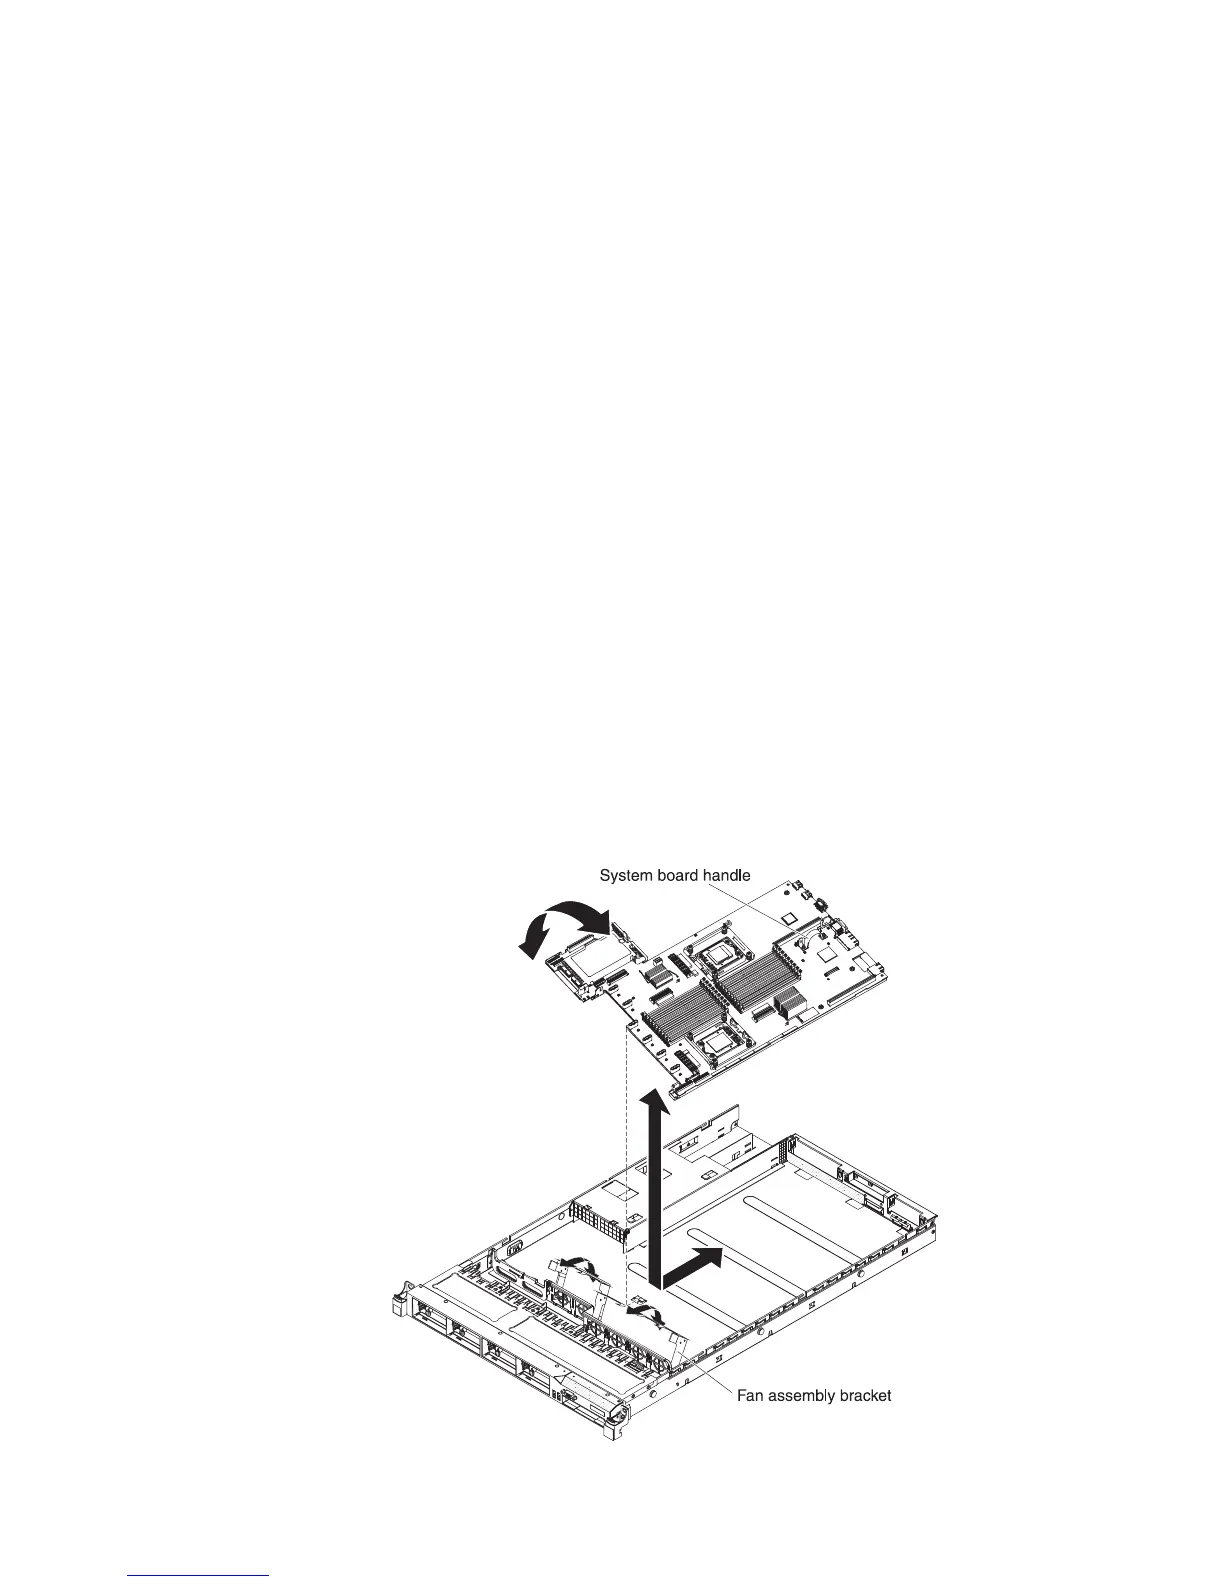
12. Press the fan brackets release latches (one is to the left of fan 6 and one is to
the right of fan 1) inward toward the fans and rotate the fan assembly brackets
up toward the front of the server.
13. Grasp the system board handle and lift up the right side of the system board
slightly so that it disengages from the locator pin; then, slide the system board
slightly toward the left of the server.
Chapter 5. Removing and replacing server components 251

 Loading...


