3-22
Configuring the Printer
Rev AA
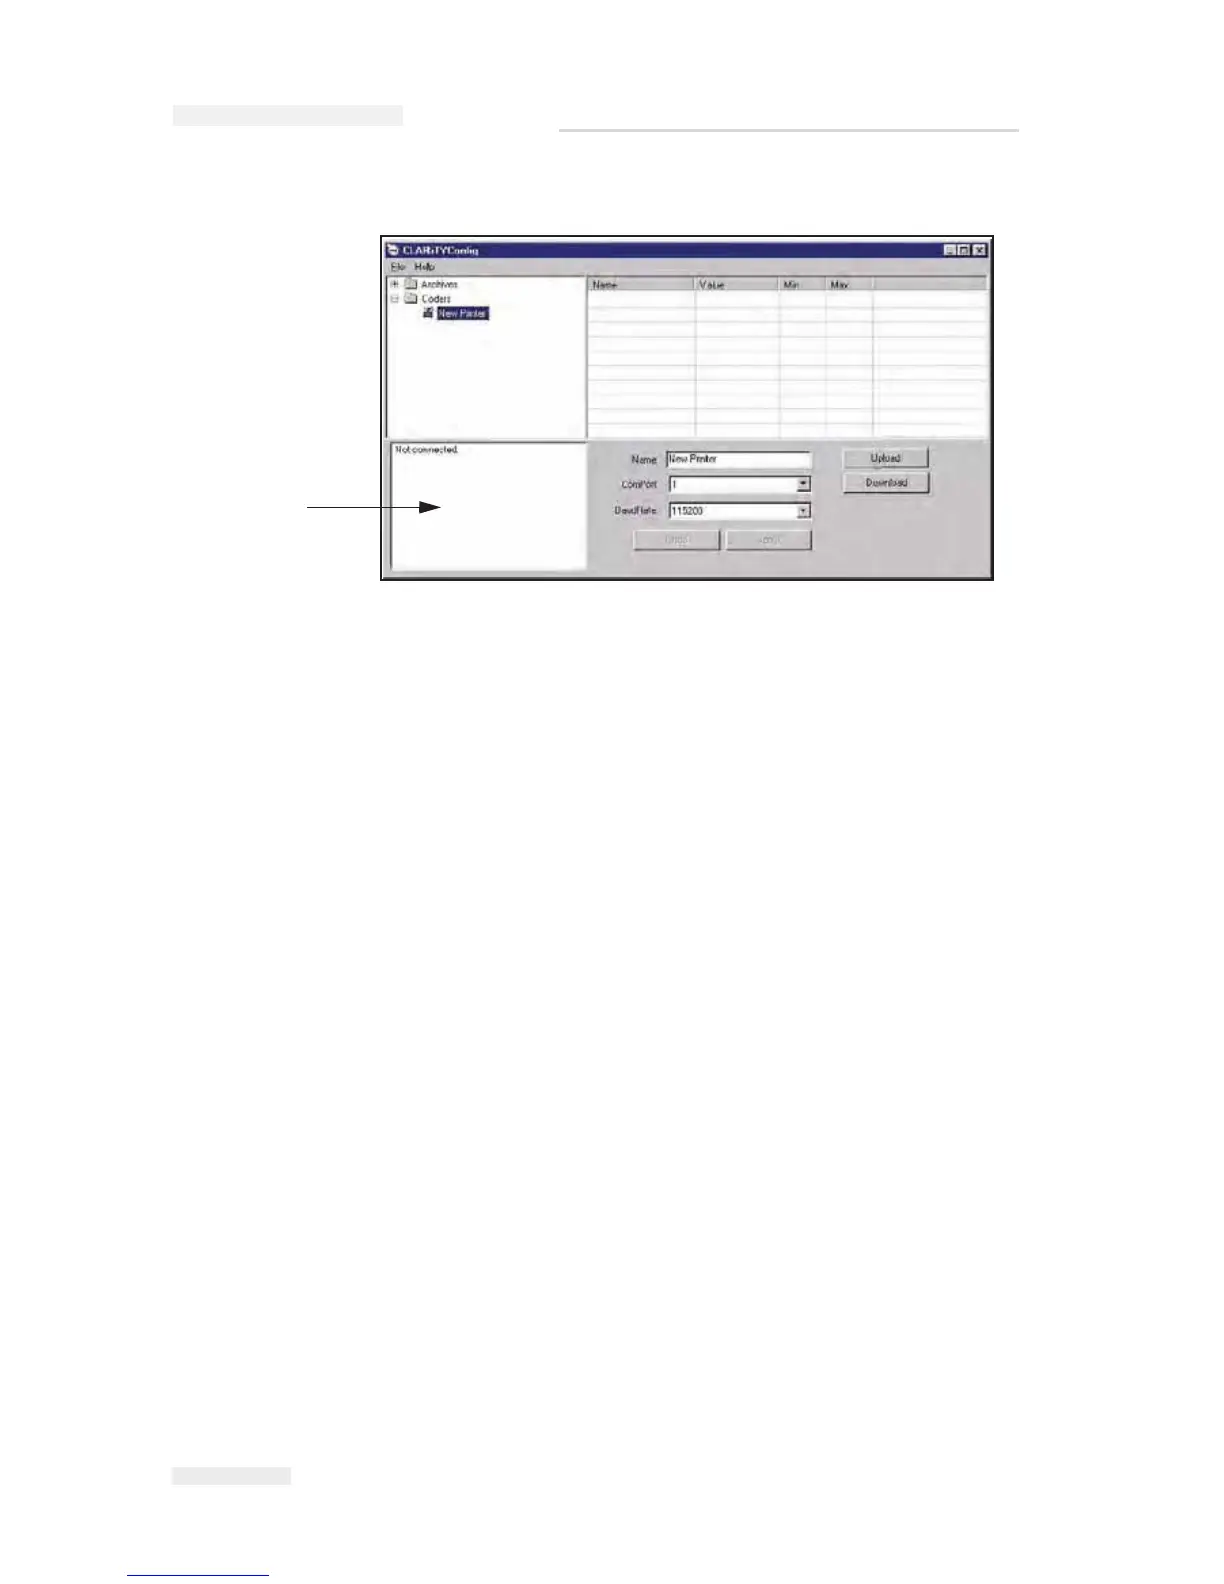
2 Run the CLARiTY Configuration Manager on the PC (Figure 3-19).
3 Ensure that the printer status panel (at the bottom left of the window)
reports the message "Connection Active" and the new printer icon
turns green.
If the status displays "Not connected", as shown in Figure 3-19, disable
or quit the other applications running on the PC that are using the
serial port. Check that the baud rate settings on the Configuration
Manager matches with the printer’s baud rate.
4 Click the Upload button. The progress of the operation is displayed in
the status pane. This uploads the printer parameters set to the PC.
The list of folders containing the configuration parameters appears in
the parameter listing (in the right hand frame of the Configuration
Manager).
Figure 3-19: CLARiTY Configuration Manager
Status Panel
I
CE Pegasus Service Manual