EasyManuals Logo

Ice PegasusHS User Manual

Default Icon
133 pages
To Next Page IconTo Next Page
To Previous Page IconTo Previous Page
Page #94 background imageLoading...
Page #94 background image
Rev AA Maintaining the Printer 5-15
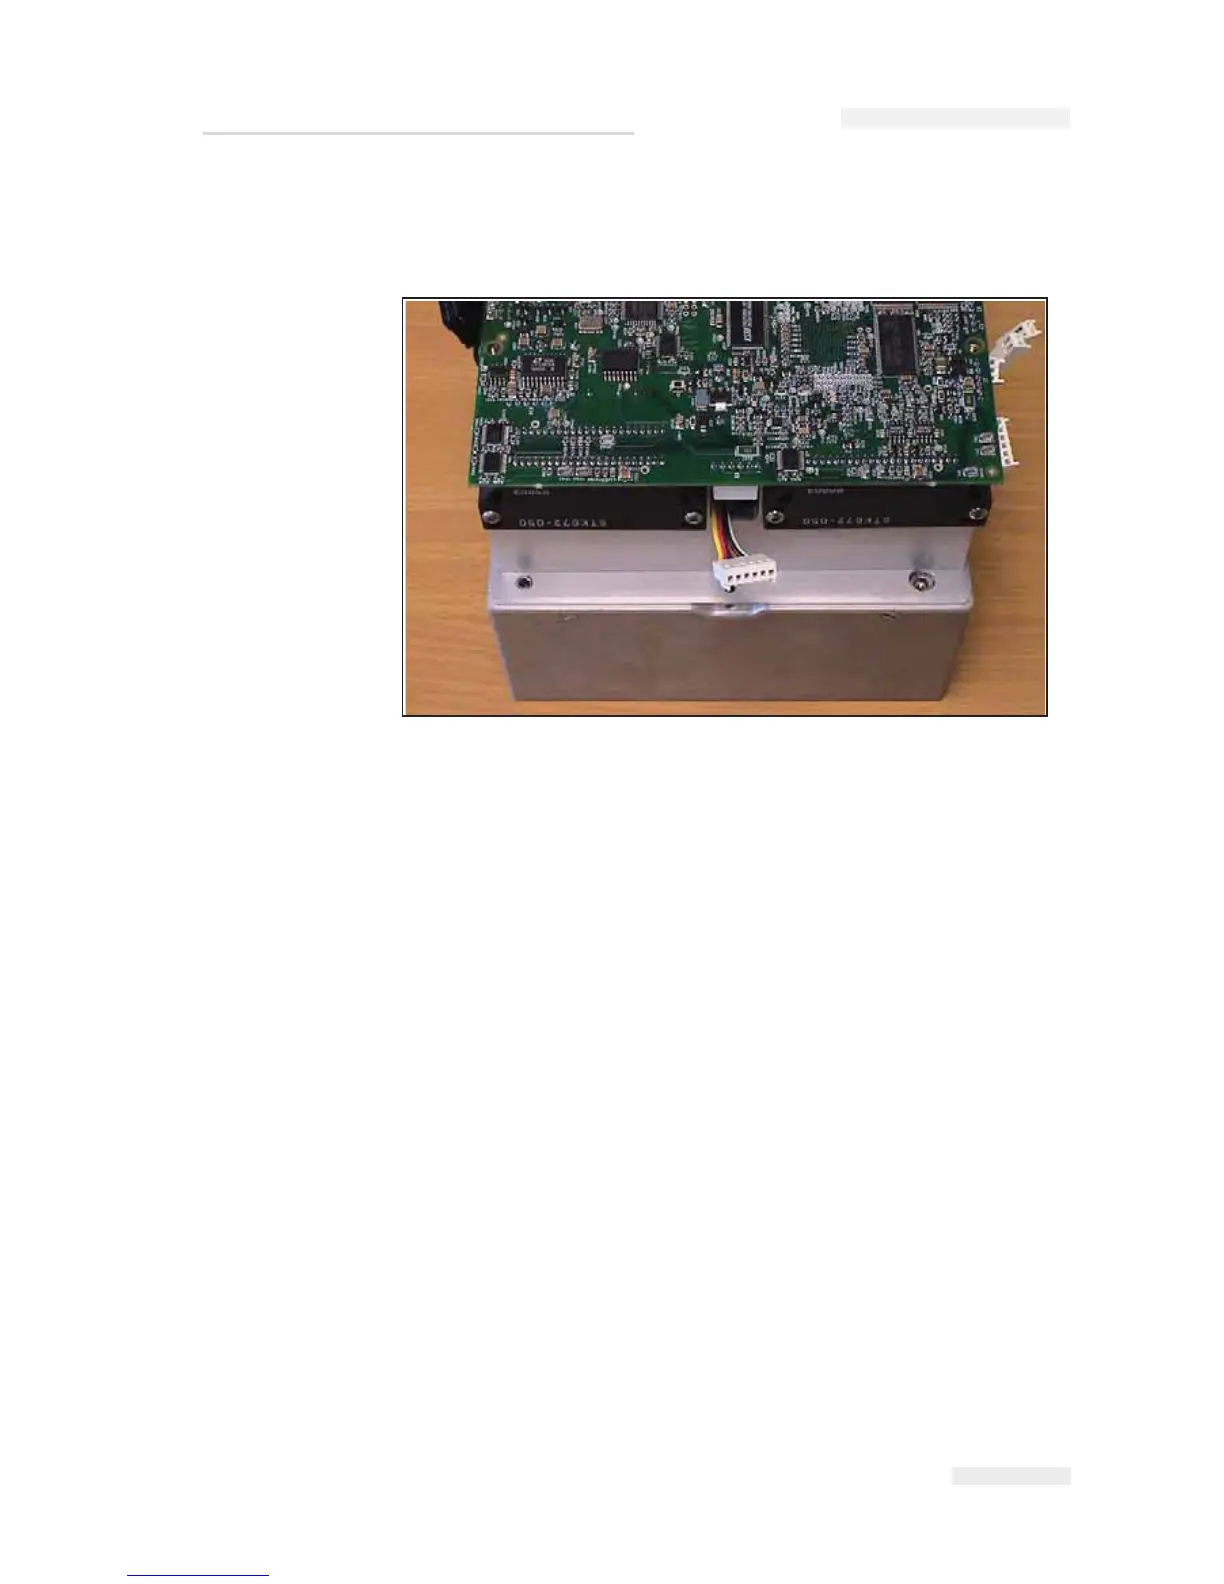
9 Then connect the I/O ribbon cable to the PCB and slide it into place.
Ensure that the connector X9 is threaded through the access hole in
the heat sink (Figure 5-18).
10 Secure the PCB using the 2 screws and then reverse the procedure
from 5 to 1 above.
Replacing the Peel Roller
To replace the peel roller, proceed as follows:
1 Remove the cassette from the printer.
Figure 5-18: X9 Connector Access
I
CE Pegasus Service Manual

Table of Contents

Questions and Answers:

Question and Answer IconNeed help?

Do you have a question about the Ice PegasusHS and is the answer not in the manual?

Ice PegasusHS Specifications

General IconGeneral
BrandIce
ModelPegasusHS
CategoryPrinter
LanguageEnglish

Related product manuals