Part 1 - Getting Started
13
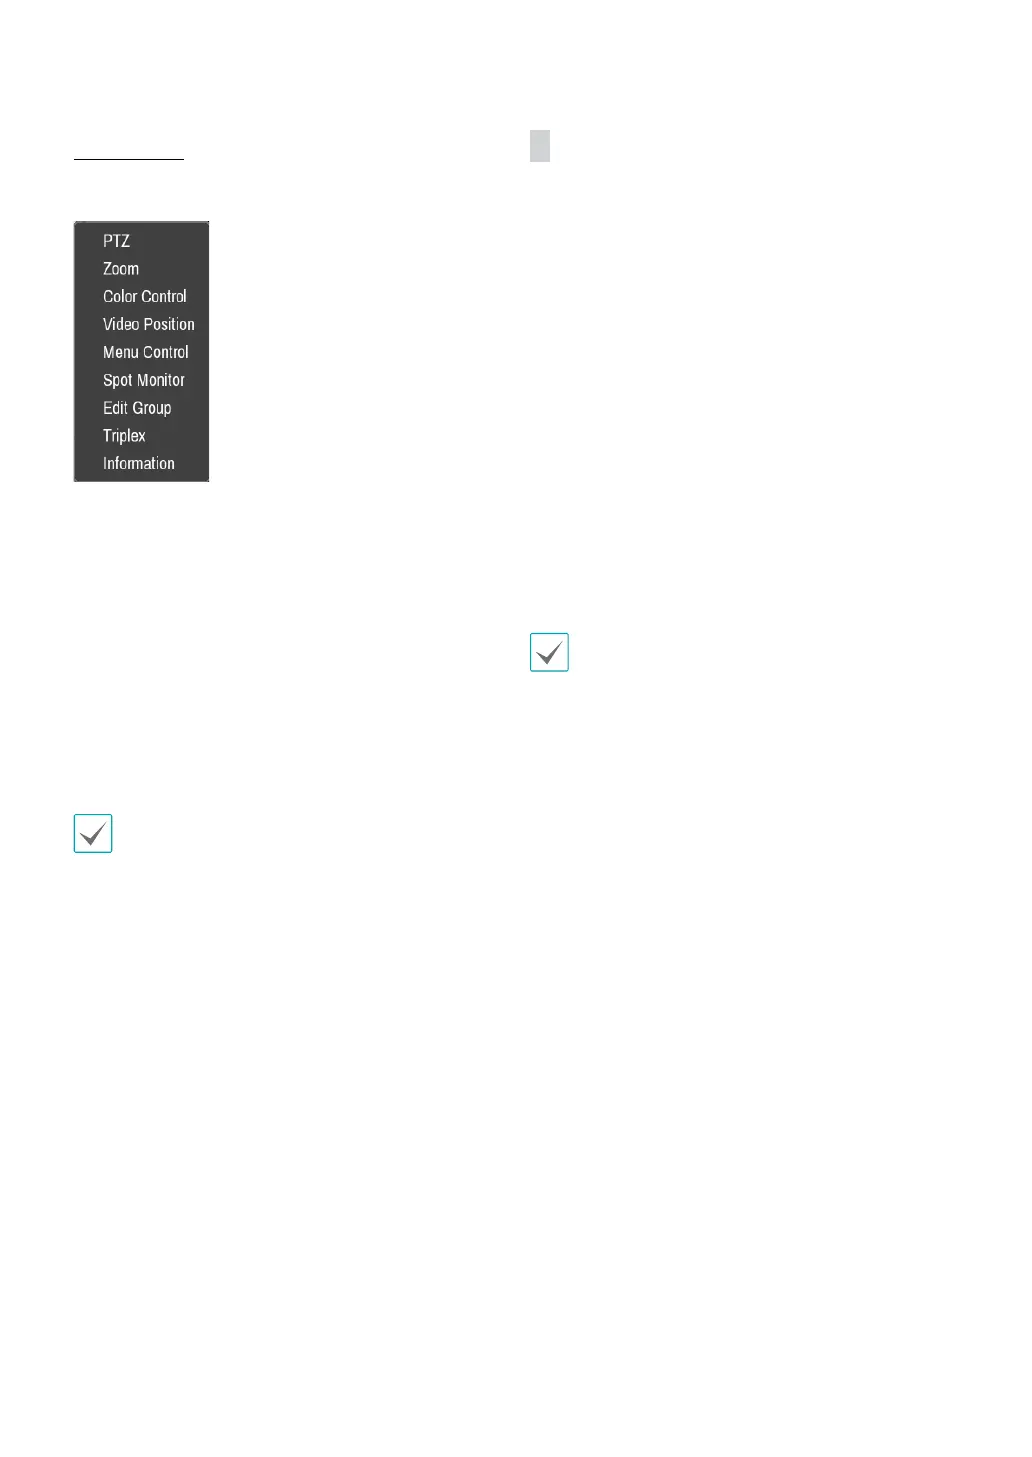
Camera Menu
Right-click on the video display area to bring up the
camera menu.
• PTZ: Allows you to control the selected camera as long
as it has Pan, Tilt and Zoom capabilities. It is the same
as pressing the PTZ button.
• Zoom: Zooms the current image of the selected
camera on the screen. It is the same as pressing the
ZOOM button. Selecting Zoom again in the Camera
Menu again exits the Zoom mode.
• Audio: Adjusts the camera’s audio settings.
• Color Control: Adjusts the camera’s color settings.
• Video Position: Adjusts the video position in left/right
directions.
• Menu Control: Adjusts the camera’s self-settings.
Menu Control is supported only for the cameras that
use DirectCx or C Protocol (H) and support UTC (Up The
Coax) function.
• Spot Monitor: Appear the selected camera on the
spot monitor.
• Edit Group: Enter to the Edit Group mode in the split
screen layout.
• Triplex: The DVR supports the Triplex function:
monitoring, recording and playing back at the same
time.
• Information: Displays the camera’s information and
recording status.
Edit Group
Edit Group lets you customize split screen pages in both
Live and Search modes.
1
While displaying a split screen page, select the Edit
Group option from the context menu. A yellow
border is drawn around the page. Use the arrow
buttons on the front panel or the mouse to select a
dierent page.
2
Press a Camera button or select a camera after
pressing the Menu button. Selected camera is then
loaded on to the selected page. Repeat to assign
other channels to the page.
3
Press the remote control’s $ button to exit Edit
Group. Alternatively, press the Menu button and
then select Exit Group Edit to exit.
Edit Group will terminate automatically after 15
seconds of inactivity.