8BChapter 9: Live view
70 TruVision DVR 11 and DVR 11c User Manual
Define whether the wizard tool starts when the DVR is turned on.
Check the box to enable/disable, and click Apply.
Figure 22: Monitor setup window: More settings
Table 15: Description of the Monitor setup window: More settings
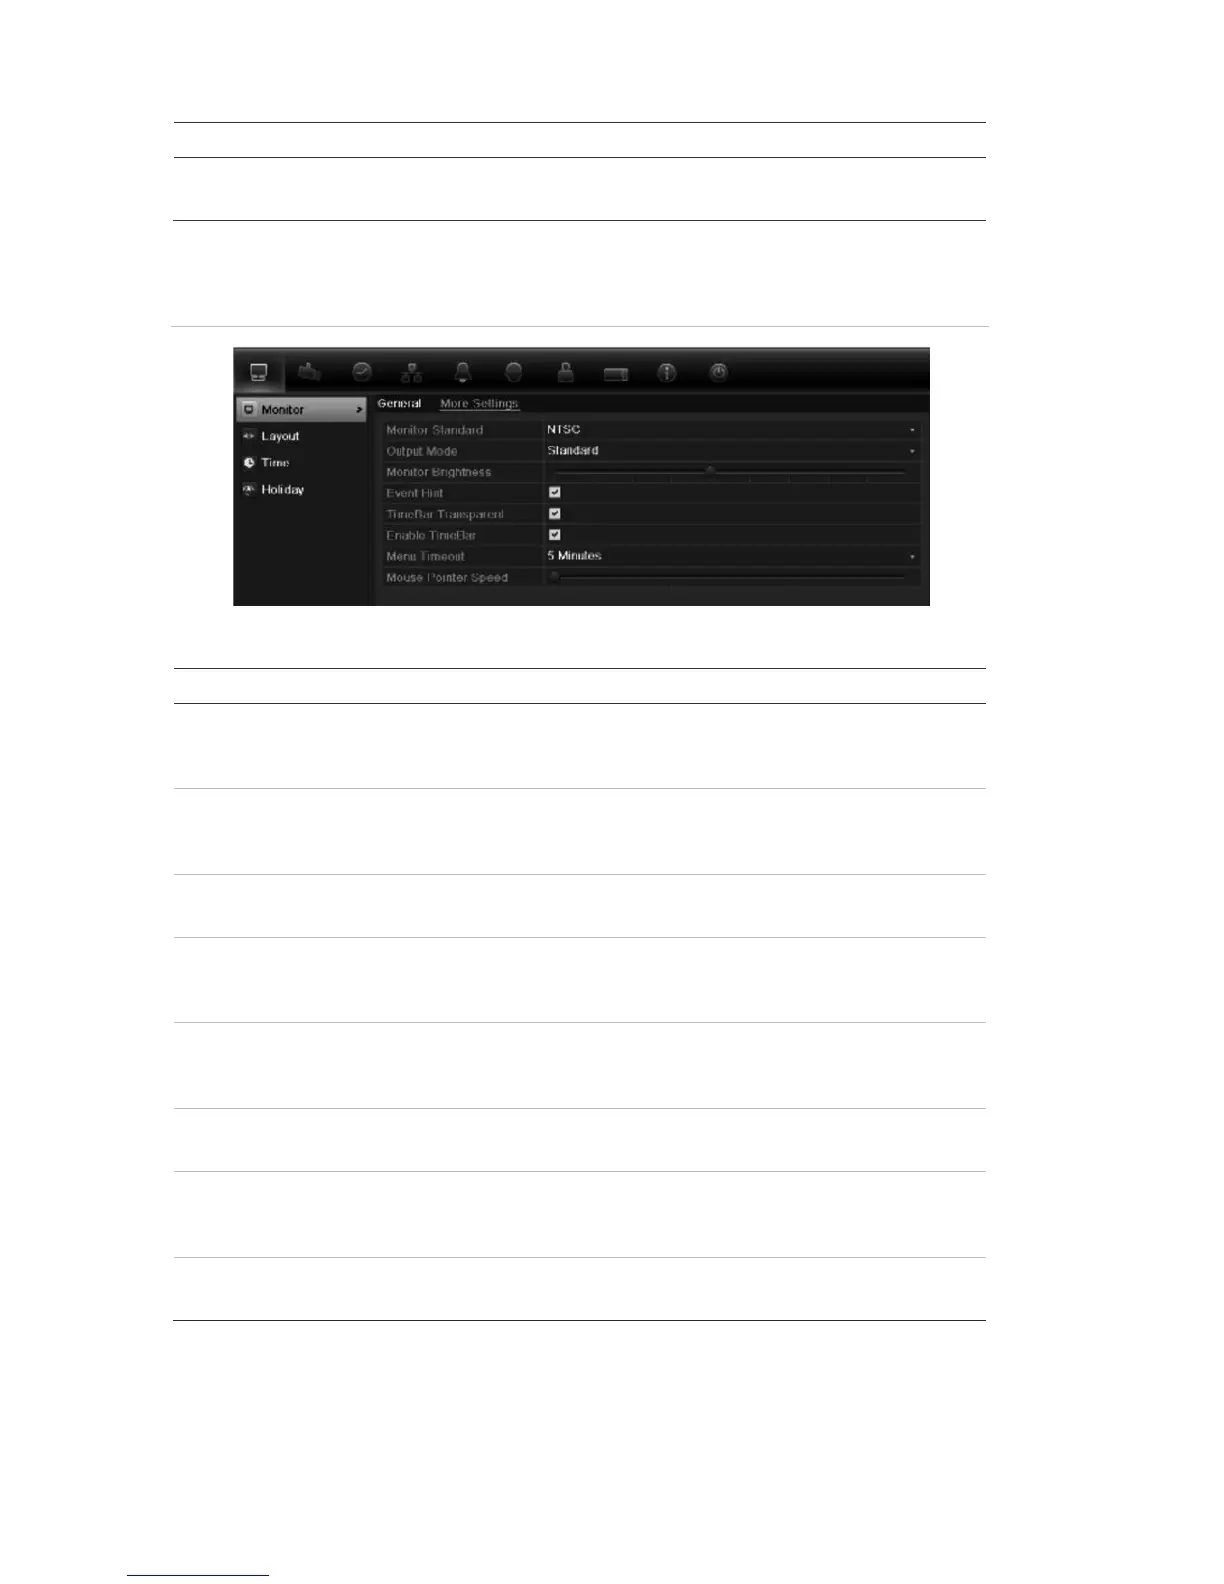
The DVR can support NTSC or PAL video output. The video
standard used is auto detected but can be manually changed.
Modify the video standard used to PAL or NTSC, and click Apply.
Define the desired output mode.
Select one of the options from the drop-down list: Standard, Bright,
Gentle, or Vivid, and click Apply.
Modify the video output brightness.
Adjust the scroll bar point to the desired level and click Apply.
Define whether the status icons appear on screen. See “Status
information” on page 59 for more information.
Check the box to enable/disable, and click Apply.
ransparent Define the transparency of the monitor output time bar on screen
relative to the background to make the time bar easier to read.
Check the box to enable/disable, and click Apply.
Define whether the monitor output time bar appears on screen.
Check the box to enable/disable, and click Apply.
Define the time in minutes after which the menu window reverts to
live view mode.
Select a time from the drop-down list, and click Apply.
Modify the speed of the mouse pointer.
Adjust the scroll bar point to the desired level, and click Apply.
 Loading...


