SECTION 3 - MACHINE CONTROLS, INDICATORS, AND MACHINE OPERATION
31217162 3-31
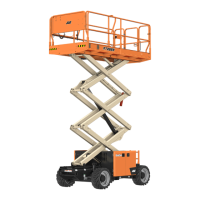
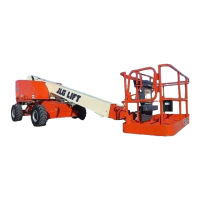
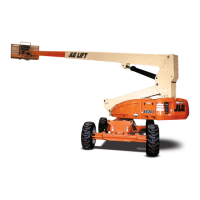
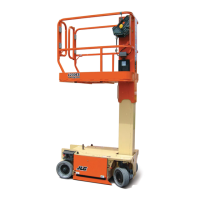
3.12 PLATFORM
Raising
DO NOT RAISE PLATFORM EXCEPT ON A SMOOTH, FIRM, AND LEVEL SURFACE WITHIN
THE LIMITS OF THE MAXIMUM OPERATING SLOPE, FREE OF OBSTRUCTIONS AND
HOLES.
1. Position the applicable emergency stop switch(s) to the ON
position.
2. With the engine running, place the power select switch to
desired position (platform or ground).
3. If operating from the ground controls, position the lift switch
to up and hold until desired elevation is achieved. If operat-
ing from the platform controls, set the lift/drive switch to lift,
depress the trigger switch, then move the control handle
backward and hold until desired elevation is reached. Lift
speed is determined by the distance the control handle is
moved from the off center position.
Lowering
ENSURE SCISSOR ARM AREA IS FREE OF PERSONNEL PRIOR TO LOWERING PLATFORM.
DO NOT LOWER WITHOUT COMPLETELY RETRACTING THE PLATFORM EXTENSION.
If operating from the ground controls, position the lift switch to
down and hold until desired elevation is achieved or until plat-
form is fully lowered.
If operating from the platform controls, press the lift switch and
then move the control handle forward and hold until desired ele-
vation is reached or until platform is fully lowered.
Arm Guards (If Equipped)
If the machine is equipped with electronic arm guards, the plat-
form will stop lowering at a predetermined height and the
machine’s beacons will flash at a different rate to warn ground
personnel. Machine lowering can continue after a three (3) sec-
ond delay. Once the lowering function is re-engaged an audible
alarm will sound. After a one and a half (1.5) second delay the
platform will continue lowering.