8. Connect each DC power cable to the appropriate external DC power source.
NOTE: For information about connecting to external DC power sources,
see the instructions for your site.
9. Switch on the external circuit breakers to provide voltage to the DC power source
cable leads. Observe the system LED on the front of the router. If the DC power cable
is correctly installed and functioning normally, the system LED lights green steadily.
If the status LED indicates that the power supply is not functioning normally, repeat
the installation and cabling procedures.
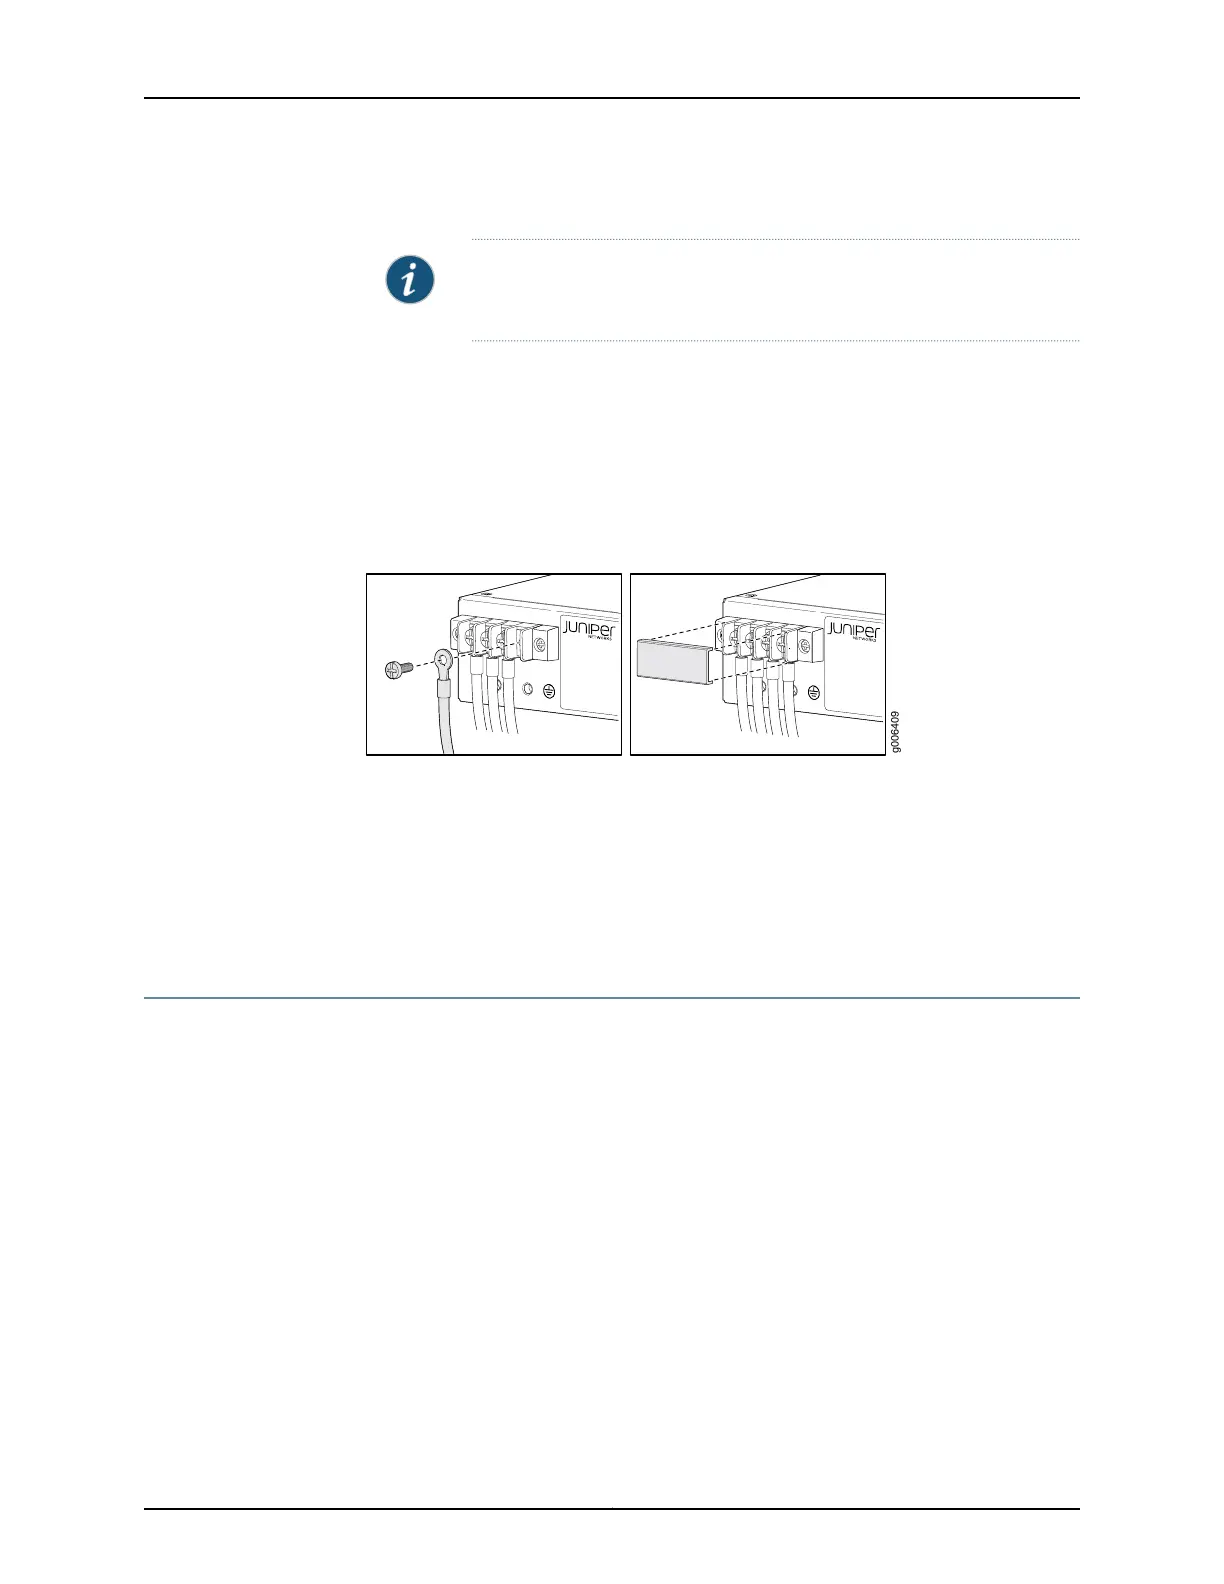
Figure 22: Connecting DC Power to the Router
Related
Documentation
ACX1000 and ACX1100 Power Overview on page 41•
• Installing and Connecting an ACX1000 or ACX1100 Router Overview on page 79
• Connecting the ACX1000 or ACX1100 Router to Earth Ground on page 89
• ACX1000 and ACX1100 DC Power Specifications on page 63
Connecting AC Power Cords to the ACX1100 Router
To connect AC power to the router, you need the following tools:
•
ESD grounding wrist strap
•
AC power cords
To connect AC power to the router:
1. Locate the power cords, which should have a plug appropriate for your geographical
location. See the “ACX1100 AC Power Cord Specifications” on page 61.
2. Attach an ESD grounding strap to your bare wrist and connect the strap to one of the
ESD points on the chassis.
3. Insert the appliance coupler end of the power cord into the appliance inlet on the
power supply.
93Copyright © 2017, Juniper Networks, Inc.
Chapter 17: Connecting the Router to Power

 Loading...


