CAUTION: Verify that the direction of the arrow on the PSM handle matches
the direction of airflow in the chassis. Ensure that each PSM you install in the
chassis has the same airflow direction. If you install PSMs with two different
airflow directions, Junos OS raises an alarm, and the status (ALM) LED blinks
amber.
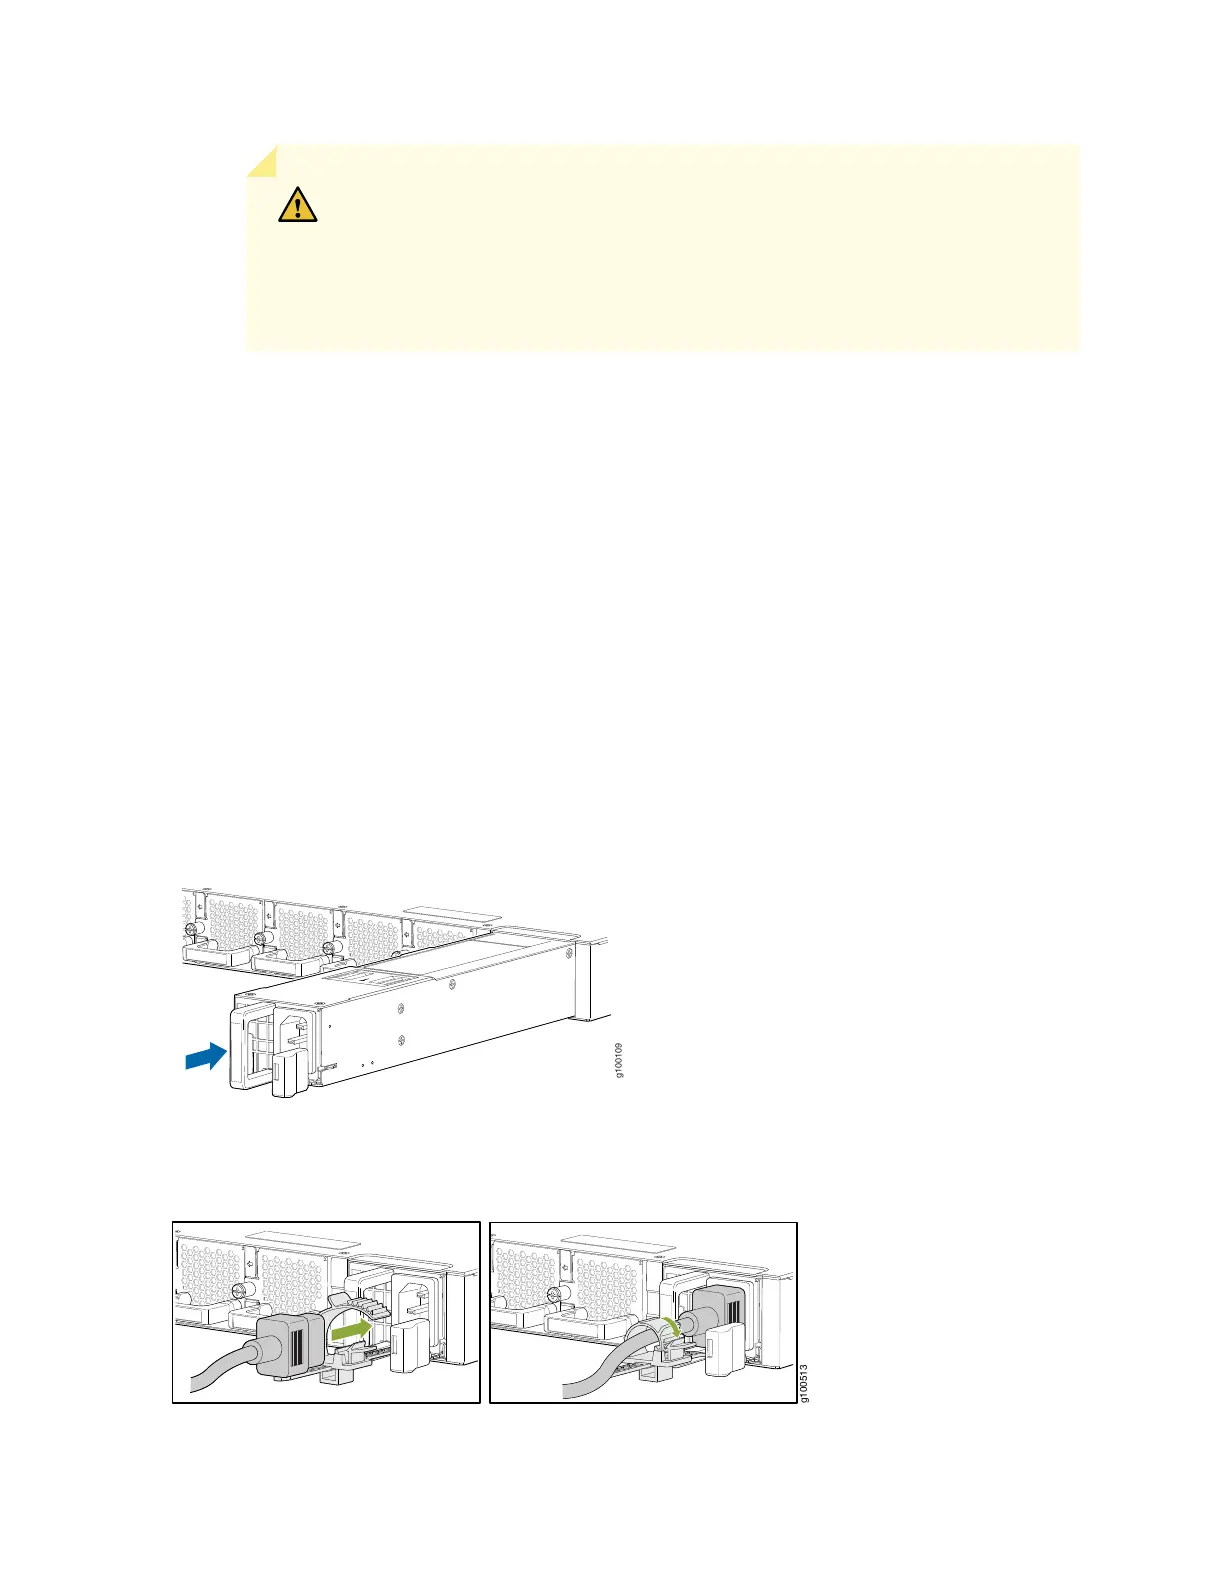
3. Using both hands, place the PSM in the power supply slot on the rear panel of the router and slide it
in until it is fully seated and the locking lever slides into place.
4. Press the latch located on the side of the PSM to slide it into the chassis.
5. Attach the power cord to the PSM.
6. Attach the power cord to the AC power source, and switch on the dedicated customer-site 2-pole
circuit breaker. Follow the instructions for your site.
7. Observe the status LED on the power supply faceplate. If the PSM is correctly installed and functioning
normally, the status LED lights green steadily.
Figure 75: Install an AC PSM in an ACX5448 Router
Figure 76: Install an AC Power Cord in an ACX5448 router
121