6 Using the unit
6 Using the unit
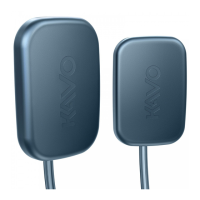
6.1 Attaching and removing the sensor
NOTICE! The pixel calibration results are sensor specific. If the x-ray unit is
equipped with separate panoramic and cephalometric sensors, the cephalometric
sensor cannot be used for panoramic imaging without re-calibration (and vice
versa).
Re-do panoramic pixel calibration, if cephalostat sensor is moved to panoramic
side or the sensor is changed.
WARNING! Handle the sensor with care as instructed in this manual. The sensor
must not be dropped or exposed to impacts. A shock indicator inside the sensor
shows if the sensor has been exposed to excess impact.
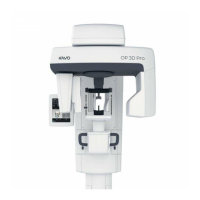
Attaching the sensor
1. Insert the four slots on the rear of the sensor, into the four hooks in the sensor holder.
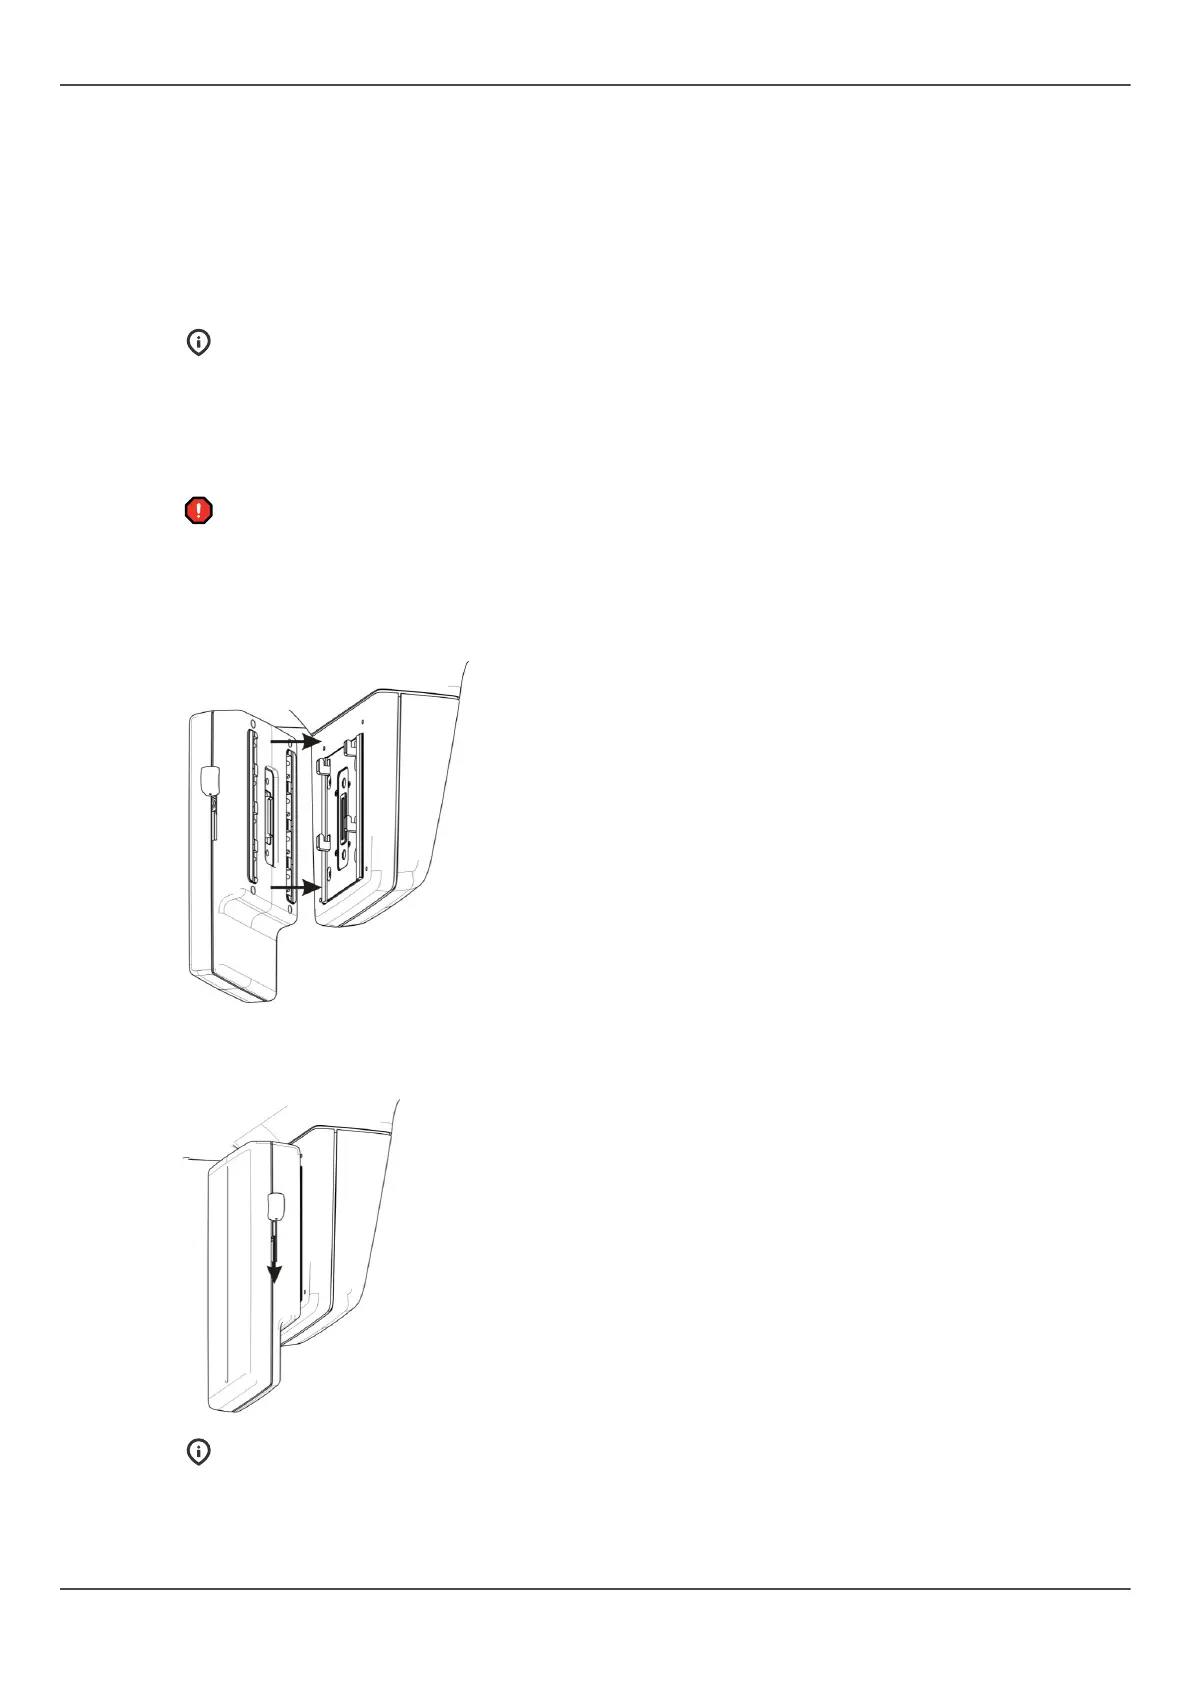
2. Pull the sensor downwards firmly until it stops and then slide the locking knob down
on the side of the sensor to lock the sensor in position.
NOTICE! Make sure that the sensor is seated properly before sliding the locking
knob down. Forcing the locking knob down when the sensor is not in correct
position may damage the sensor connectors!
Removing the sensor
ORTHOPANTOMOGRAPH
™
OP 3D Pro 45