6 Using the unit
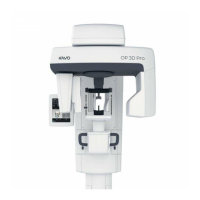
4. With OP3D Pro 3D touch panel, touch somewhere in the dentition. Pop up screen
appears. Move the FOV cursor on the area of interest. For precise adjustment use the
arrow keys.
5. Press the patient positioning button to rotate the unit to 'patient in' position. The unit
is ready for patient positioning when the "ready" signal is green on the touch panel.
6. Ask the patient to remove any spectacles, hearing aids, removable dentures,
jewellery and hair clips and pins.
6.5.2 Patient positioning
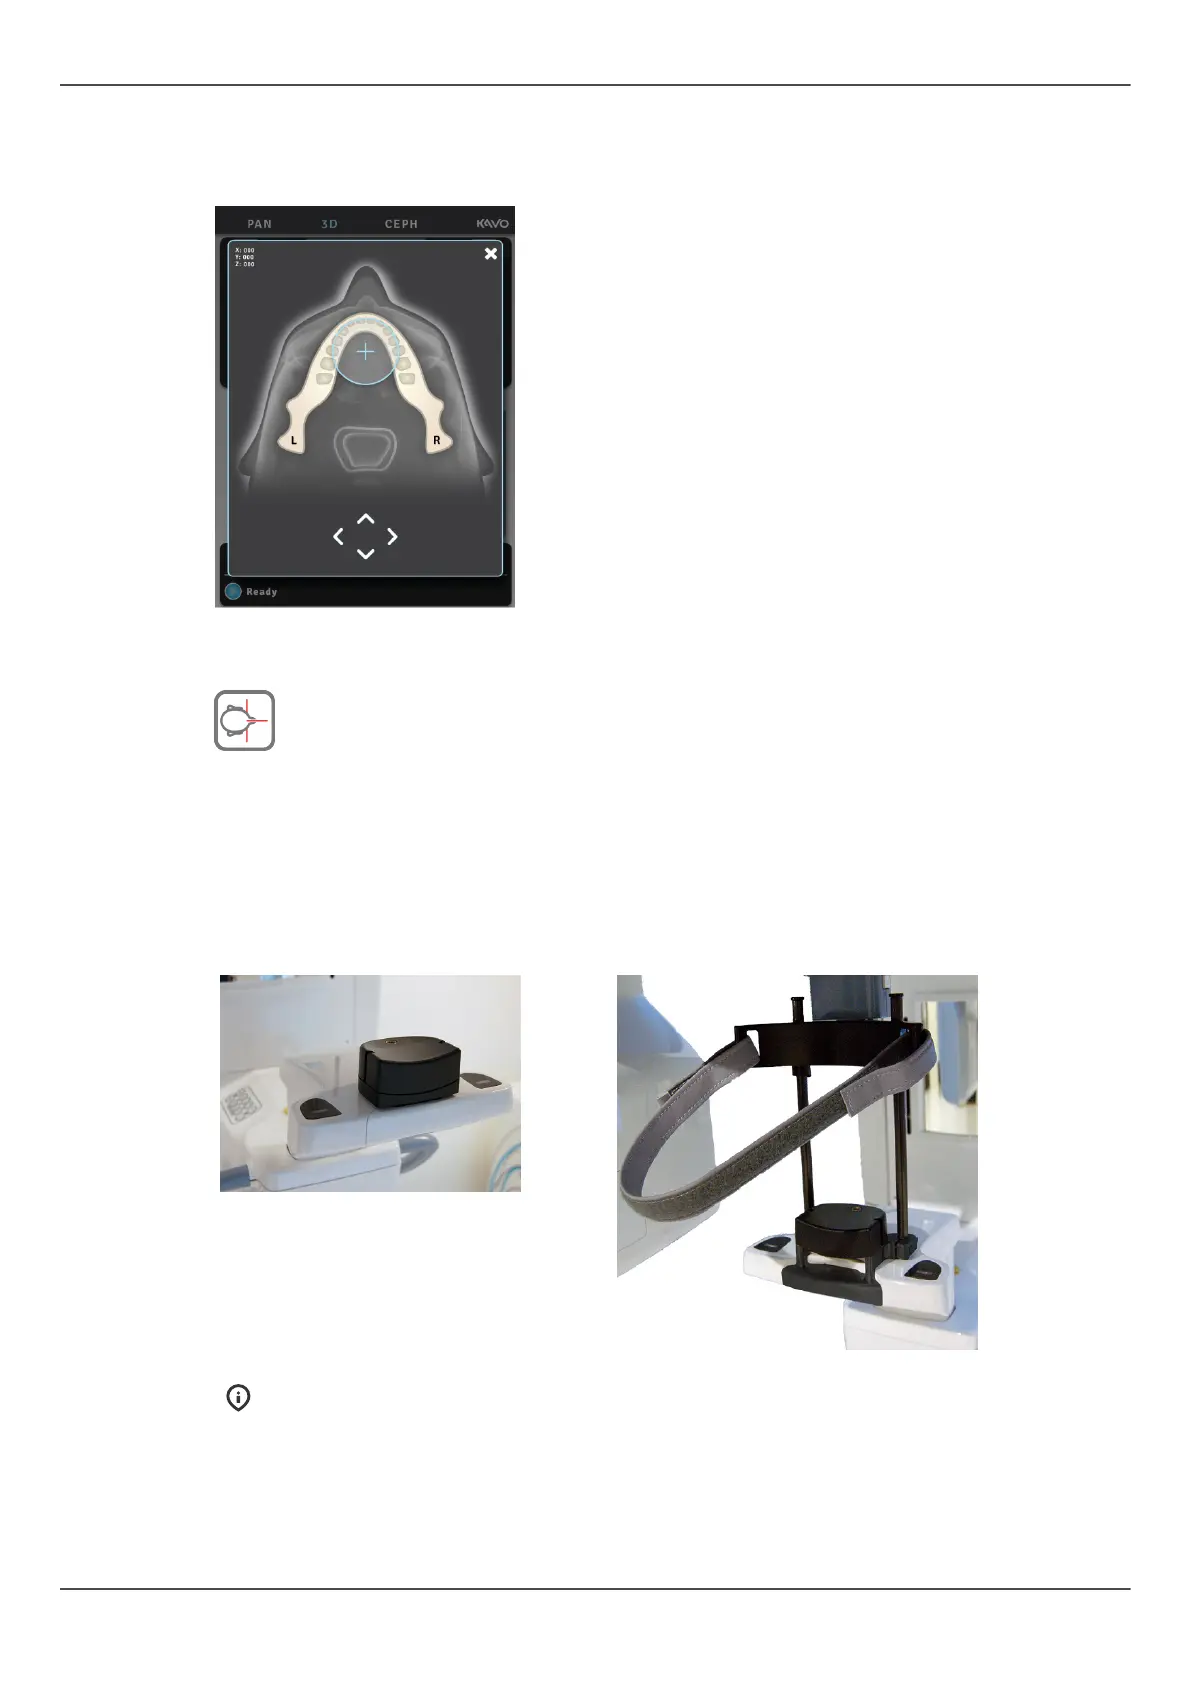
1. Insert the chin rest. In case of FOV 130 x 150 mm (optional), remove the temple
support assembly and insert the lower head support and chin rest.
NOTICE! Use a new disposable cover for every patient.
2. Minimizing patient movement is important with all 3D programs. Because of this, it
is recommended to have patients seated during 3D scanning, especially during FOV
130 x 150 mm (optional) imaging.
ORTHOPANTOMOGRAPH
™
OP 3D Pro 65