9 Calibration and adjustment
9 Calibration and adjustment
9.1 Introduction
Calibrations and quality checks are performed by taking exposures of calibration tools.
The system does needed adjustments according to the image data captured. For
panoramic and cephalometric quality checks the quality is visually evaluated by the
operator.
Resulting from the each calibration is an image containing calibration results, telling the
operator how to proceed with the calibration and adjustment procedure. In addition to
the calibration name (e.g. Adjustment panCol) the images contain image data sampled
during the calibration, adjustment instructions and a “Passed / Not Passed / Failed”
calibration status.
● Passed means that the calibration program is successfully done. Move on to next
calibration.
● Not passed means that adjustment is still needed. Follow the instructions the image
(if any) and take another exposure. Some calibration programs are iterative and
demand a few repetitions.
● Failed means that the system could not decide what adjustment should be done
in order for the calibration to succeed. This calibration status is always the result of
some error condition. Taking another exposure will not help. The image may give a
hint on what the problem is (e.g. no radiation, collimator severely tilted, image data
corrupted…). Contact service if the problem persists after restarting the unit and PC.
9.2 Preparing for calibration
1. Close the head support and lock it in its upmost position.
2. Switch the PC and unit on.
3. PC: Open the dental imaging software and then open a patient (card) and give it an
identifiable name, for example: calibration (refer to the user’s manual supplied with
the dental imaging software for more information).
4. PC: Click the image acquisition button to activate image capture.
5. Select Settings on the touch screen display.
6. Select the Quality assurance button. The calibration display appears.
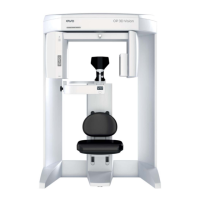
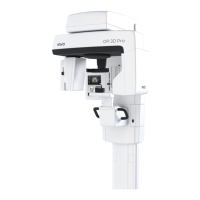
9.3 Panoramic calibration
ORTHOPANTOMOGRAPH
™
OP 3D Pro 83