6 Using the unit
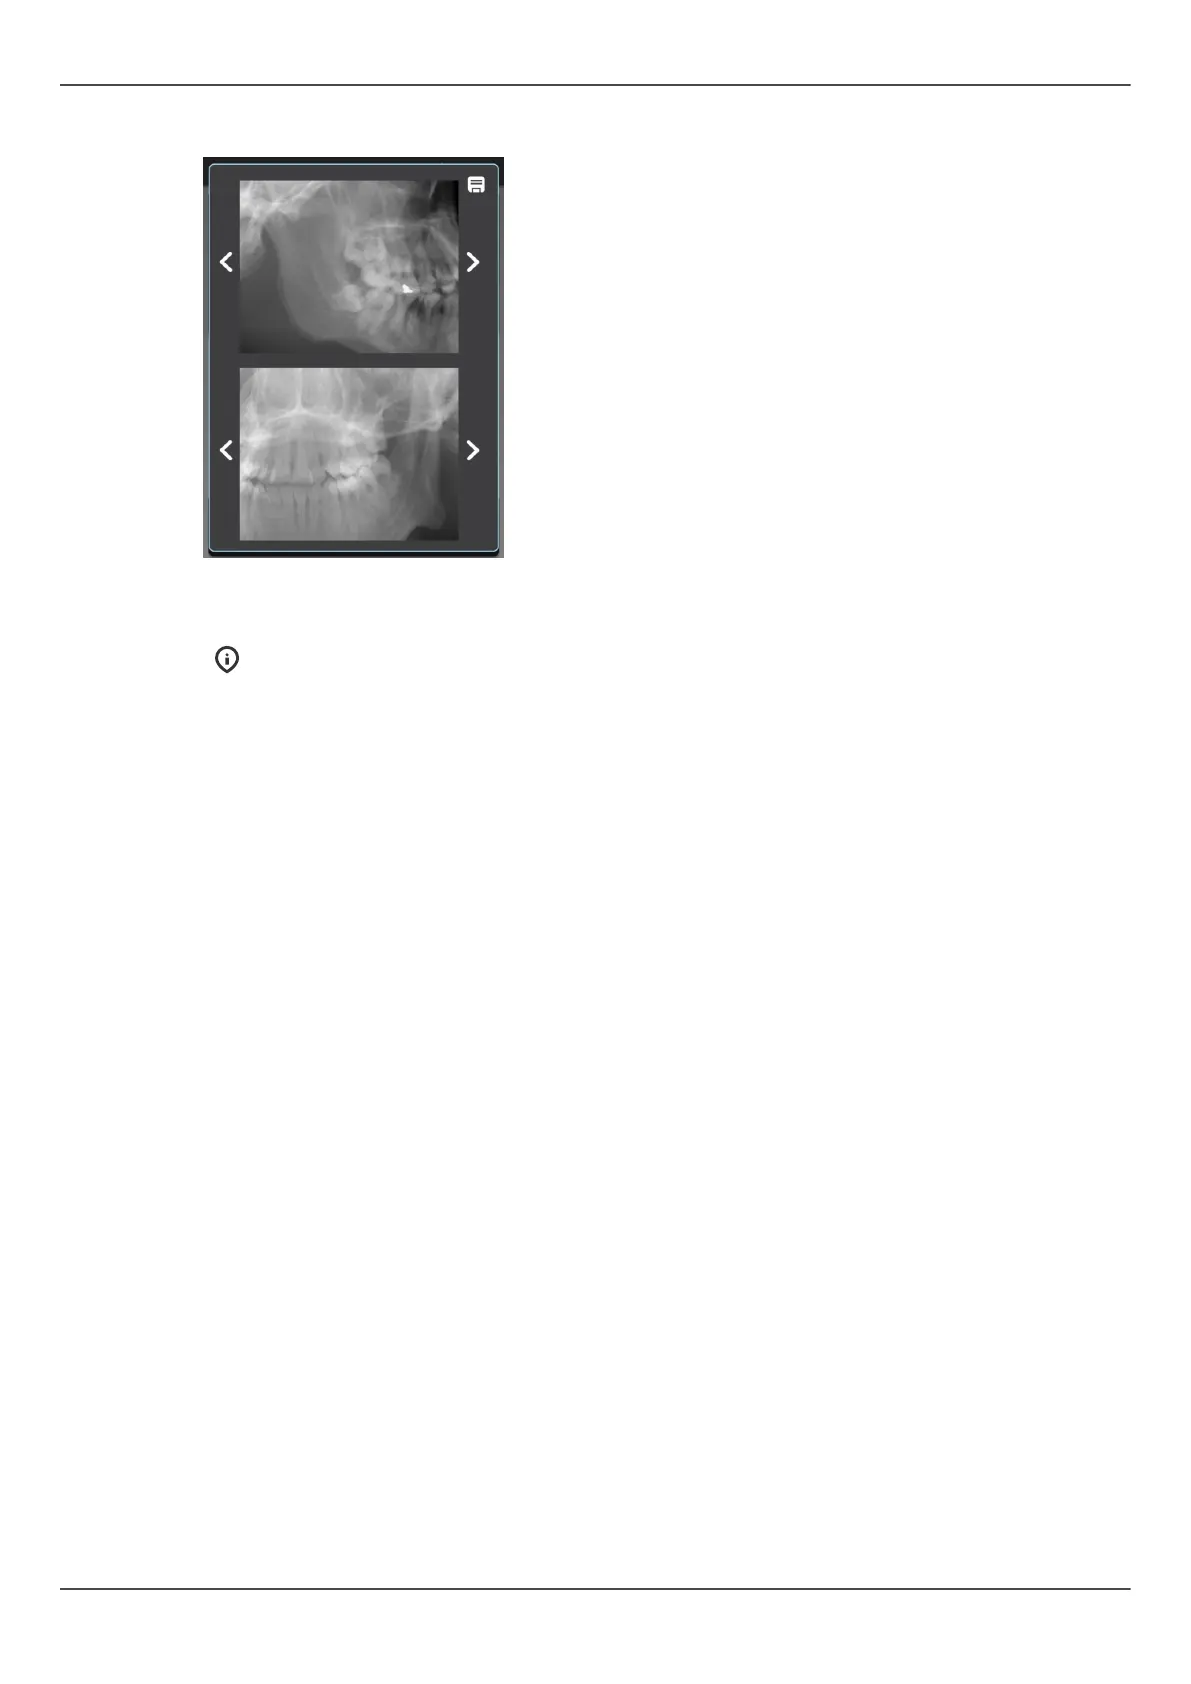
4. Scout preview image appears to the touch screen display.
5. Adjust the scout position using the arrows until the ROI is in the middle of both
preview projection images.
NOTICE! The scout projection angles follow the dental arch.
6. Press Save icon on the upper right corner to save the FOV position and to close the
window.
7. Continue to take a 3D image or take a new scout image to make sure that the FOV
position is correct.
70 ORTHOPANTOMOGRAPH
™
OP 3D Pro
 Loading...