6 Installation of the imaging plate system
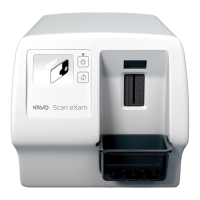
KaVo Scan eXam One 45
4. Workstation: Open the imaging application
software and select the scanner setup window.
5. Workstation: From the scanner setup window
select the Settings tab to open the Scanner Con-
nection page.
6. Workstation: Select Direct Connection.
Key the serial number of the unit into the Scanner
serial number field. The serial number of the unit
appears on the type label on the back of the unit.
Make sure that the Computer network connection
that provides the LAN network connection is
selected.
6.4.2 IP method (using the unit static
address)
If your system does not allow the direct connection
method to be used to connect the workstation(s),
connection can be done using an IP address.
1. Follow steps 1 to 5 from the previous section,
Direct connection method (uses the unit s/n).
2. Workstation: From the Settings tab select IP
based and then select the Enable changing IP
address box.
NOTICE! The workstation and the unit must be
in the same subnet when setting the IP address
of the unit.
3. Workstation + Unit: Press and hold down the
Start key on the unit and then click Send to
Scanner on the settings window. You hear a
beep which indicates that the workstation is now
sending the IP address the unit.
4. Workstation: Click OK to connect the worksta-
tion to the unit.
5. Now connect the other workstations in the net-
work to the unit. Just enter the IP address into
the IP field and then click OK to connect the
workstation to the unit (it is not necessary to
hold down the Start key and click Send to
Scanner with the other workstations once the
unit has already got an IP address).
 Loading...