Page
80
9
Appendix
Important points:
· When placing the piano on the stand, make sure the dowels fi t in the
holes provided on the bottom surface of the piano.
· When placing the piano on the stand, the piano and the stand will not
be perfectly aligned; the piano should be offset by approximately 3 cm
towards the back.
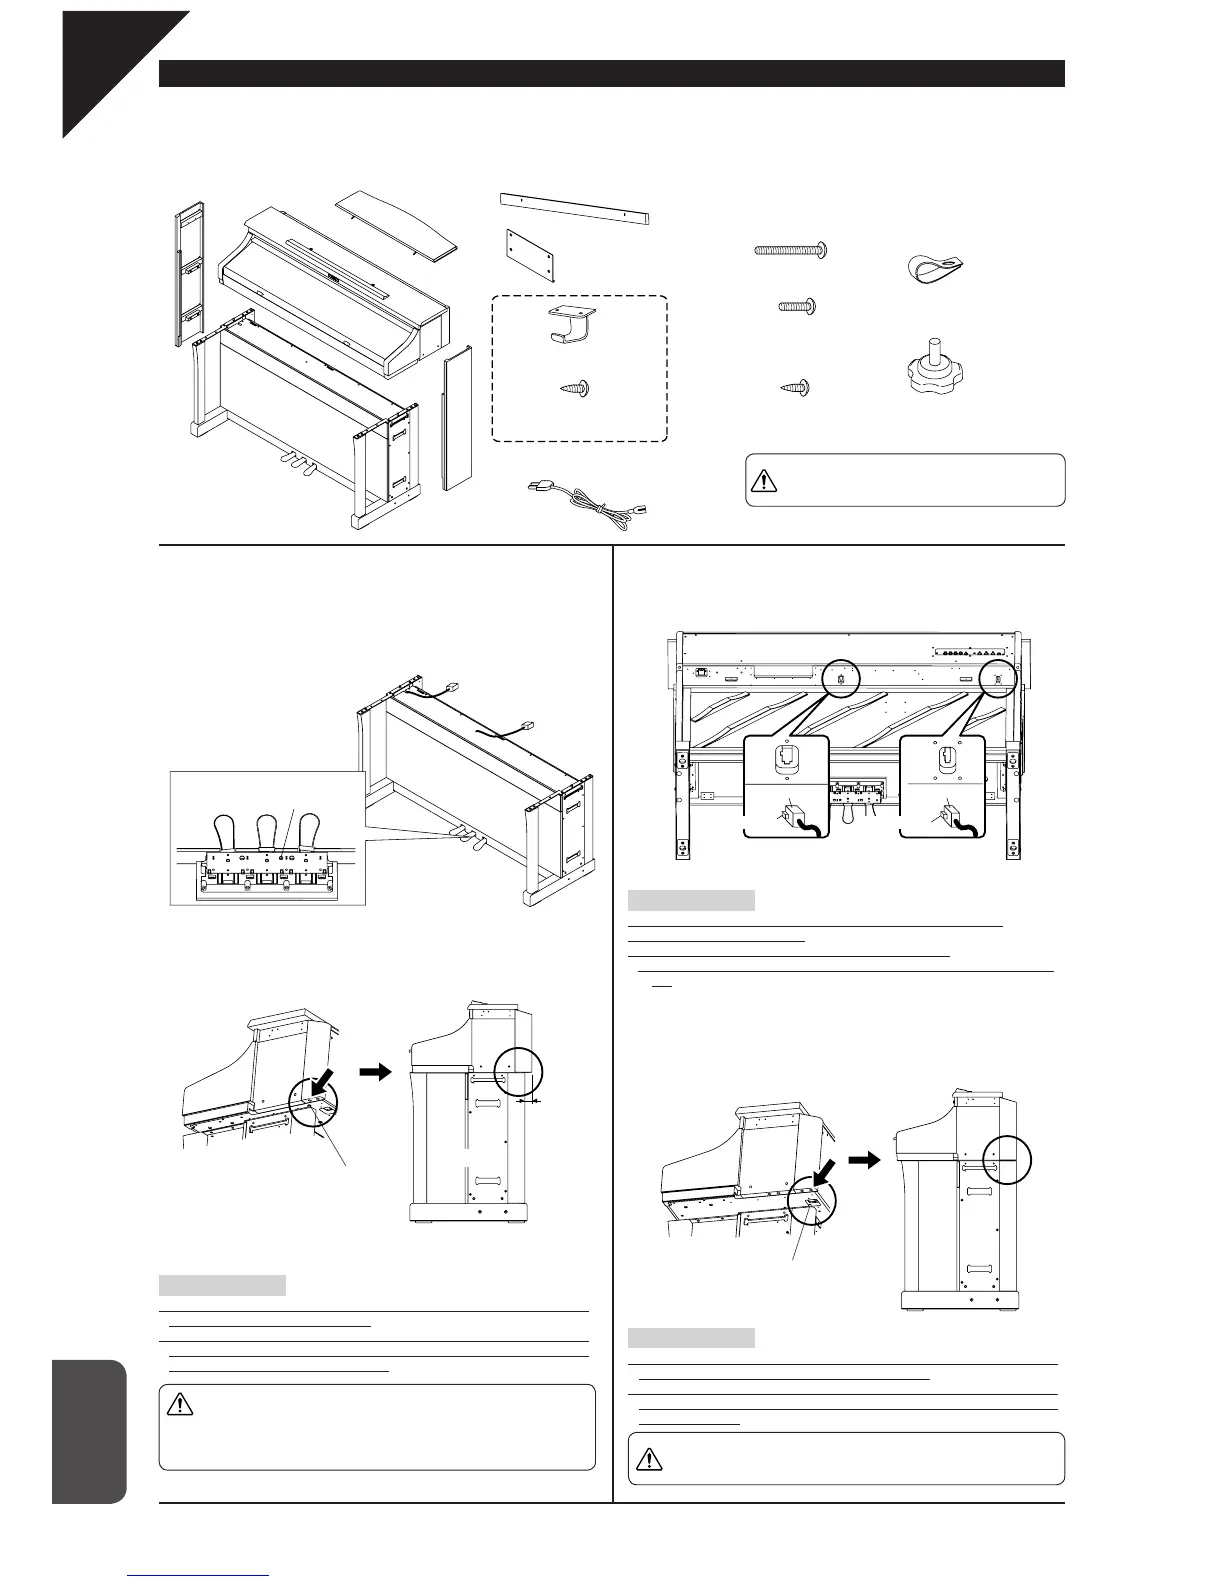
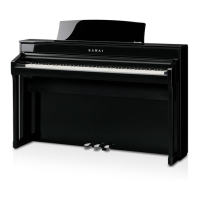
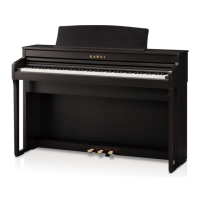
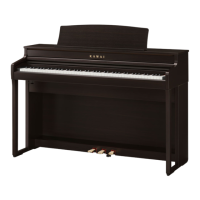
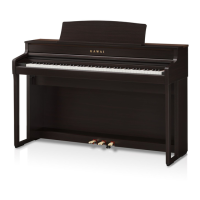
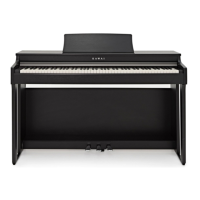
CA91 stand assembly instructions
Thank you for purchasing a KAWAI Concert Artist digital piano.
First, read this instruction manual and make sure that all the parts are included, and assemble the unit while being careful not to scratch or damage the
stand. (Follow the procedures in reverse order when disassembling the unit.)
Assembly sequence
1. Remove the stand from the box.
(1) Insert the pedal support (E) about 1 cm into the bottom of the stand.
(2) Pull out the pedal cord and speaker cord, hang over the back of the
stand.
2. Remove the piano from the box, and temporarily place it onto
the stand.
Place the piano onto the stand temporarily.
3. Connecting the cables.
While the piano is temporarily placed on the stand, connect the pedal cord
and speaker cord to the piano.
Important points:
· Place the piano in the manner that the dowels fi t in the holes provided
on the bottom surface of the piano.
· Place the piano on the stand in the manner that the piano part and
the stand will not be perfectly aligned; the piano part must be off by
approximately 3 cm towards the back.
4. Correcting the piano position.
Using the rear most holes for the dowels, correct the piano position by
moving the piano forward on the stand 3 cm.
Important points:
· Make sure that the locking tabs are facing the correct direction.
· Insert the connector straight.
Do not apply too much force; it may cause unit failure.
* To pull out the cord, remove the connector while pressing the locking
tab.
Parts (included items)
Assembling screws
Use a Phillips-head screwdriver (+) to assemble the unit.
Side panel (left)
Stand
Piano
Side panel (right)
Score stand
Back panel
L-shaped bracket (x 2)
Headphone hook
Headphone hook mounting
screw
4 x 14 (x 2)
Power cord
(with a fl at end)
A. M4 x 35 (x 8)
B. M4 x 16 (x 6)
(with a sharp end)
C. 4 x 12 (x 2)
[Others]
D. Cord clamp (x 2)
E. Adjuster (x 1)
Pedal cord
Speaker cord
Pedal support insert hole
(back of the pedal stand)
Piano
Stand
Dowel
About 3 cm
Locking tab Locking tab
Connector Connector
Speaker cord Pedal cord
Dowel
Caution
x
When correcting the piano position, do not pull the
pedal cord and speaker cord.
Caution
x
Make sure that more than two people work on unit
assembly.
x
Make sure that your hands are not caught between
the piano and the stand when you place the piano
on top of the stand.
Caution
x
Make sure that more than two
people work on unit assembly.