D3DA3xx/x Mountingandinstallationinstructions
ProjectengineeringmanualV1.00
33
©KEBA
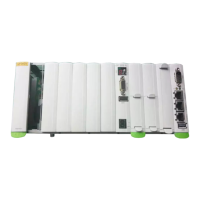
Illustration510:Coolingairflowsunhinderedthroughthedevice
5.4 Installationofthedevicesforwallmounting
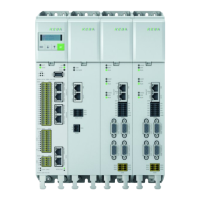
1) Arrangetheaxismodulesonthemountingplate.Pleasealsoprovide
enoughspacetotheleftofthesupplymodulefortheD3DU3xx/xcon
trolmodule.Alignallthedevicesinthemultiaxisgroupinalinealong
thetopedgeofthedevice.Thisactionisnecessarytobeabletocouple
theDClinkusingthebusbars.Forinformationonthemountingclear
ancessee5.2Spacerequirements.
2) Markoutthepositionofthethreadedholesonthemountingplate.Drill
holesinthemountingplateandcutathreadforeachfixingscrewinthe
mountingplate.Thebendradiusoftheconnectingcablesmustbetaken
intoaccount!
3) Mounttheaxismodulesverticallyandwiththesupplymoduleabuttingon
themountingplate.
Makesurethesurfaceofthecoolerisfreeofdrillchippingsorothersoil
ing.Thecontactareamustbemetallic,bareandconductive.
Youcanfindthefollowingstepstoelectricalinstallationin6Connections
andwiring.
5.4.1 Dimensionsandmountingclearances
Housingwithheatsink
 Loading...