The PhotoGrav software optimizes photographs for laser engraving. If you are installing a fresh copy
of PhotoGrav please use the directions below to get started. If the software is preinstalled on your
computer you may begin processing photos.
Installing PhotoGrav
1. State PhotoGrav and go to File > System Defaults > Select Machine.
2. Choose the KERN HSE machine with appropriate laser size.
3. Under the Machine Properties select your laser wattage, max speed and a turn time of .142
seconds.
4. Set your DPI, spot size (.005”) and machine watts (same as laser power above).
5. Click OK.
6. The software is now setup with these default settings and the next time you open this software
you can begin processing files immediately.
Processing a Photo
1. Start PhotoGrav and use the Open Image button to load your photograph.
2. Click Select Material and choose the material that you will be engraving on.
3. Click Resize Image to set your desired image size and DPI.
4. Click Final Process.
5. Click Save Image and save as an engraved .BMP file.
6. The file is now ready for importing into your favorite design software (CorelDRAW, Illustrator,
etc.).
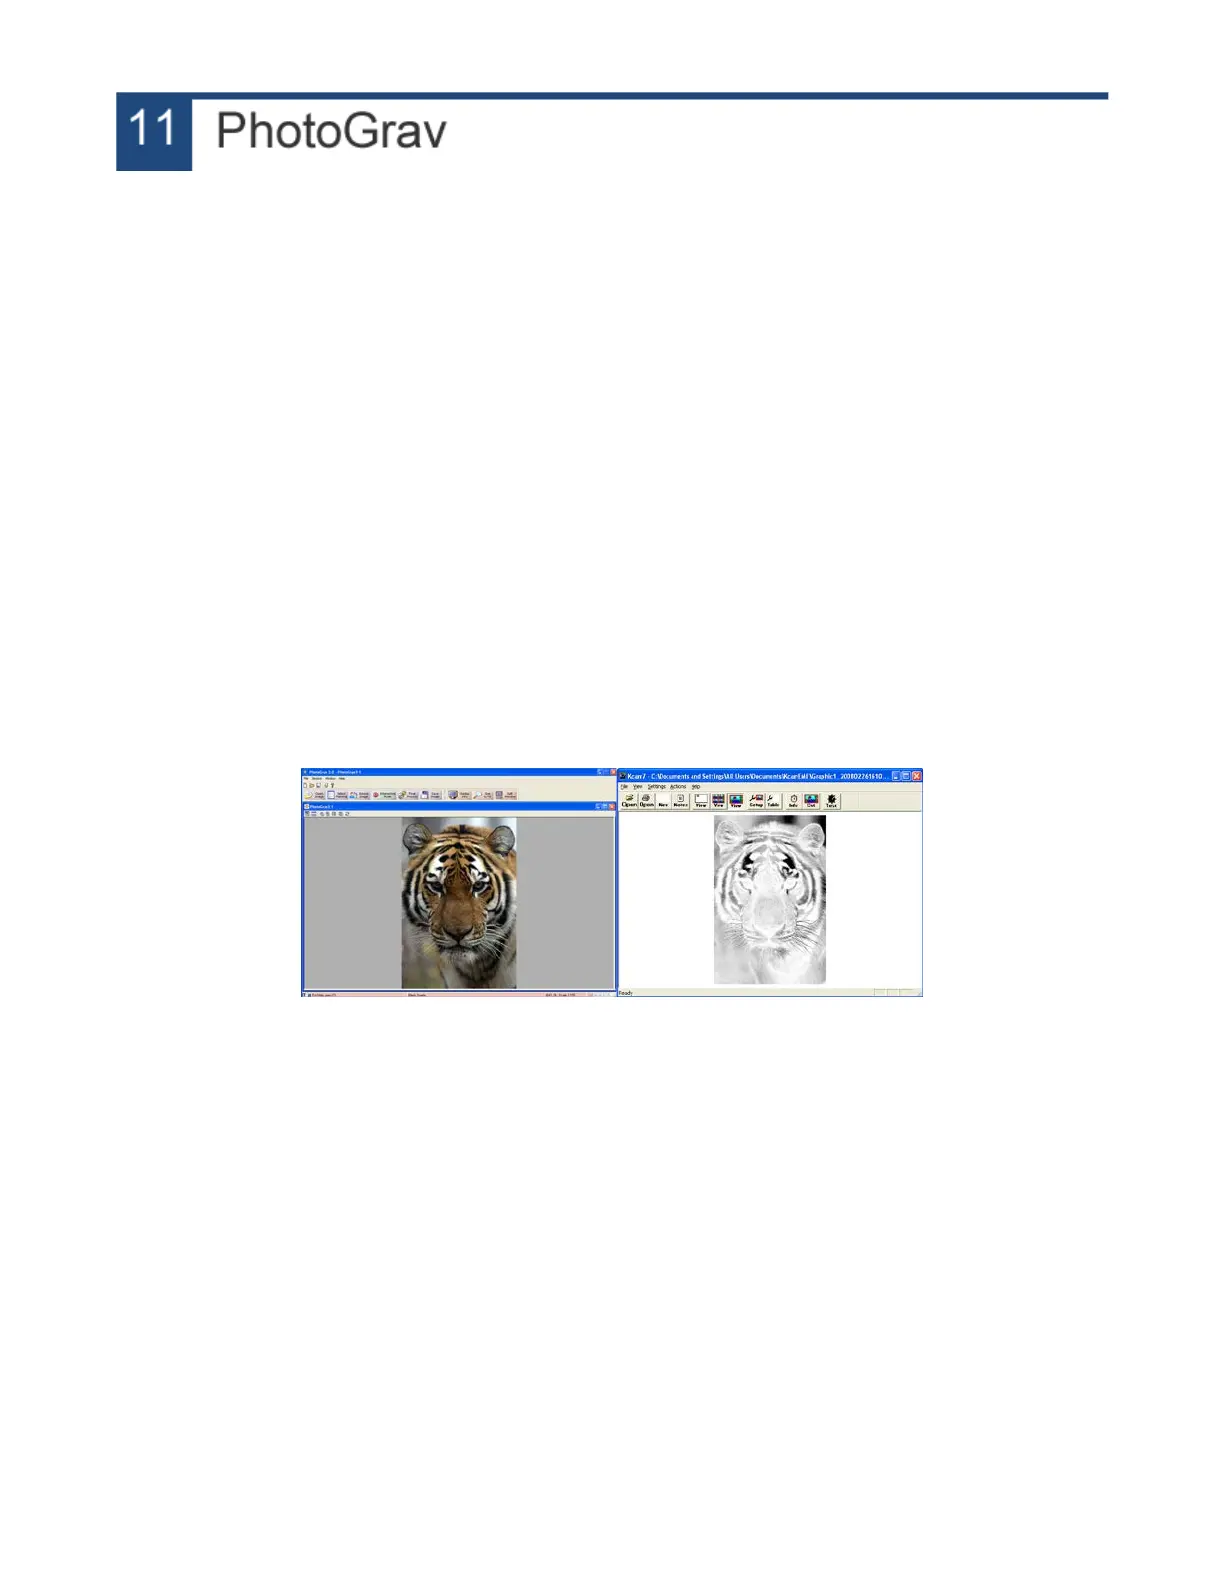
Photo loaded into PhotoGRAV and final results in KCAM.
56