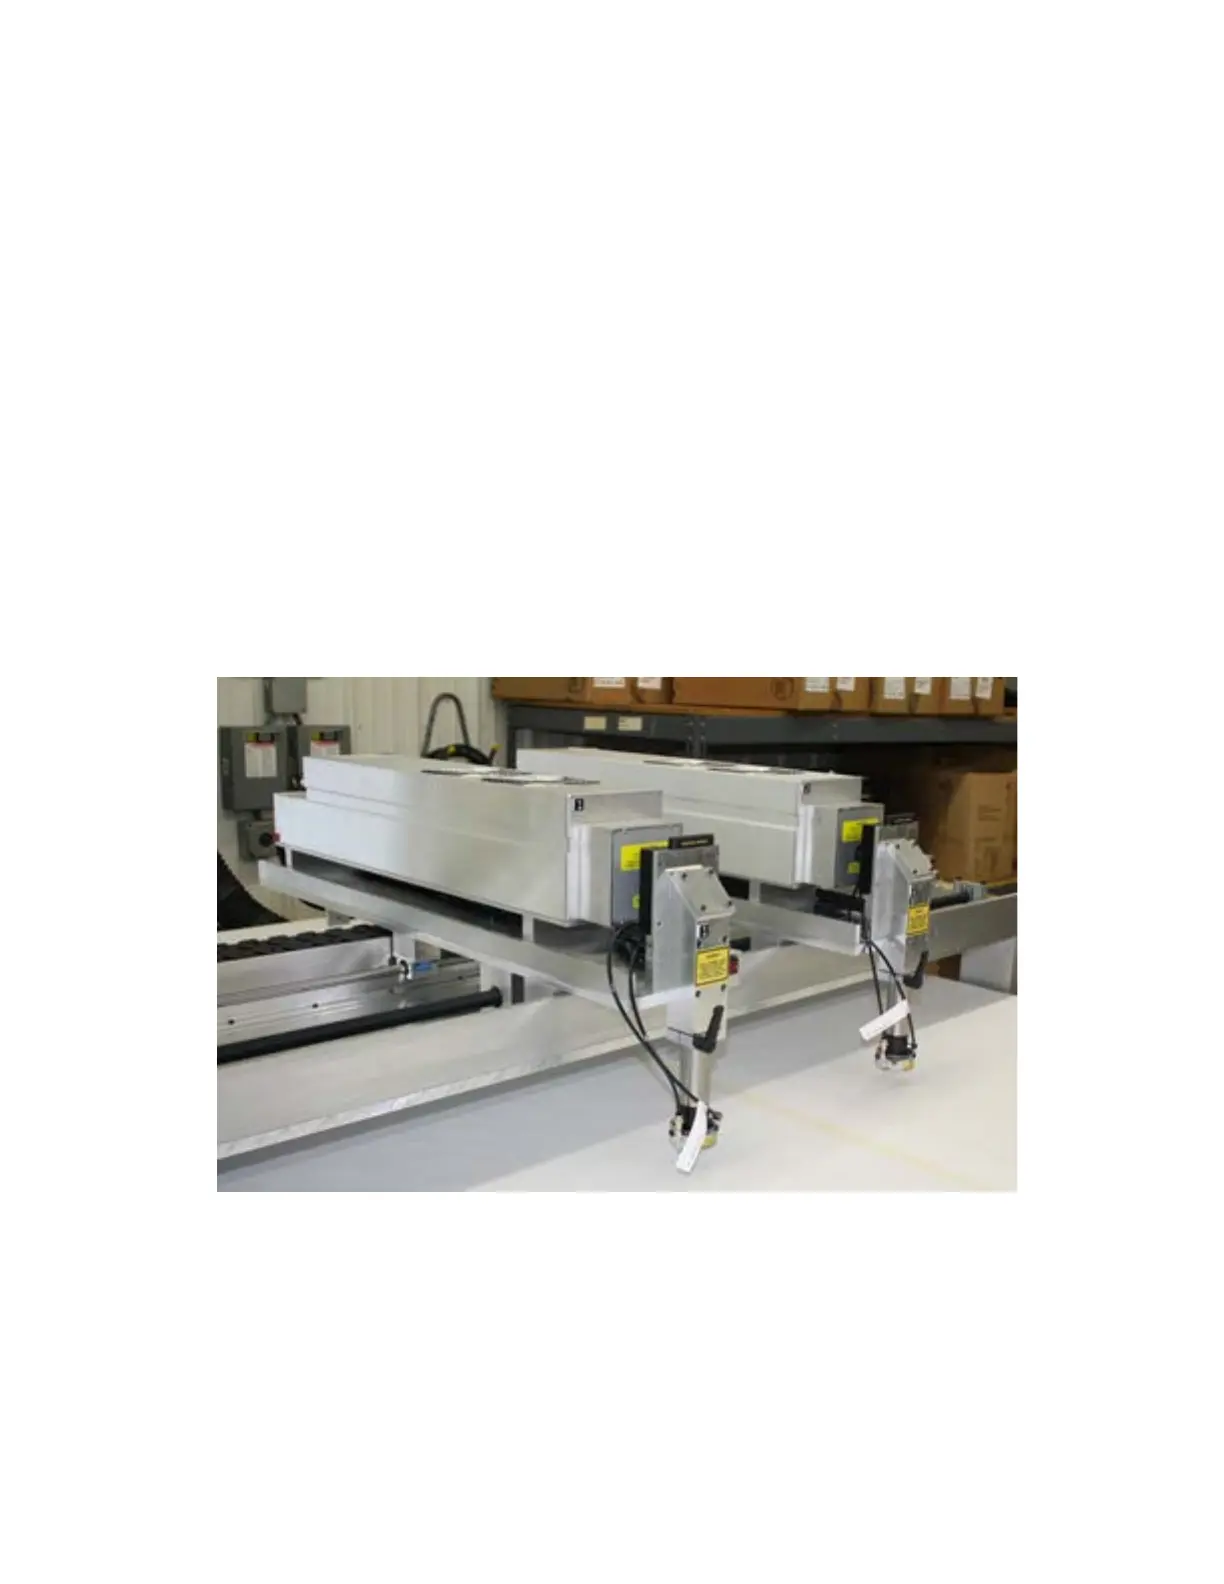
Mounting Laser on Gantry
Make sure to save all boxes for the laser and its components for future servicing. If the laser is not
returned in its original box, you will be charged for a new one to ensure proper packaging during
shipping. All power to the laser system must be disabled/off at this time.
ULR-30/ULR-50 Universal Lasers
Remove the laser from its box. Set the laser on the two metal mounting blocks installed on the
gantry plate. Snug the laser forward so that the beam output of the laser is pushed up against the
silver metal tube of the shutter block. From underneath the top gantry plate, use a hex wrench to
tighten the four bolts inside of the mounting blocks to the bottom of the laser plate. Align the front
laser mounting block with clearance hole provided in top gantry plate to access the front two
mounting bolts. Make sure the bolts are tight and that the laser has no movement.
Unplug the DC power supply plug from the outlet underneath the laser table. Plug the laser harness
into the connector on the back of the laser and tighten the screws on each side of the connector to
ensure that it will not come loose.
The laser is now installed and is ready for beam alignment. Reconnect the DC power supply plug
underneath the laser table before powering on the laser system.
Universal Laser Mount
Kern 100/150/200 Lasers
Remove laser from the box. Set the laser on the two metal mounting blocks installed on the gantry
plate. Snug the laser forward so that the beam output of the laser is pushed up against the silver
metal tube of the shutter block. From underneath the top gantry plate, use a hex wrench to tighten
the four bolts inside of the mounting brackets to the bottom of the laser plate. Make sure the bolts
are tight and that the laser has no movement.
13