of the mirror, check it for any physical damage. The mirrors have a shiny gold surface. It is
very important to clean the optics if you think they are dirty or they will become
permanently damaged. If the mirrors are chipped or cracked, cleaning of the optics will not
repair the damage.
To clean a mirror:
1. Flush the mirror with 99% isopropyl alcohol.
2. Remove visible debris from the mirror by wiping it with a Q-tip soaked in isopropyl alcohol
(rubbing alcohol).
3. Flush the mirror with isopropyl alcohol.
4. Using a lens tissue soaked in isopropyl alcohol, wipe the optic lightly in a circular motion very
lightly.
5. Repeat step 3 with a new lens tissue. The isopropyl alcohol dries very quickly. The surface of
the mirror must be clean and shiny when cleaning is finished. If the mirror is chipped,
cracked or will not clean up properly, replacement optics must be purchased to achieve
optimum laser cutting and engraving performance.
To reinstall the mirror after cleaning:
1. Carefully place the mirror in the mirror retainer. The mirrored side of the mirror should face
down at a 45 degree angle towards the material that is to be cut.
2. Replace the three slotted screws.
3. Replace the mirror cover with the four Allen screws.
NOTE: It is recommended to check the beam alignment after removing and reinstalling a
mirror.
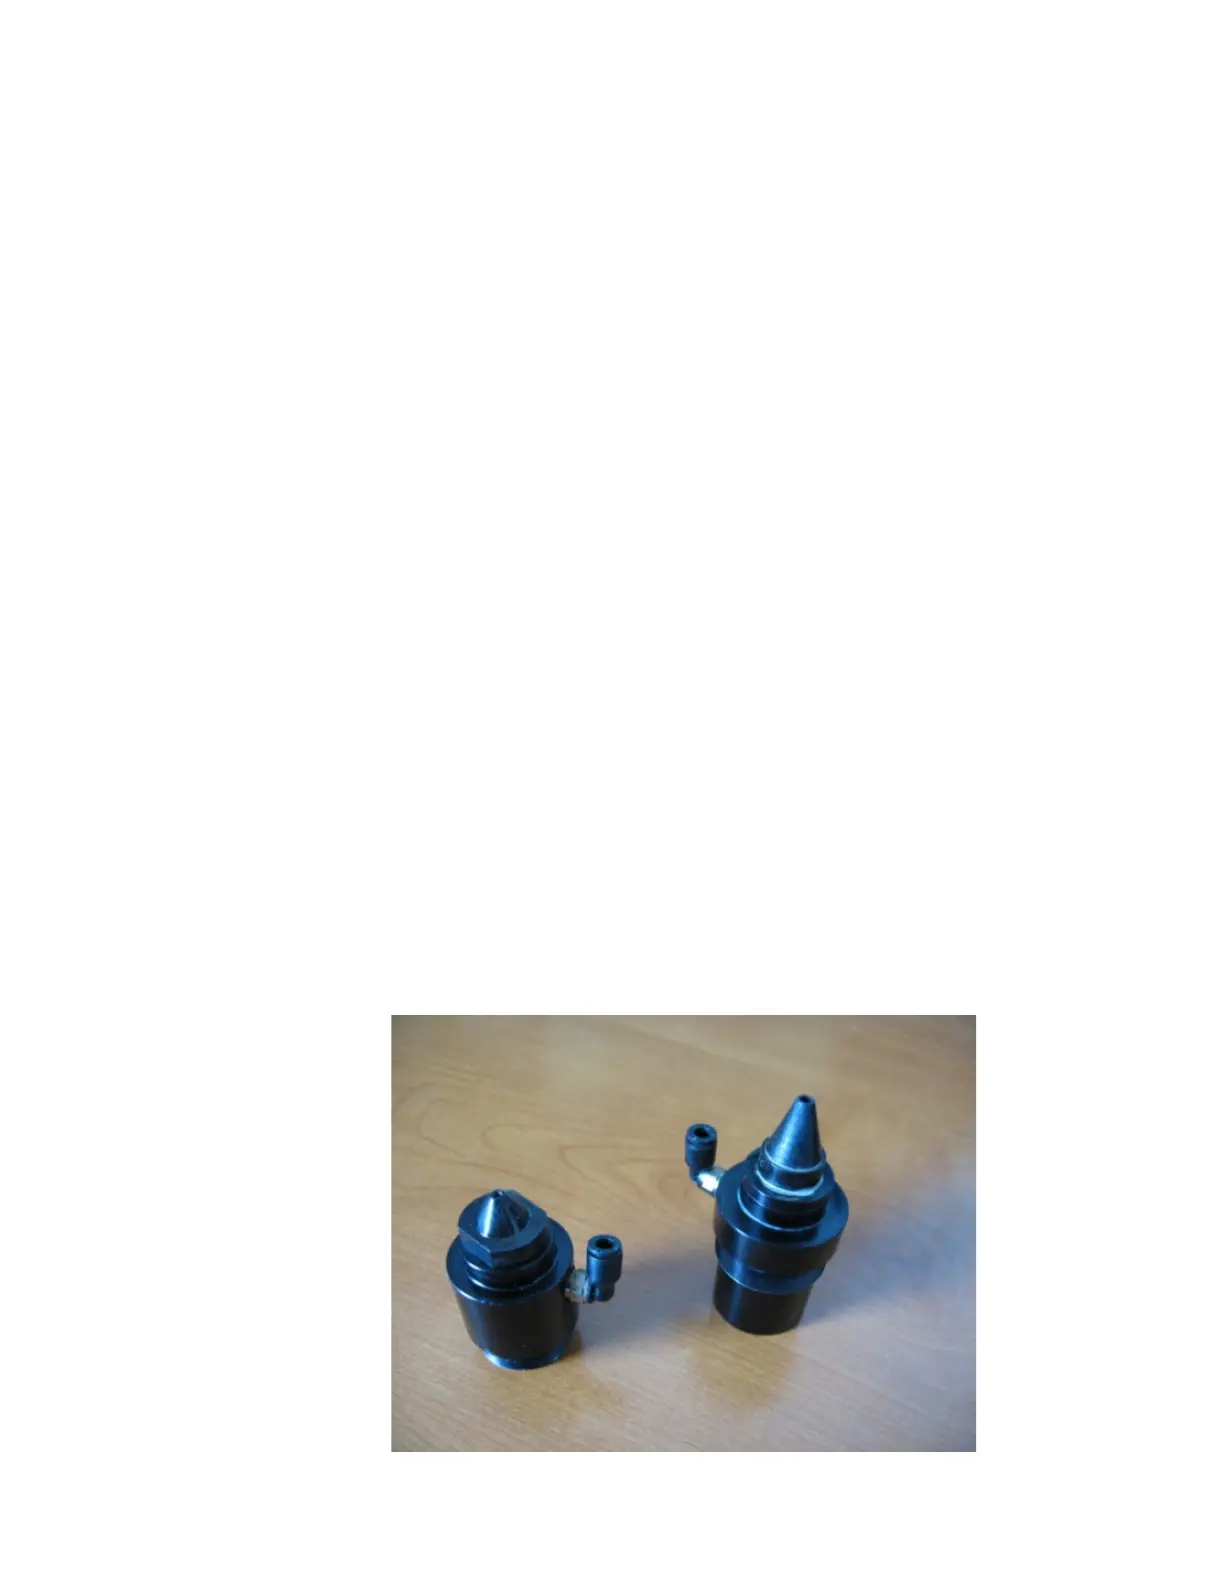
Lens
Below are instructions on removal, cleaning, and installation of your optics lens. Refer to the optics
assembly drawing in the System Diagrams section of this manual.
To remove the lens for cleaning:
1. Turn OFF the laser machine.
2. Disconnect the air line, safety shield and HF sensor wire (metal cutting) from the optics
assembly.
3. Unscrew the optic assembly from the beam path tube.
Optics Assemblies
59