Insert Mounting Body into the Inner Body Spline. With the Spring engaged in the Spring
Adjustment Collar turn the Spacer Nut counterclockwise until the nut reaches its limit.
NOTE: The Spring Adjustment Collar must be prevented from engaging with the Mounting
Body while turning the Spacer Nut.
Place the Rubber Washer on the Rear Body. Insert the Rear Body into the Inner Body Spline.
NOTE: The nut should be fully assembled at this stage with the Spring Adjustment Collar
disengaged from the Spline on the Mounting Body.
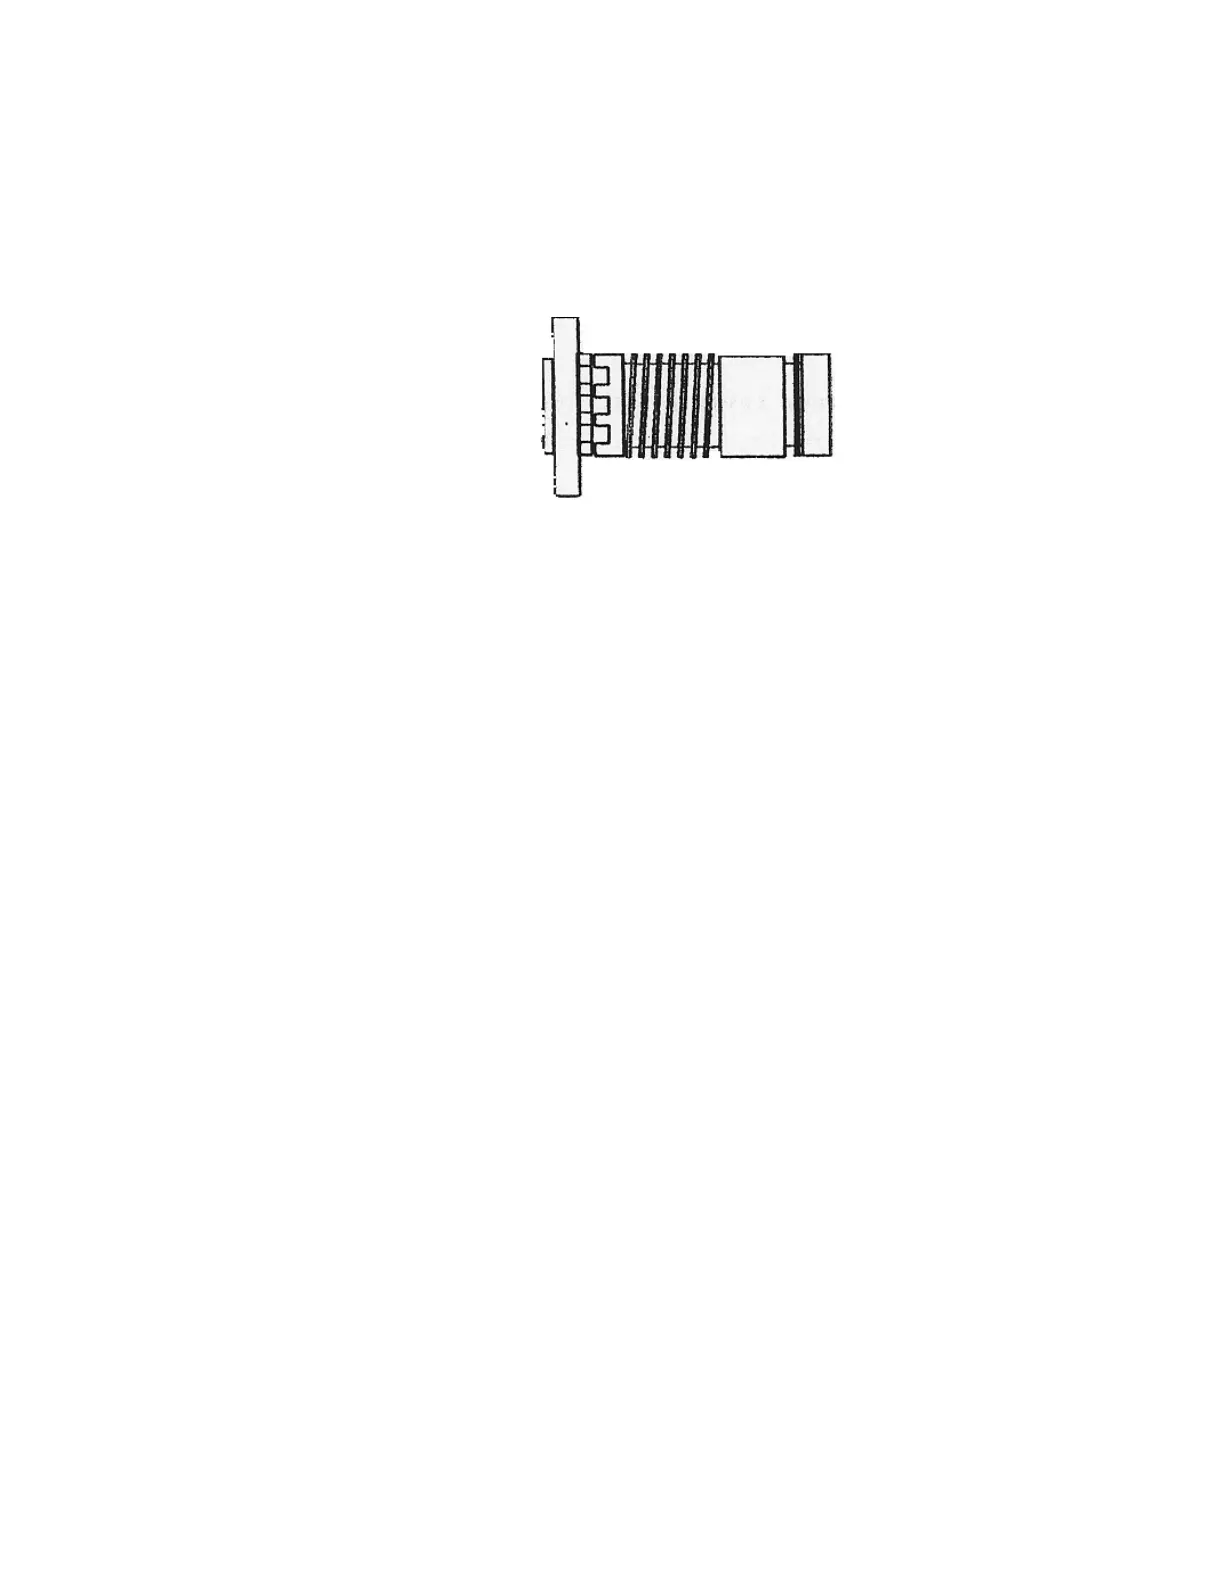
Fully Assembled Nut Assembly
Thread the lead screw into the nut assembly. The overall length of the nut should be less
than 2.875” for the flange mount nut. If the nut grows longer than this, disassemble the
Rear Body from the nut, rotate one notch on its spline, rethread the lead screw and check
the nut length. There are six possible combinations for the spline engagement of the Rear
Body, the best is the combination that results in the smallest nut when assembled to the
lead screw.
Turn the Spring Adjustment Collar clockwise until the desired spring tension is obtained
(approximately ¾ of a wrap is normal) and snap the Adjustment Collar into the Spline on the
Mounting Body.
Turn the Spacer Nut slightly counterclockwise and release, it should return to its initial
position. If torque between the lead screw and nut is higher than desired, the spring may be
loosened by disengaging the Spring Adjustment Collar and reducing the amount of wrap. It
is not recommended to relax the spring less than ½ wrap.
61