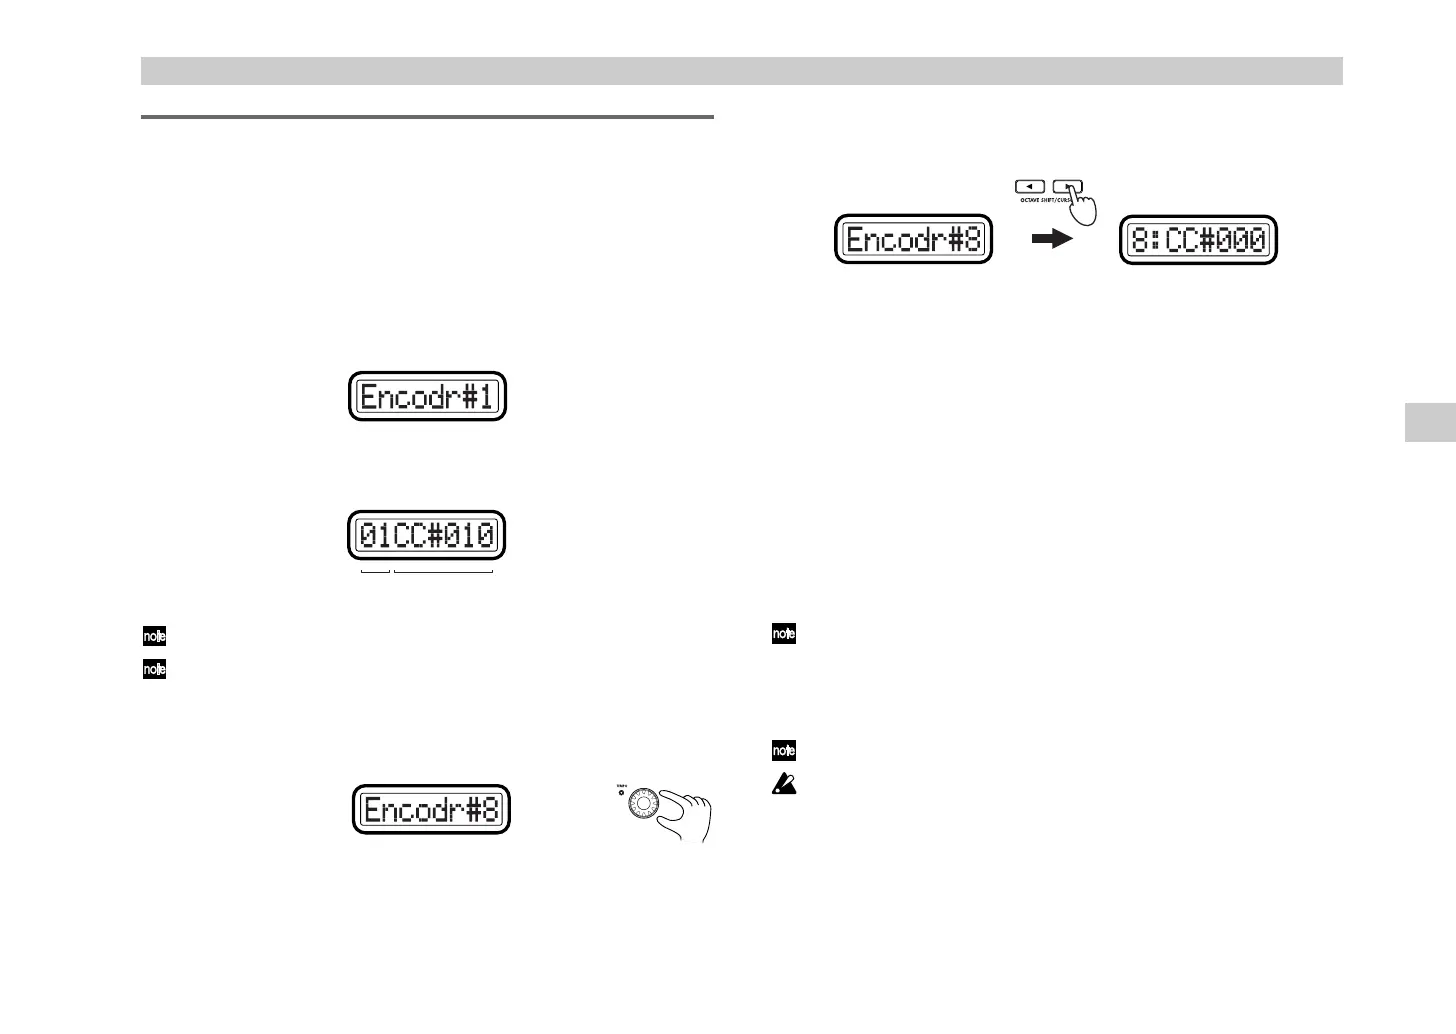
Operation–Setting mode
25
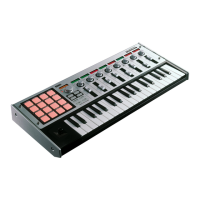
[1] ENCODER (Encoder assignment)
The Encoder assignment page lets you assign MIDI messages to the rotary
encoders, specify the MIDI channel on which the messages will be
transmitted, etc. You can assign a control change (CC#), RPN, or NRPN
message to each encoder.
1
Hold down the [SETTING] key and press pad [1].
The [SETTING] key and pad [1] will light, and you will be in the
Encoder assignment page. The main display indicates “Encoder
Select,” prompting you to select the encoder to assign).
Each sub-display indicates the MIDI message assigned to the
corresponding encoder, and the MIDI transmit channel.
The selectable parameters or values will blink in the main display.
If you want to check the MIDI messages assigned to an encoder or
slider, enter Setting mode and check the sub-displays.
2
Use the [VALUE] dial to select the encoder that you want to assign.
Alternatively, you can simply move the desired encoder to select it.
3
Press the OCTAVE SHIFT/CURSOR [
®
] key to proceed to “Message
Select,” where you can select a MIDI message to assign to the encoder.
4
Use the [VALUE] dial or the pads to select the MIDI message you want
to assign.
NoAsgn (No Assign)
No MIDI message is assigned to the selected encoder. If you select
NoAsgn
, press the [ENTER] key (blinking) to update the setting.
☞
Step 9
CC#000-127 (Control Change)
Assigns the selected control change message. (
☞
p.55 “Available MIDI
messages”)
NRPN, RPN
Assigns an NRPN or RPN to the encoder. If you select
NRPN
or
RPN
,
you will need to specify the “MSB” and “LSB” for the controller. For
details, see “Setting mode - Assigning NRPN or RPN” (
☞
p.26).
You can also use an encoder to select its own MIDI message assignment,
just by moving the encoder instead of the [VALUE] dial. (However, you
will only be able to select control changes using this method.) If you
move an encoder other than the currently selected one, you will switch
to the settings for that encoder.
You can press the [HEX LOCK] key and input hexadecimal values.
The pads can be used only to input a control change. If you input a
value outside the range of
0–127 (00–7Fh)
, only the last-pressed number
will remain, and you will need to start again.
5
Press the OCTAVE SHIFT/CURSOR [
®
] key to proceed to “MIDI
Channel,” where you can select the MIDI channel for the encoder.
MIDI channel Control change no.
(Green)(Red)
Setting mode
%( !"