Getting Started
Placement and Connections
6
Placing and Connecting the Ribbon Controller
The Ribbon controller can rest on any ßat surface, but you may
Þnd it easiest to play if itÕs right in front of you. If your keyboard
has enough space on its front panel, you can place the Ribbon just
above the keys.
Note:
By default, the Ribbon sends higher values toward its
right end (the end with the cable). If you want the
cable on the left, and you still want the same response,
read ÒRBN DirÓ on page 78.
You can use the included adhesive-backed foam strip (which
attaches to the bottom of the ribbon), or the hook-and-loop
fastener pads to hold the Ribbon in place. However, donÕt attach
these to surfaces that become damaged easily, such as painted or
Þnished wooden surfaces. Also, we suggest that you attach the
hook half of the hook-and-loop pads to the bottom of the ribbon
and the loop (softer) half to the mounting surface. This will
prevent small mammals from becoming stuck to your keyboard.
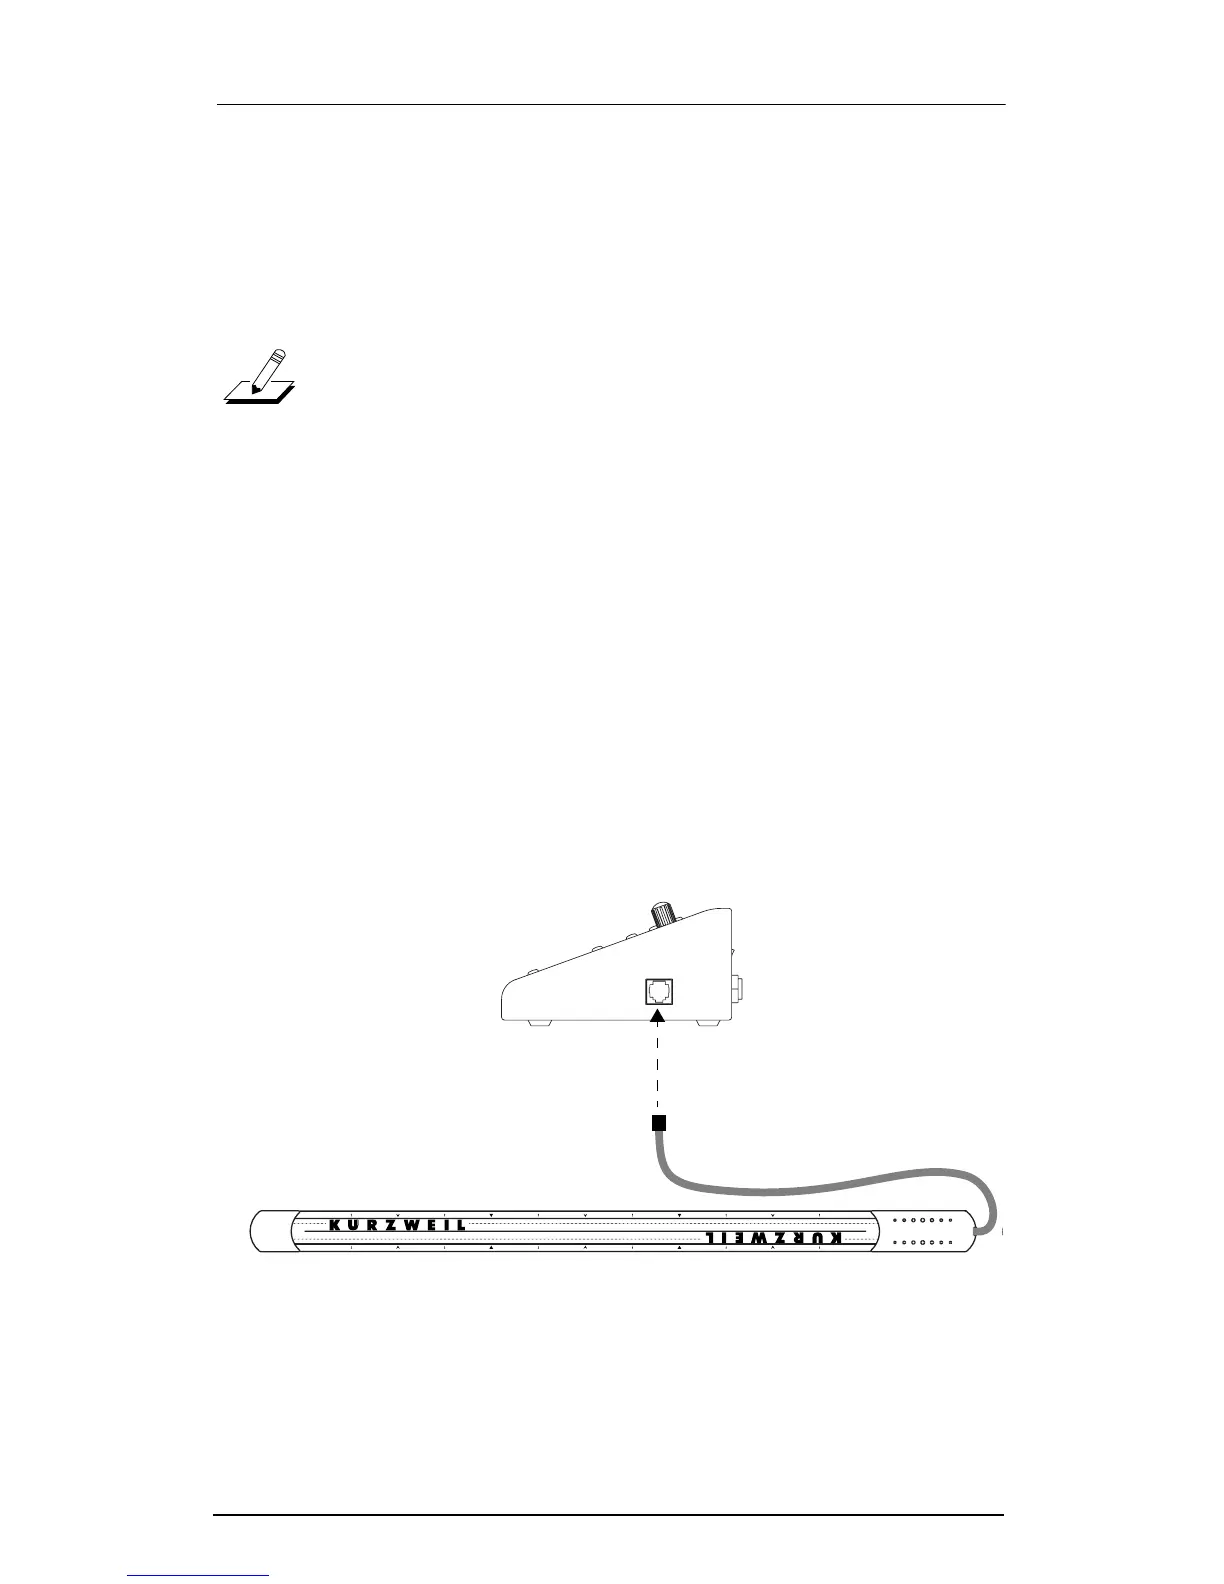
When the Ribbon is where you want it, plug the unconnected end
of the cable into the ÒControllerÓ jack on the ExpressionMateÕs
right side.
Figure 2-2. Connecting the Ribbon.
ontroller
C