4.2 Print Quality Problems
4-4
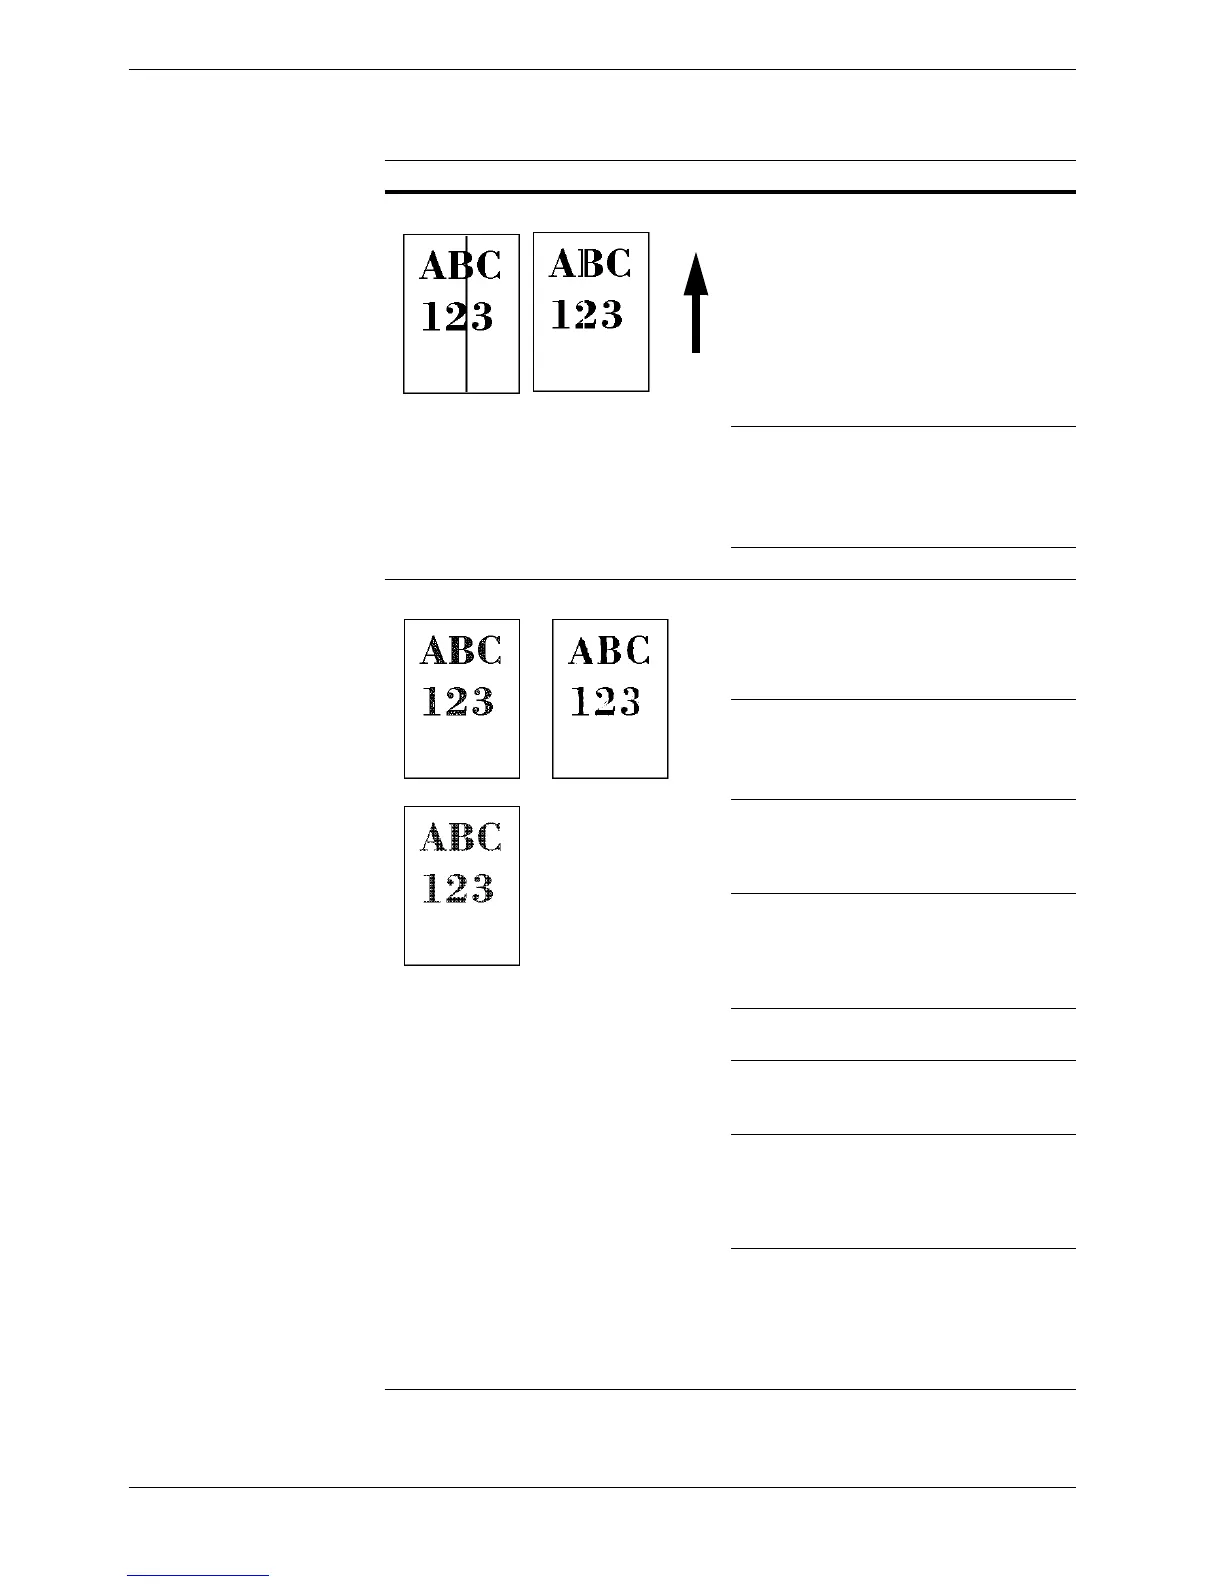
Black or white vertical streaks
Check the operator panel for toner.
If the Toner low (C/M/Y/K) message is dis-
played with color description, install a new toner kit
for the color. To replace the toner container, see
Chapter 5 Maintenance, section 5.1 Toner Con-
tainer Replacement on page 5-2.
Clean the main charger.
Open the printer front cover. Pull the green cleaning
knob slowly in and out a few times. For full details,
see Chapter 5 Maintenance, section 5.3.2 Cleaning
the Main Charger Unit on page 5-12
.
Have a service person check the fuser unit.
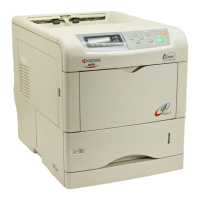
Faint or blurred printing
Clean the main charger.
Open the printer front cover. Pull the green cleaning
knob slowly in and out a few times. For full details,
see Chapter 5 Maintenance, section 5.3.2 Cleaning
the Main Charger Unit on page 5-12
.
Check the primary transfer unit for jammed paper
remaining.
For removal of jammed paper, see Paper Jam —
Paper Transfer Unit on page 4-17
.
Make sure the paper type setting is correct the paper
being used. See Chapter 3 Using the Operator
Panel, section 3.10.4 Setting the Cassette Paper
Type on page 3-73.
Conduct color calibration either by switching the
printer off then on or using the printer operator
panel (
MENU
). For full details, see
Chapter 3
Using the Operator Panel, section 3.13.12 Color
Calibration on page 3-100
.
Try adjusting the color control settings using the
printer driver.
Try switching the tone mode between Normal and
Fine using the operator panel (
Menu
>
Print Qual-
ity
>
Tone
).
Check the operator panel. If the Toner low (C/
M/Y/K) message is displayed with color descrip-
tion, install a new toner kit for the color. To replace
toner, see Chapter 5 Maintenance, section 5.1
Toner Container Replacement on page 5-2.
Moisture condensation may have been occurred on
the primary transfer unit. Open the printer front
cover, draw the paper transfer unit out, and draw the
primary transfer unit. Allow approximately 2 hours
until the condensation dries up.
Printed Results Corrective Action
Table 4-2 (Continued)
Direction
of Paper
Feed