32 Chapter 4 – Mamiya 645 AF-D
Before Getting Started
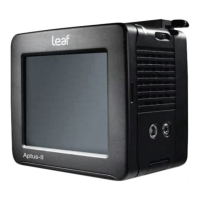
This chapter describes the Leaf Aptus digital camera back installation for
the Mamiya 645 AF-D camera.
Items Required for the Installation
For a detailed list of the items required for installation, see Items Required
for the Installation on page 6. In addition to the items shown, the Mamiya
645 AF-D digital camera back kit also includes the Mamiya AF-D mount.
You will need the mount for the installation procedure.
Quick Installation Reference
1. Charge the batteries.
2. Install the focusing screen.
3. Remove the protective cover from the digital camera back and mount
the back onto the camera body. If you are working in tethered mode,
go straight to step 5.
4. Install the compact flash card. The installation is complete.
Working in tethered mode:
5. Install the Leaf Capture application from the CD.
6. Start the Leaf Capture application.
7. Connect the FireWire cable between the computer and Leaf Aptus.
After you connect the cable, the application automatically connects to
the digital camera back. When the connection is established, the LED
indicator on the digital camera back turns from orange to green.
Important: To avoid installation and operation problems, use only the
accessories supplied in the Leaf Aptus digital camera back kit.
Note: If you want to work with an external flash or strobe, connect the Flash
Sync cable between the camera and the flash or strobe unit.

 Loading...