6-18 LeeBoy Model 8616 Conveyor Paver
Operation
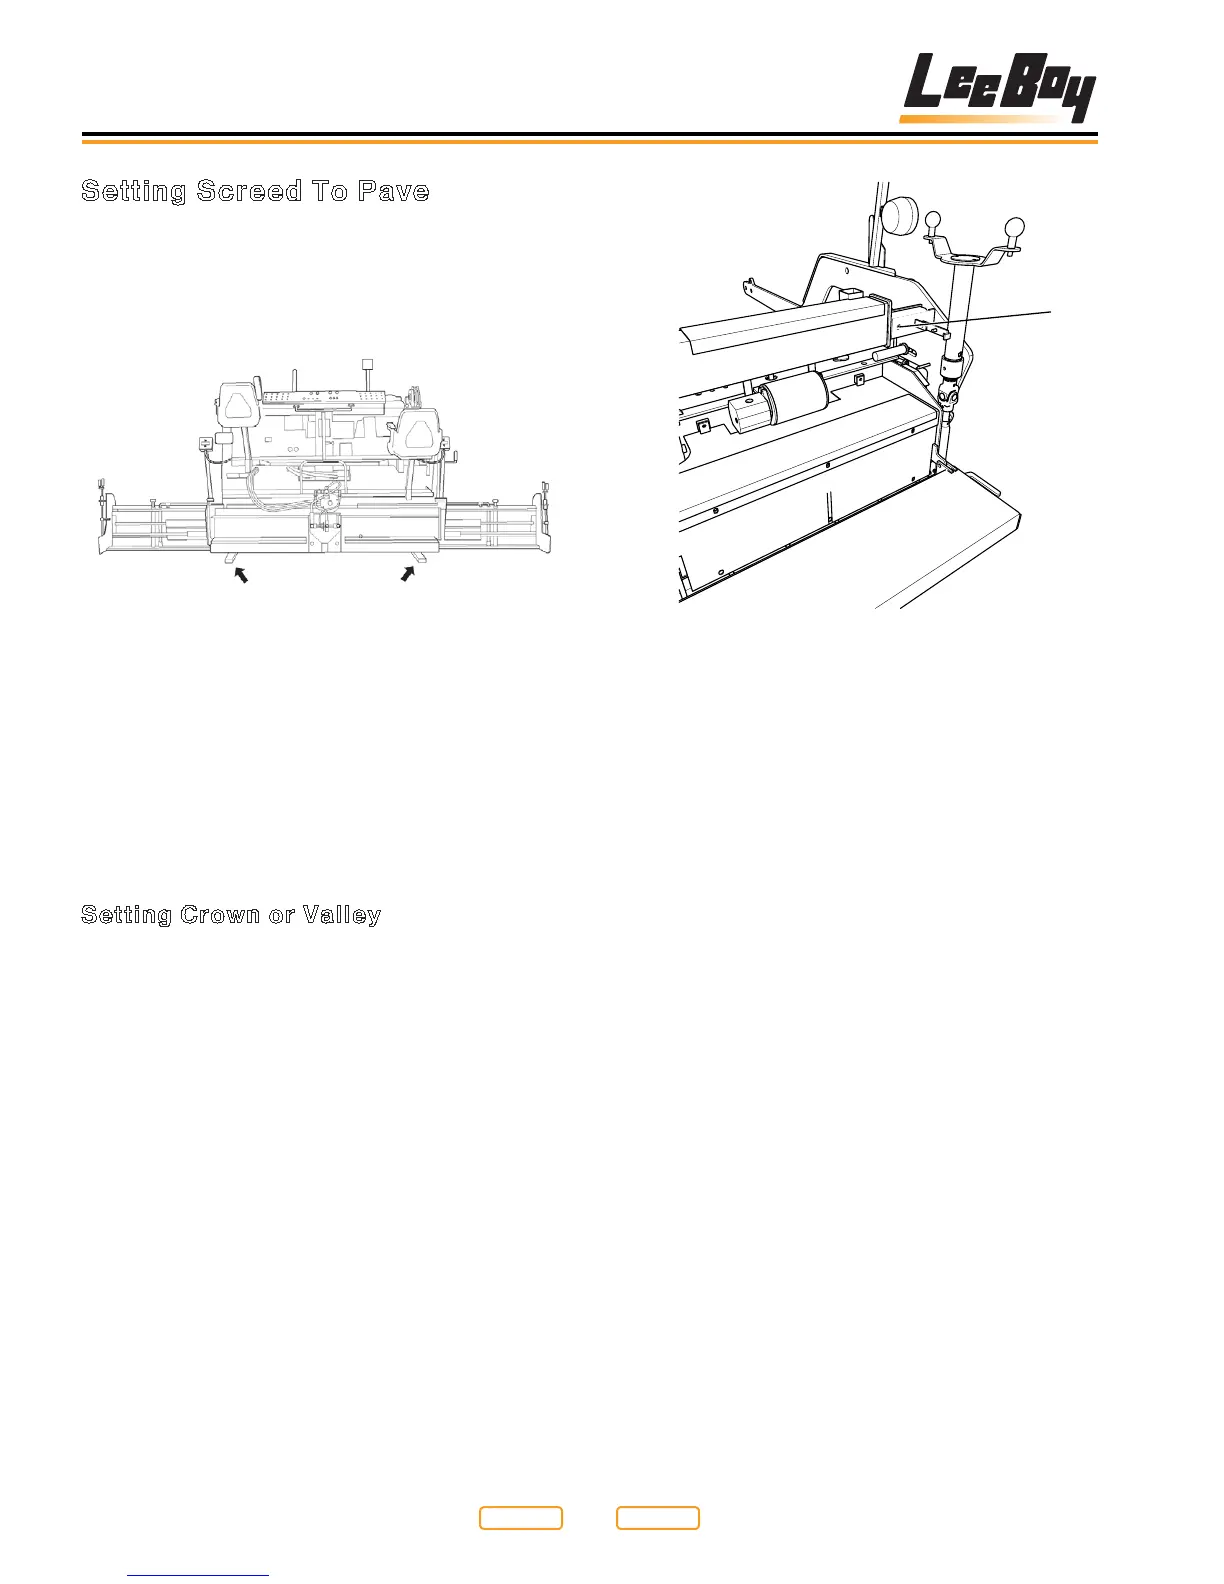
Setting Screed To Pave
1. Move to the starting position.
2. Extend the screed to the desired width.
3. To set depth, place screed on starter blocks
(Figure 6-15).
Starter Blocks
Figure 6-15
4. Levelthescreedwiththeightscrews(Figure
5-5,2) until neutral position is felt.
NOTE: Neutral position is when the pressure on the
ightscrewisthesamewhenscrewingeither
clockwise (CW) or counterclockwise (CCW).
5. Turntheightscrewaboutonecomplete
turn clockwise (CW) to get started and adjust
accordingly.
Setting Crown or Valley
NOTE:Thescreedplateisaone-pieceunitthatisexed
to provide the required crown setting.
1. Loosen lock down bolts (Figure 6-16,1) in slotted
bars before adjusting crown and valley mechanism.
2. Use the gauge (Figure 6-17,2 ) located at the
center of the screed above the standing platform.
Set pointer rod for crown to zero on decal for level
oratscreed.Placerodatdesirednumberson
decal for proper crown and valley. Decal is based
off of a 10 ft. mat. Always check that proper crown or
valley is achieved by using string or straight edge.
1
Lock Down Bolts
Figure 6-16
1 - Cross Tube Bolt
3. To get exact crown or valley, measure the distance
betweenaatlevelsurfacetothecenterbottom
portion of screed. Make adjustments with crown and
valley control.
NOTE: Maximum crown is 2 in.
Return to
Last Viewed
Return to
Thumb Index