74 X75HD Installation and Operation Manual
Preliminary—Contents are proprietary and confidential. Do not photocopy or distribute.
Chapter 5: Initial Configuration
Selecting a Remote Unit to Control
All X75HD systems that share the same subnet can be remotely
controlled by an RCP-X75 panel or a frame-mounted local control
panel (LCP). Both examples of remote control are described in the
sections that follow.
Using an RCP-X75 for Remote Operation
Follow these steps to select and control a detected X75HD over the
network:
1. Ensure all connections and network settings have been made.
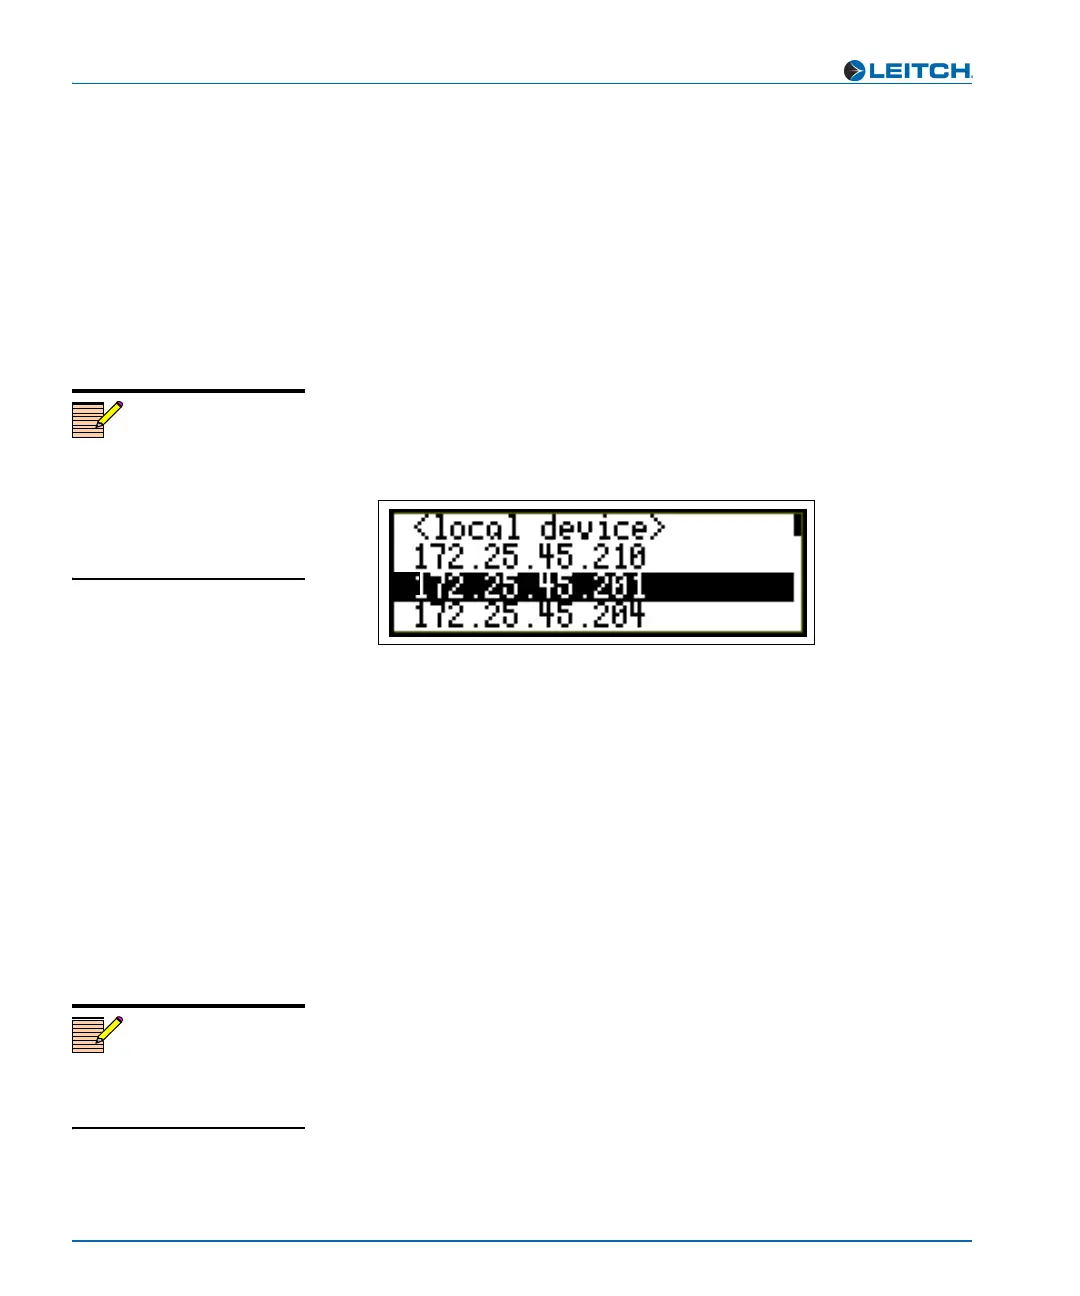
2. On the RCP-X75, press the Remote button to bring up a list of
available units for control. See Figure 5-3.
Figure 5-3. List of Systems Available for Remote Control
The <local device> option represents the unit you are using (the
local unit that is in front of you), and is always available on this list.
An asterisks (*) beside an IP address indicates that this is the
remote system currently being controlled by the panel.
3. Use the control knob to scroll through the list of available X75HD
devices, highlight the unit you wish to control, and then press
Enter.
The RCP-X75 screen reads “Connecting...”.
4. Wait a few moments, and the menu of the selected X75HD unit
appears along with all of that unit’s settings.
5. Operate the selected unit as required.
Once a unit is selected for remote control, all front panel features
operate as if you were actually at the front panel of the selected
remote unit. This means that the VFD panel, status indicators, and
buttons (with the exception of the Remote and Option button) all
control and/or reflect the status of the remote unit, NOT the one you
are physically operating.
Note
If the network settings are not
configured properly (either on
the RCP or individual X75HD
units), X75HD units may not be
detected. Confirm all network
settings, if required.
*
Note
The light on the Remote button
flashes while the unit is
remotely controlling a device.