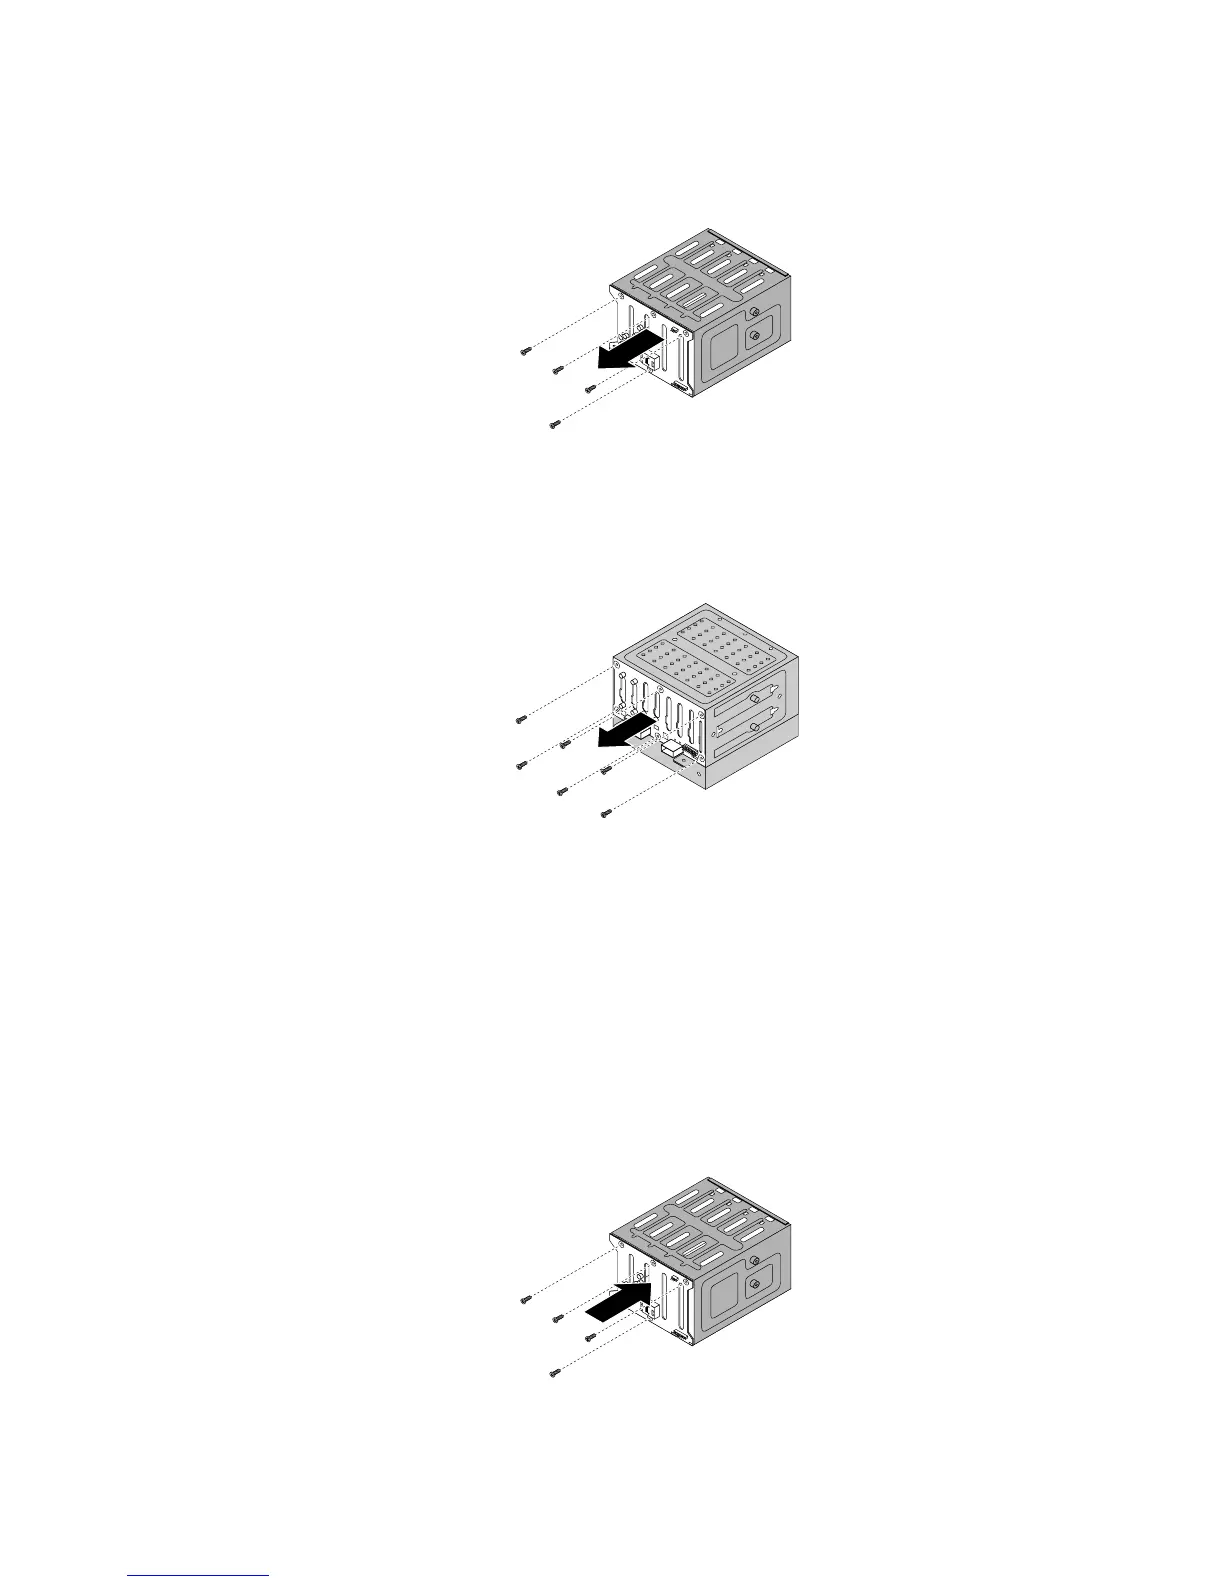
•Forthe3.5-inchhot-swapharddiskdrivebackplane,removethefourscrewsthatsecurethe
backplaneandthenremovethebackplanefromtheharddiskdrivecage.
Figure72.Removingthe3.5-inchhot-swapharddiskdrivebackplane
•Forthe2.5-inchhot-swapharddiskdrivebackplane,removethesixscrewsthatsecurethe
backplaneandthenremovethebackplanefromtheharddiskdrivecage.
Figure73.Removingthe2.5-inchhot-swapharddiskdrivebackplane
10.Touchthestatic-protectivepackagethatcontainsthenewhot-swapharddiskdrivebackplanetoany
unpaintedsurfaceontheoutsideoftheserver.Then,removethenewbackplanefromthepackage.
Note:Carefullyhandlethebackplanebyitsedges.
11.Positionthenewbackplaneontheharddiskdrivecagesothatthescrewholesinthenewbackplane
arealignedwiththecorrespondingholesintheharddiskdrivecage.Then,dooneofthefollowing
dependingontheharddiskdrivecage:
•Forthe3.5-inchhot-swapharddiskdrivecage,installthefourscrewstosecurethebackplaneon
thecage.
Figure74.Installingthe3.5-inchhot-swapharddiskdrivebackplane
Chapter6.Installing,removing,orreplacinghardware135